Backflow prevention is a critical aspect of maintaining safe water systems that every property owner should understand. When water flows in the wrong direction through your plumbing, it can contaminate your clean water supply with harmful substances, creating serious health risks.
What Is Backflow?
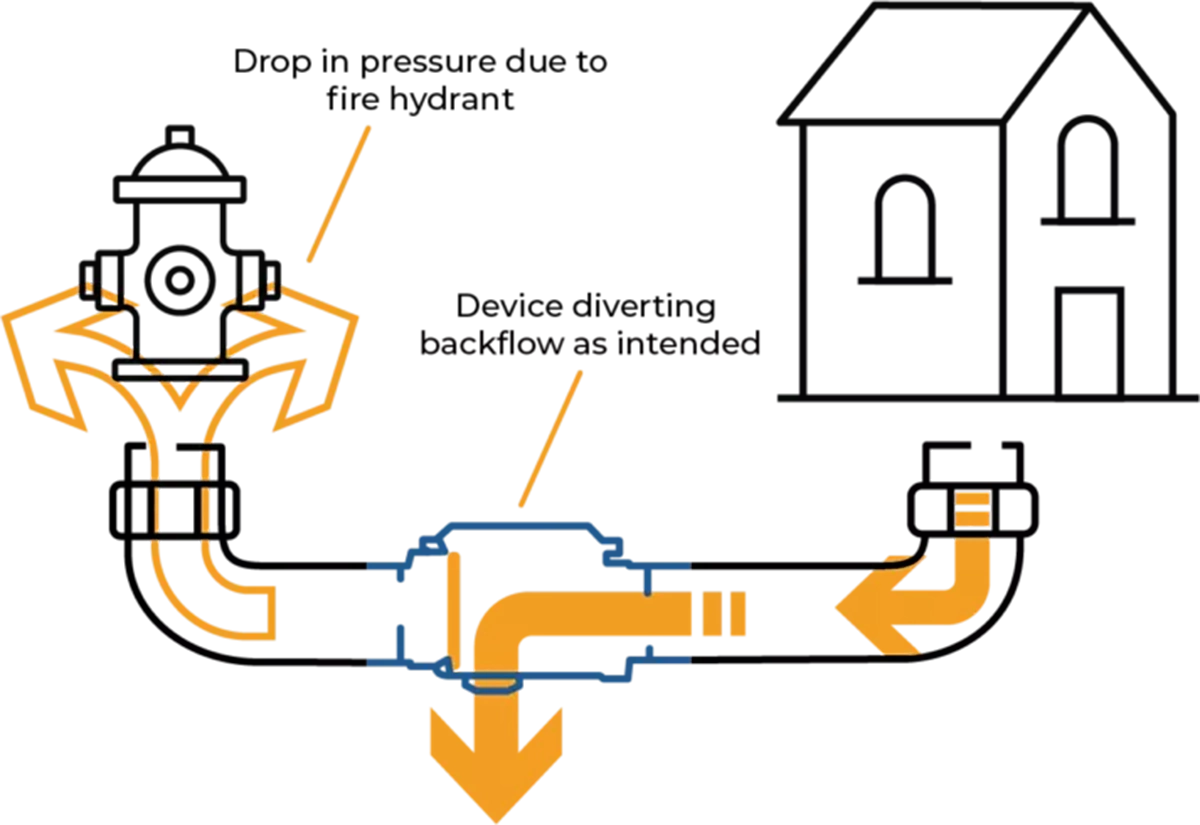
Backflow refers to the unintended reversal of water flow within a plumbing system, which can lead to pollutants entering the clean water supply. This typically happens when there’s a shift in pressure—either from increased pressure downstream (back-pressure) or a drop in supply pressure (back-siphonage).
Back-pressure develops when downstream pressure exceeds supply pressure, often caused by pumps, boilers, or elevated storage tanks. Back-siphonage occurs when supply pressure drops below atmospheric pressure, creating a vacuum effect that pulls water backward through the system.
Common Backflow Scenarios
Several situations can create backflow conditions in residential and commercial properties. Garden hoses submerged in pools, buckets, or chemical containers pose significant risks. Irrigation systems connected directly to potable water supplies can introduce fertilizers and pesticides into drinking water.
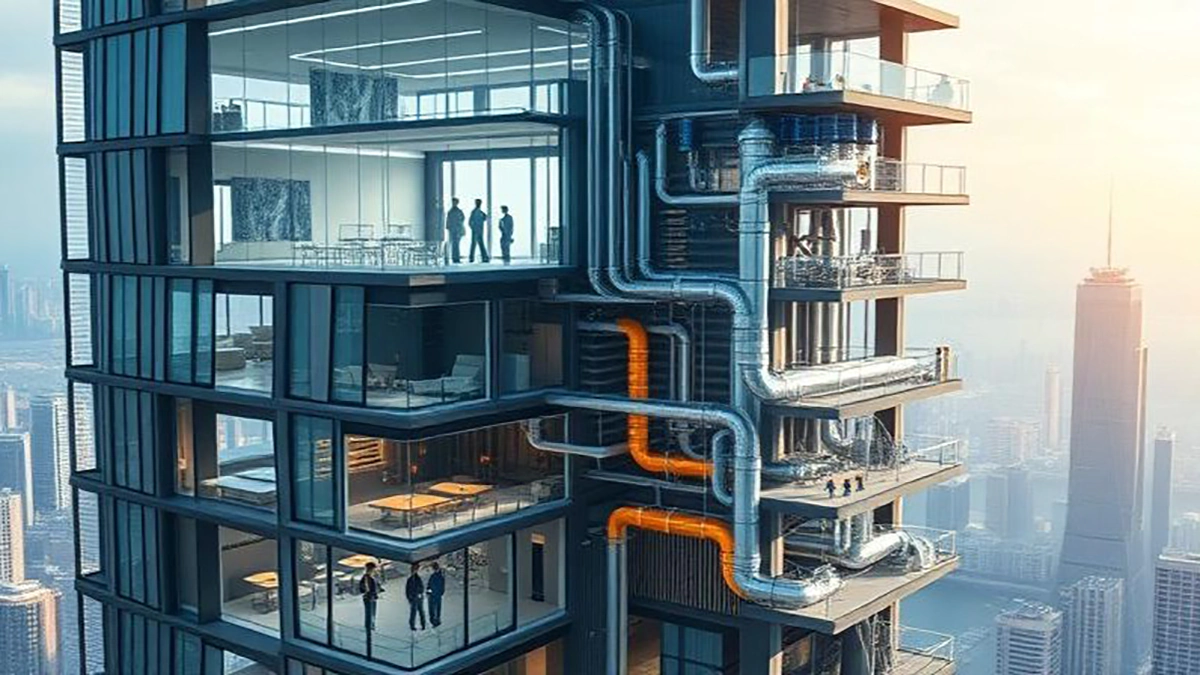
Commercial properties face additional challenges with fire suppression systems, cooling towers, and industrial processes that use non-potable water. Even something as simple as a washing machine drain hose placed in a utility sink can create cross-connection issues.
Health Risks and Contamination
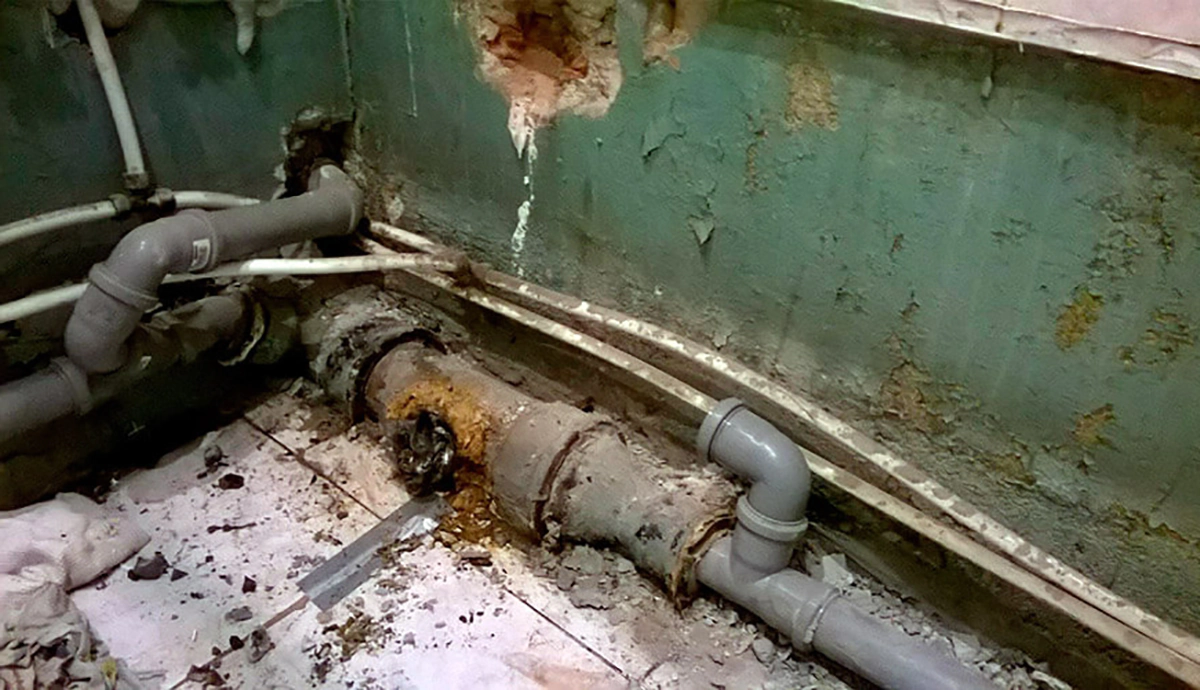
Backflow contamination can introduce bacteria, chemicals, and other harmful substances into your drinking water. Common contaminants include fertilizers from lawn sprinkler systems, cleaning chemicals from commercial operations, and bacteria from stagnant water sources.
The health implications range from minor gastrointestinal issues to serious illnesses, depending on the type and concentration of contaminants. Vulnerable populations, including children, elderly individuals, and those with compromised immune systems, face higher risks from contaminated water exposure.
Types of Backflow Prevention Devices
Air gaps provide the most reliable protection by creating a physical separation between the water supply outlet and the flood level rim of receiving fixtures. This simple solution works effectively for many residential applications, including dishwashers and washing machines.
Vacuum breakers prevent back-siphonage by allowing air to enter the system when pressure drops. Atmospheric vacuum breakers work well for irrigation systems and hose connections, while pressure vacuum breakers handle higher-pressure applications.
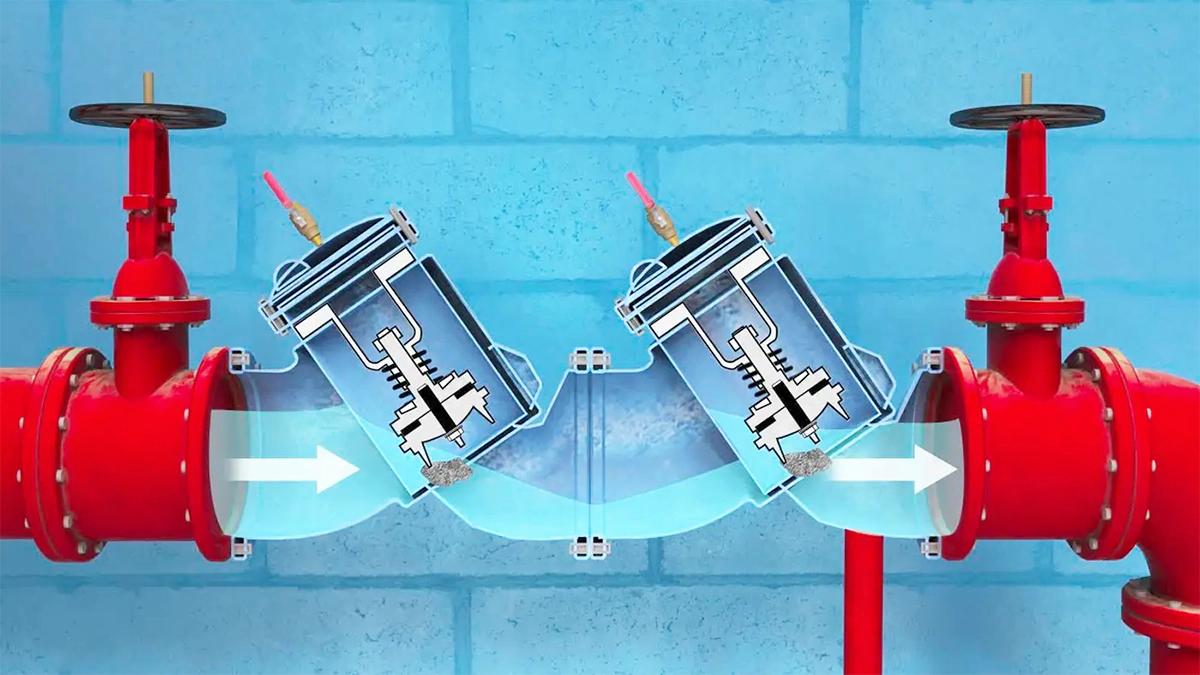
Check valves allow water to flow in one direction only, using spring-loaded mechanisms or swing gates. Double-check valve assemblies provide redundant protection with two independent check valves and test ports for maintenance verification.
Reduced pressure zone devices offer the highest level of protection for high-risk applications. These sophisticated devices include two check valves separated by a reduced pressure zone that automatically relieves pressure differentials.
Installation Requirements
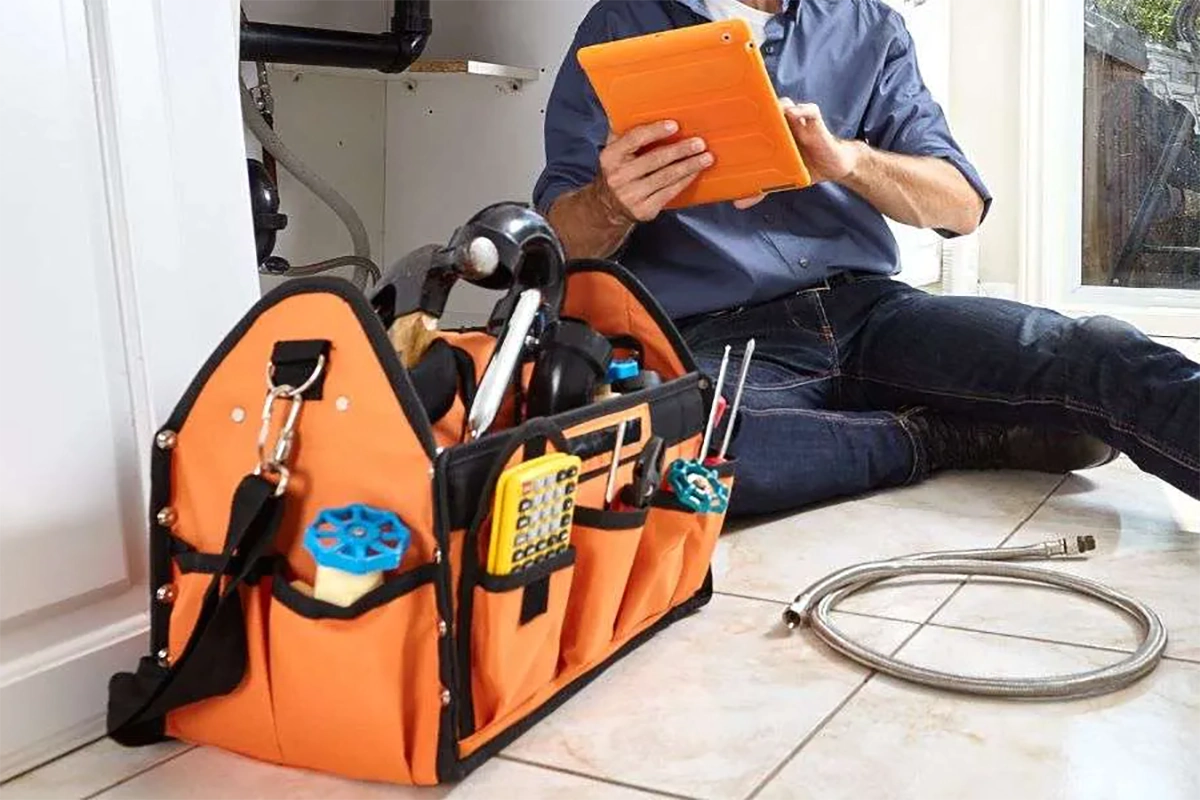
Professional installation ensures proper device selection and placement according to local codes and regulations. Installation must consider factors like water pressure, flow rates, and specific contamination risks associated with your property’s water usage.
Devices must be installed at appropriate heights and locations to function correctly. Some assemblies require specific clearances for maintenance access and proper drainage of relief valves. Local water authorities typically specify installation requirements based on hazard levels and property types.
Testing and Maintenance
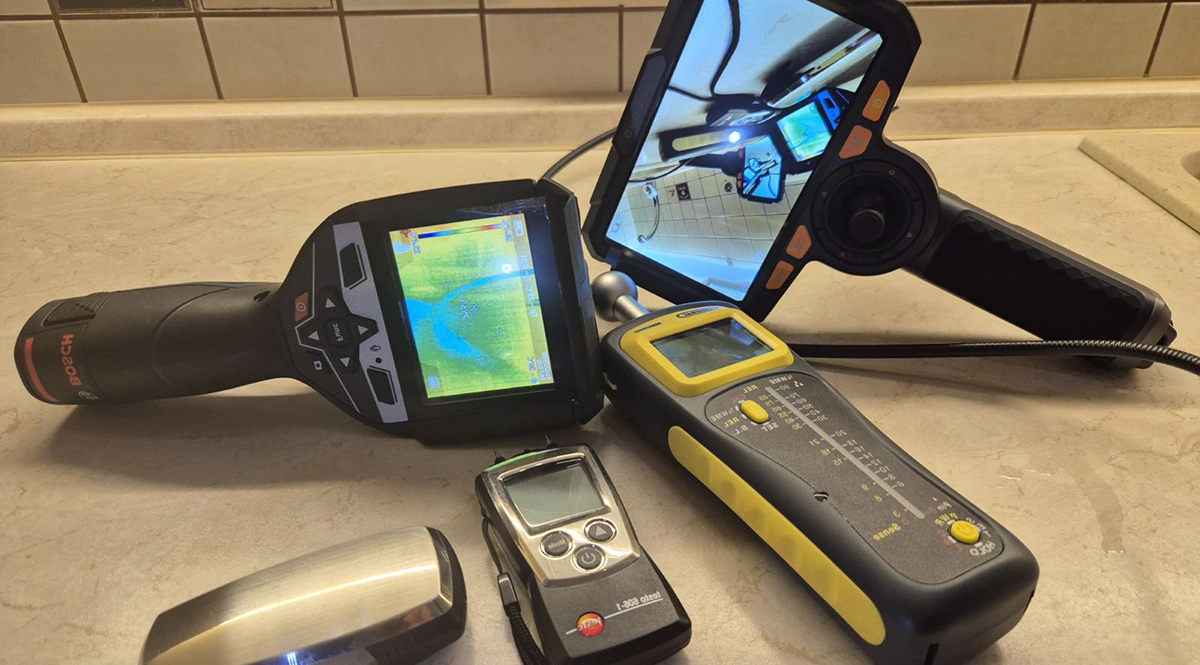
Regular testing verifies that backflow prevention devices function properly. Most jurisdictions require annual testing by certified professionals who can identify problems and ensure compliance with safety standards.
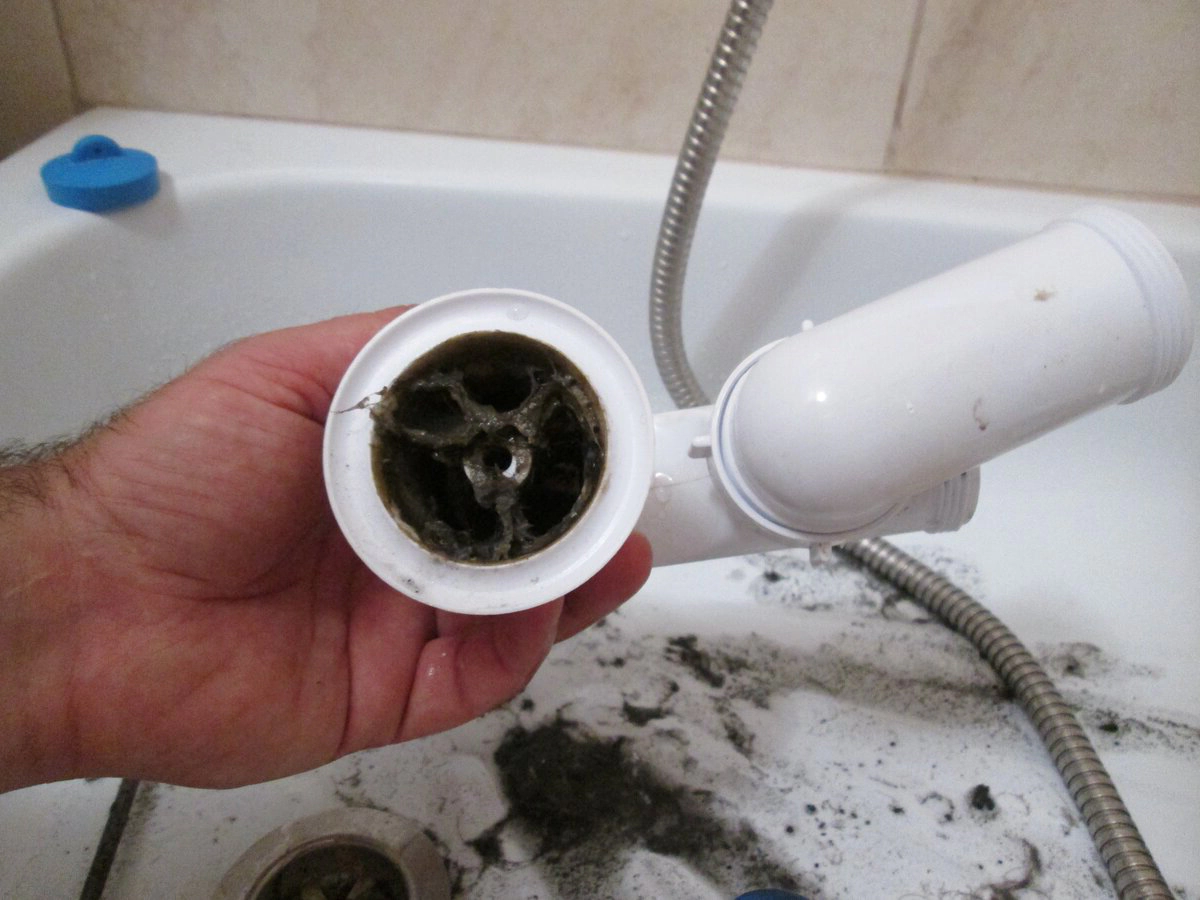
Maintenance involves cleaning, adjusting, and replacing components as needed. Test cocks require periodic operation to prevent sticking, while relief valves need inspection for proper sealing and operation. Check valves may need cleaning or replacement if debris interferes with proper closure.
Legal Requirements
Most municipalities mandate backflow prevention for properties with potential cross-connection hazards. Commercial properties, irrigation systems, and fire suppression systems typically require specific devices and regular testing documentation.
Property owners are generally responsible for installation, testing, and maintenance costs. Failure to comply with local requirements can result in fines, water service disconnection, or liability for contamination incidents.
Choosing the Right Protection
Device selection depends on your specific application and hazard level. Low-risk situations may only require simple atmospheric vacuum breakers, while high-risk commercial applications need reduced pressure zone assemblies.
Consult with certified professionals to assess your property’s needs and ensure appropriate protection. Consider factors like maintenance requirements, installation costs, and long-term reliability when making decisions about backflow prevention systems.
Protecting your water supply through proper backflow prevention is an investment in health and safety that pays dividends through clean, safe drinking water. Understanding these fundamentals helps you make informed decisions about protecting your property’s water quality.
FAQs
Backflow is the unwanted reversal of water flow in your plumbing system that can contaminate your clean drinking water supply. It occurs when water pressure changes cause contaminated water to flow backward into your potable water lines. You should be concerned because backflow can introduce harmful bacteria, chemicals, fertilizers, and other dangerous substances into your drinking water, potentially causing serious health issues for you and your family.
Your property likely needs backflow prevention if you have irrigation systems, swimming pools, hot tubs, boilers, fire sprinkler systems, or any equipment that connects to your water supply. Commercial properties almost always require these devices. Additionally, if you use garden hoses for activities like filling pools or washing cars, you should have protection. Contact your local water authority or a certified plumber to assess your specific situation and determine what level of protection you need.
The main types include air gaps (physical separation between water outlet and receiving fixture), vacuum breakers (allow air to enter when pressure drops), check valves (permit one-way flow only), and reduced pressure zone devices (highest protection level with dual check valves). Air gaps provide the most reliable protection but aren’t always practical. Vacuum breakers work well for low-risk applications like hose connections, while reduced pressure zone devices are required for high-risk commercial applications.
Most jurisdictions require annual testing by certified professionals to ensure devices function properly and comply with safety regulations. However, you should perform basic visual inspections monthly, checking for leaks, corrosion, or damage. Professional maintenance may be needed more frequently for devices in harsh environments or heavy-use applications. Regular testing and maintenance are not only legal requirements in most areas but essential for protecting your water supply.
While some simple devices like hose bib vacuum breakers can be installed by homeowners, most backflow prevention systems require professional installation by licensed plumbers or certified technicians. Professional installation ensures proper device selection, correct placement, compliance with local codes, and proper connection to your water system. Improper installation can render the device ineffective and may violate local regulations, potentially resulting in fines or water service disconnection.
Failure to comply with local backflow prevention requirements can result in several serious consequences. Your water utility may disconnect your service until proper devices are installed and tested. You may face fines and legal penalties from local authorities. Most importantly, you could be held liable for any contamination incidents that affect public water supplies or neighboring properties. Additionally, without proper protection, you risk exposing your family or customers to contaminated water and potential health hazards.