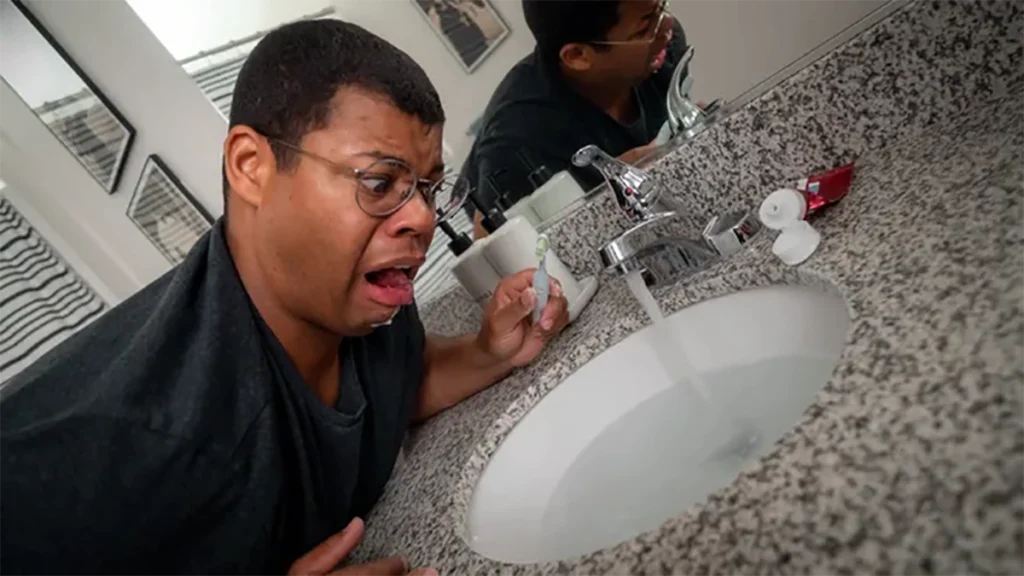
Ever had that nagging feeling something’s off with your plumbing, but you’re not quite sure what? We’ve all been there. Plumbing issues can be a nightmare if left unchecked, leading to costly repairs and even more headaches down the line. But how do you know if your plumbing is bad? Let’s dive into some common signs and solutions to help you figure it out.
The Importance of Good Plumbing
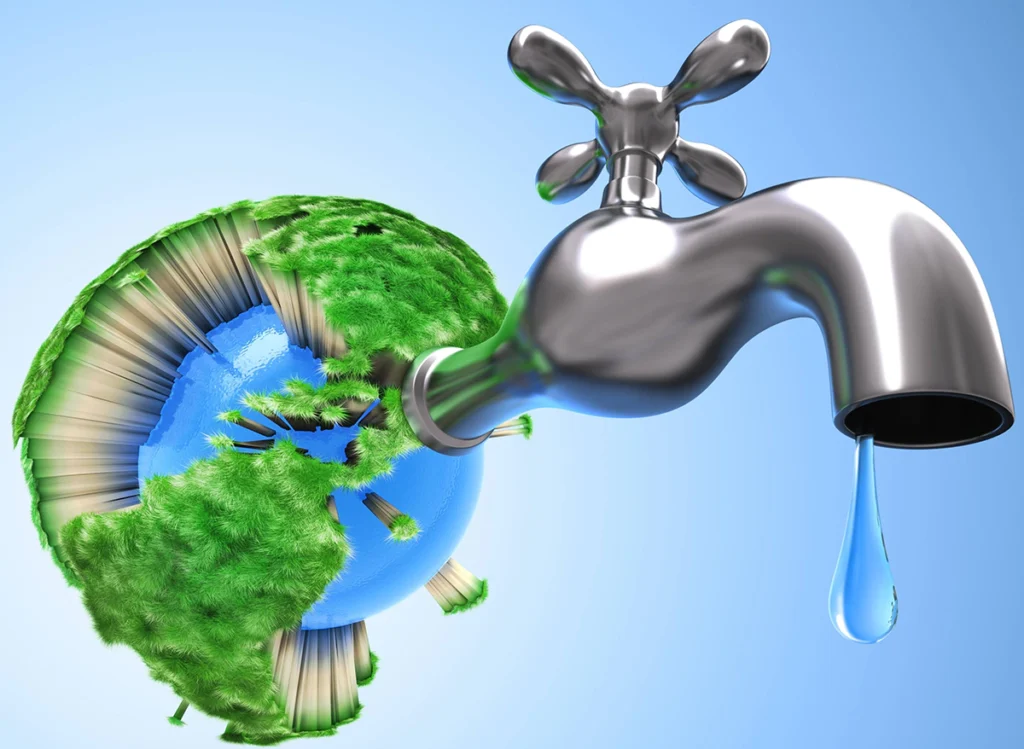
Good plumbing is crucial for maintaining a comfortable and functional home. It ensures clean water supply, proper waste disposal, and overall hygiene. Poor plumbing, on the other hand, can lead to significant damage, health risks, and financial strain. Recognizing the signs of bad plumbing early can save you a lot of trouble.
Common Signs of Bad Plumbing
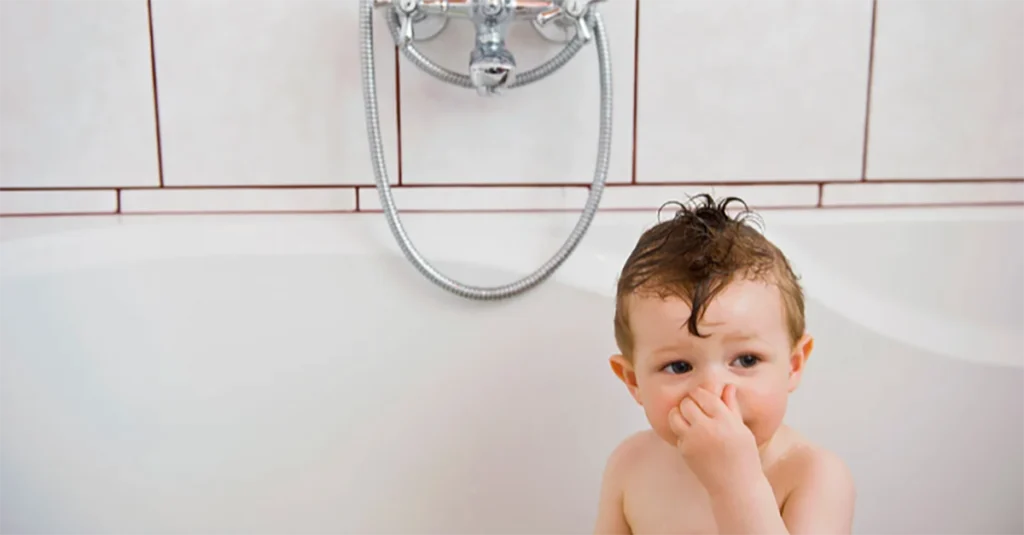
Low Water Pressure
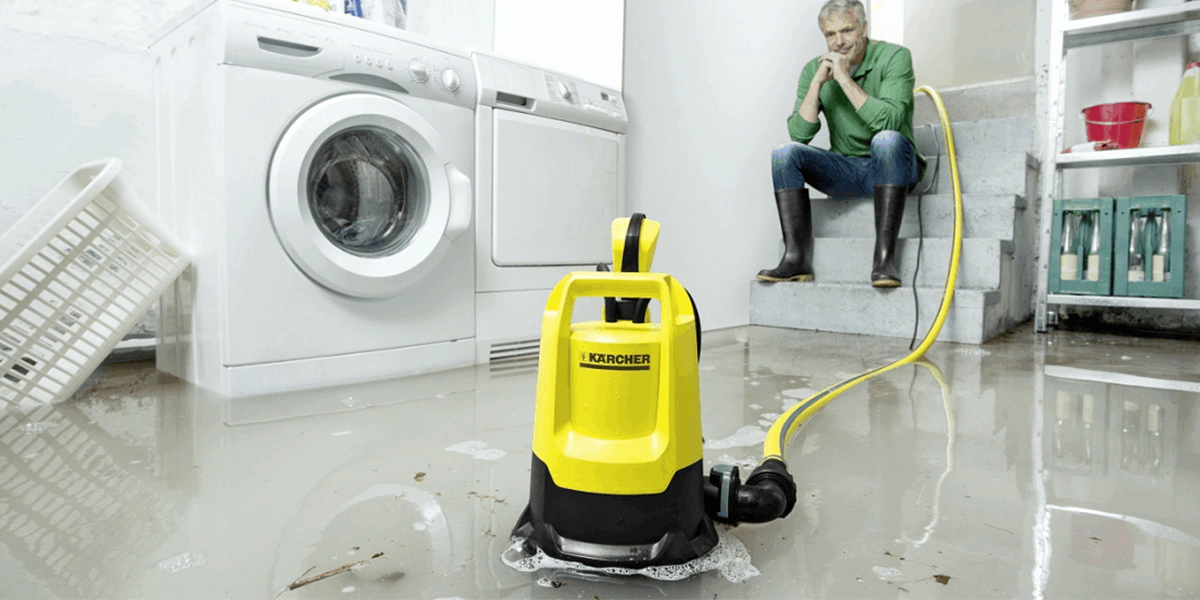
If your shower feels more like a trickle than a relaxing flow, you might have low water pressure. This can be caused by a variety of issues, including clogged pipes, leaks, or problems with the water supply. Low water pressure can make daily tasks frustrating and is often a sign of underlying plumbing problems.
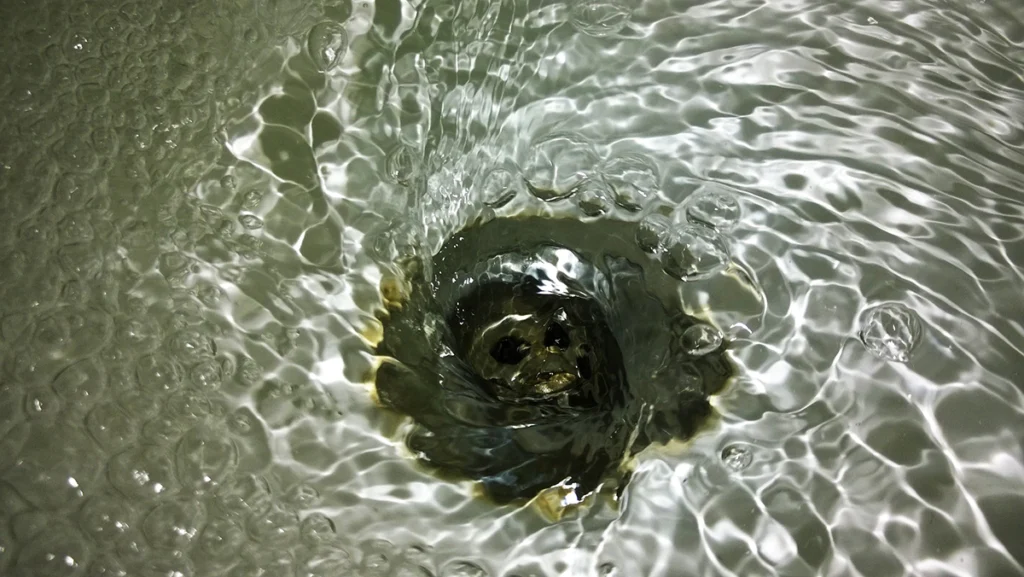
Slow Draining Sinks
A sink that takes forever to drain is a clear indication of a blockage. This can be due to a buildup of hair, soap scum, food particles, or other debris. While it might seem minor at first, slow draining sinks can escalate into major clogs that require professional intervention.
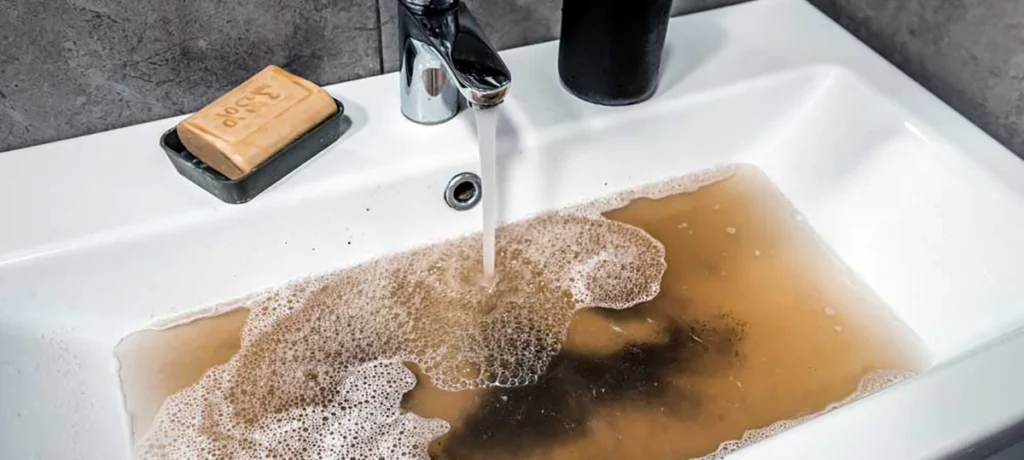
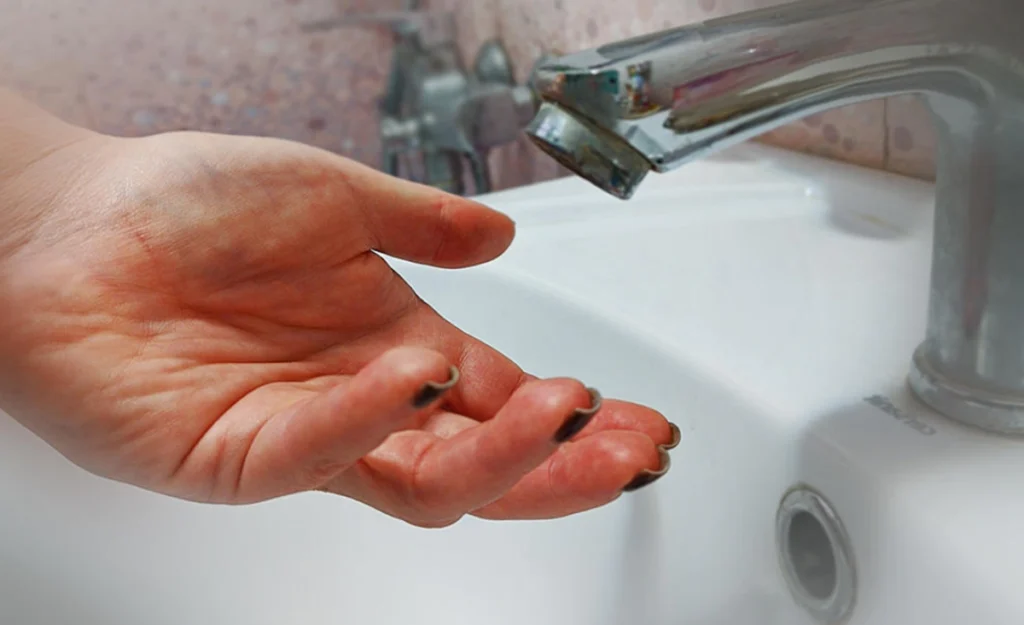
Unpleasant Odors
Foul smells coming from your drains or around your home can indicate a problem with your plumbing system. These odors might be caused by sewer gas escaping from a broken pipe or a blockage. Unpleasant smells are not just a nuisance; they can also pose health risks to your family.
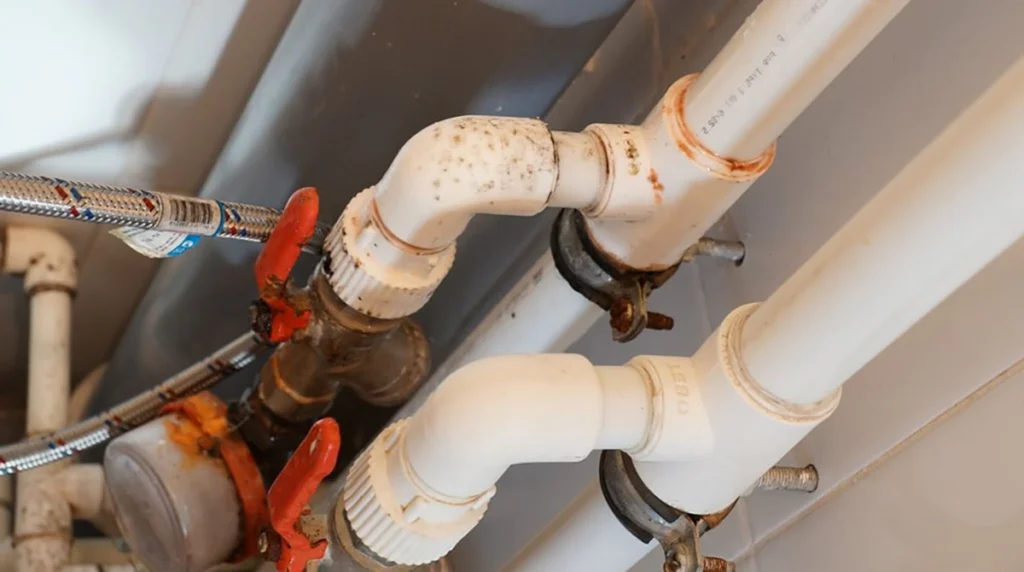
Water Stains on Walls and Ceilings
Notice any mysterious water stains on your walls or ceilings? These could be signs of a leak within your plumbing system. Leaks can cause significant damage to your home’s structure, leading to mold growth and even compromising the integrity of your walls and ceilings.
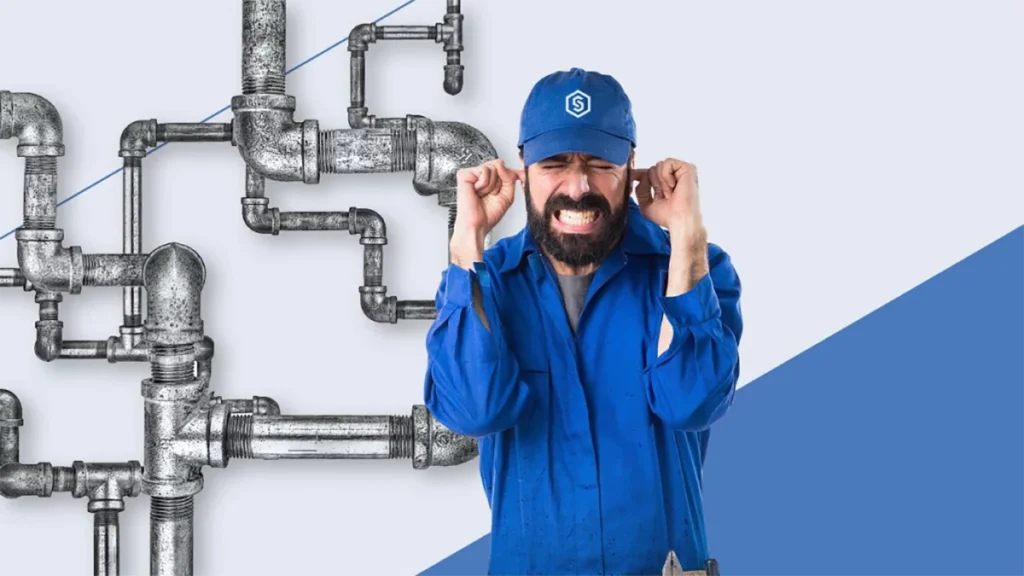
Noisy Pipes
Do your pipes make strange noises like banging, clanking, or gurgling? These sounds can be caused by a variety of issues, including air in the pipes, loose fittings, or water hammer. Noisy pipes are not only annoying but can also indicate serious plumbing problems that need attention.
Hidden Signs of Plumbing Problems
Increased Water Bills
If your water bill has suddenly skyrocketed without any apparent reason, it could be a sign of a hidden leak. Even a small leak can waste a significant amount of water over time, leading to increased utility bills. Keep an eye on your water usage and investigate any unexplained spikes.
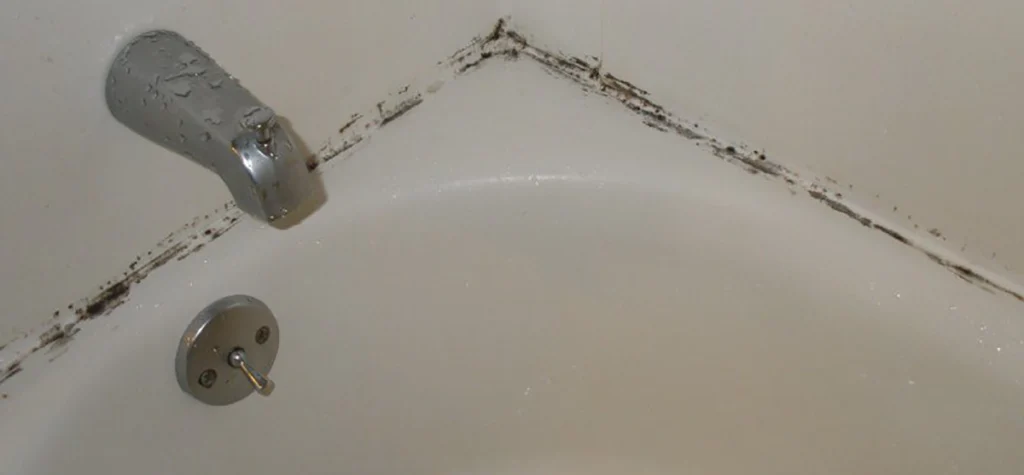
Mold and Mildew Growth
Mold and mildew thrive in damp environments, so if you notice them growing in your home, it’s likely there’s a plumbing issue causing excess moisture. Mold and mildew not only damage your home but also pose health risks, particularly for individuals with respiratory conditions.
Peeling Paint or Wallpaper
Excess moisture from leaks can cause paint and wallpaper to peel or bubble. If you notice this happening, it’s a clear sign that water is getting where it shouldn’t. Addressing the underlying plumbing issue is crucial to prevent further damage.
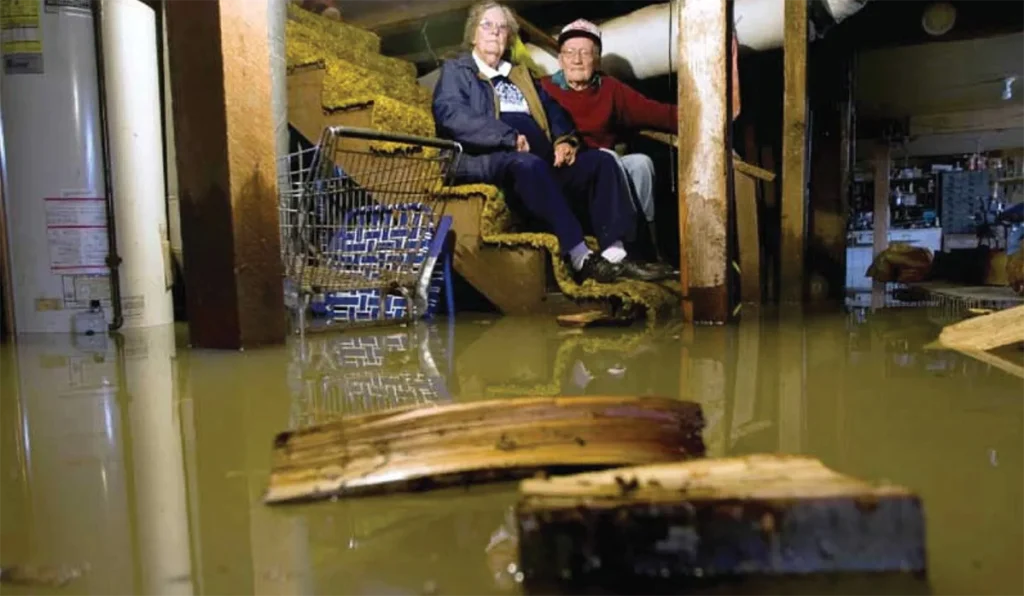
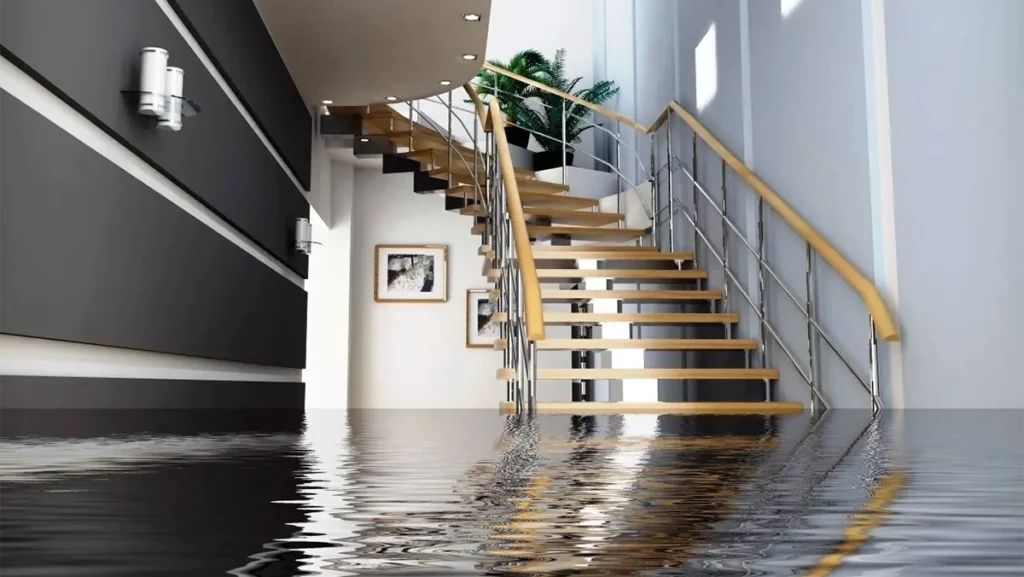
Foundation Cracks
In severe cases, plumbing issues can lead to cracks in your home’s foundation. This can occur when leaks cause the soil around your foundation to shift or erode. Foundation cracks are serious and can compromise the structural integrity of your home, so it’s essential to address them promptly.
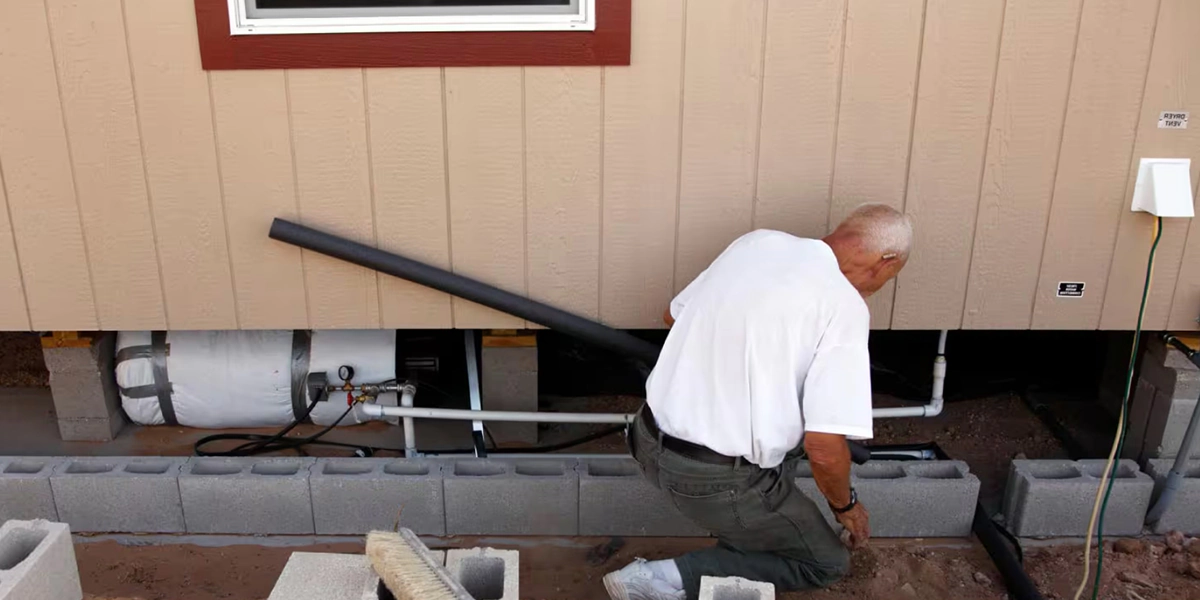
Inspecting Your Plumbing System
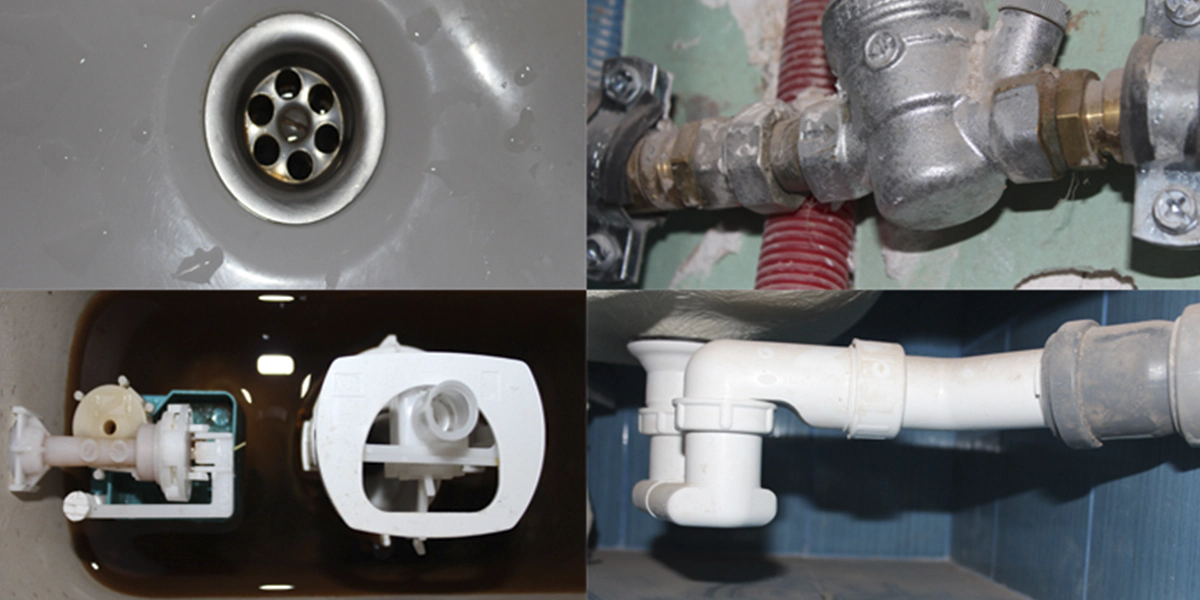
Checking for Leaks
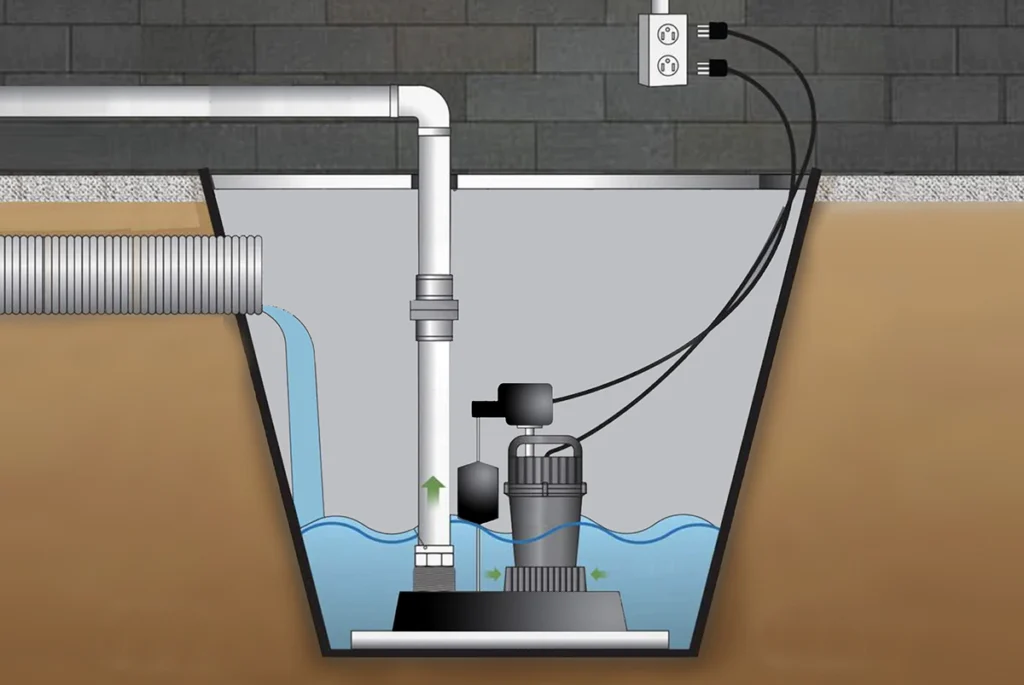
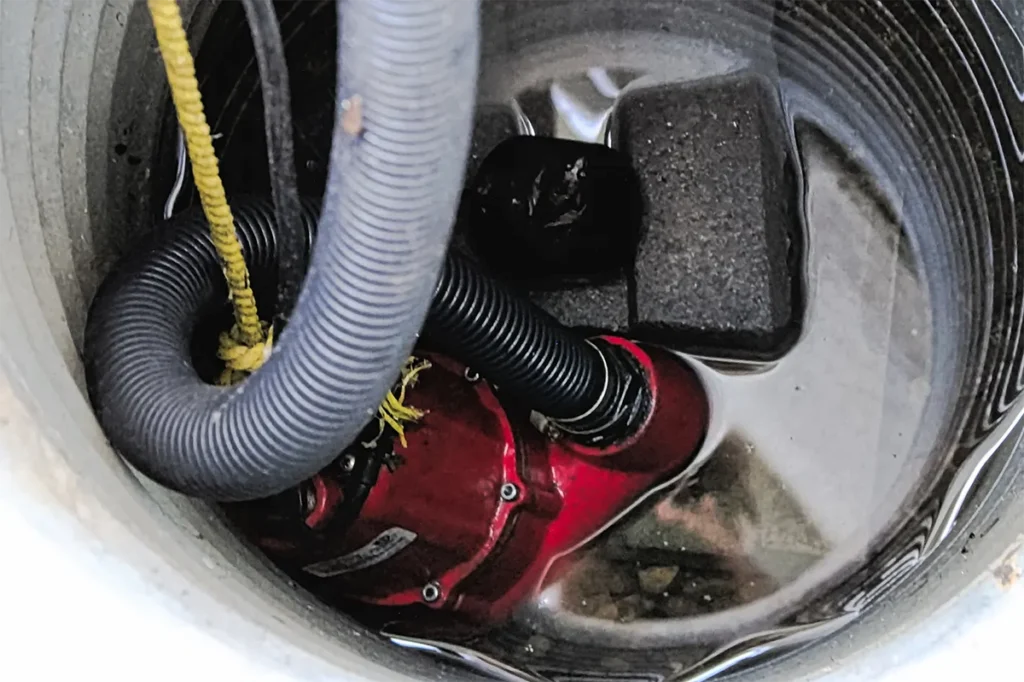
Regularly inspect your plumbing for any signs of leaks. Look under sinks, around toilets, and near water heaters for any puddles or moisture. Even small leaks can lead to big problems over time, so it’s essential to catch them early.
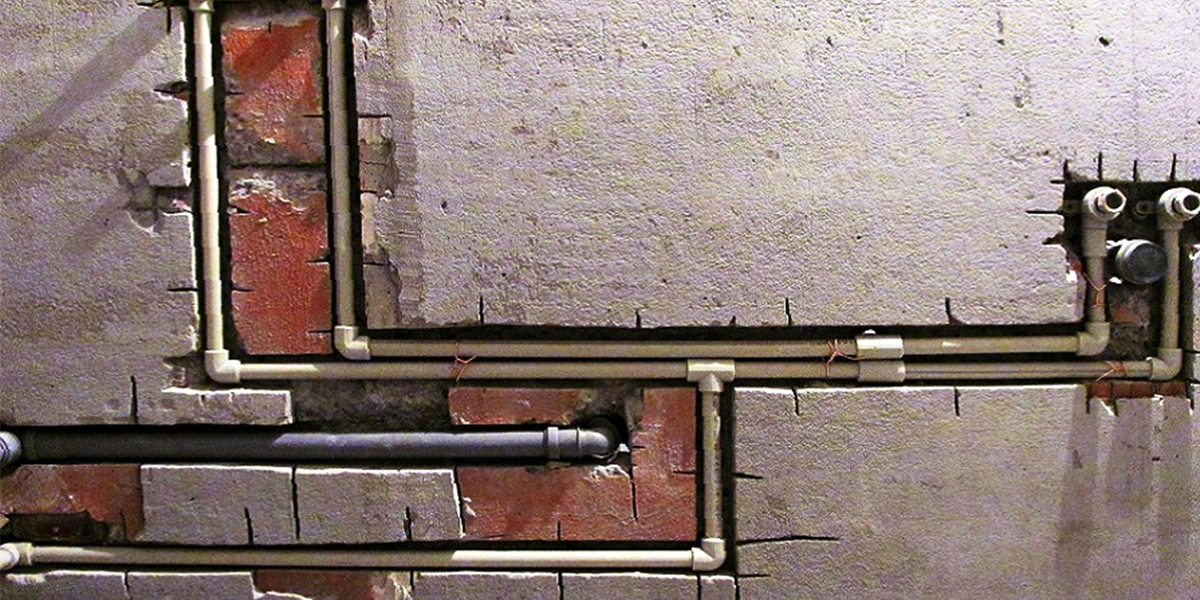
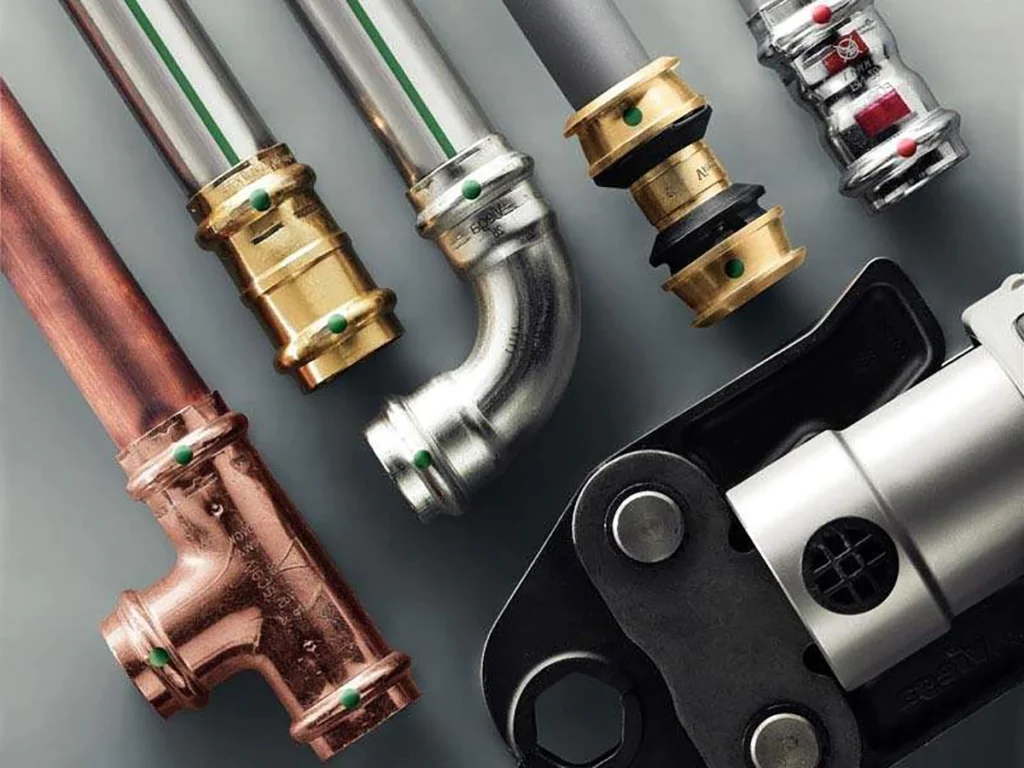
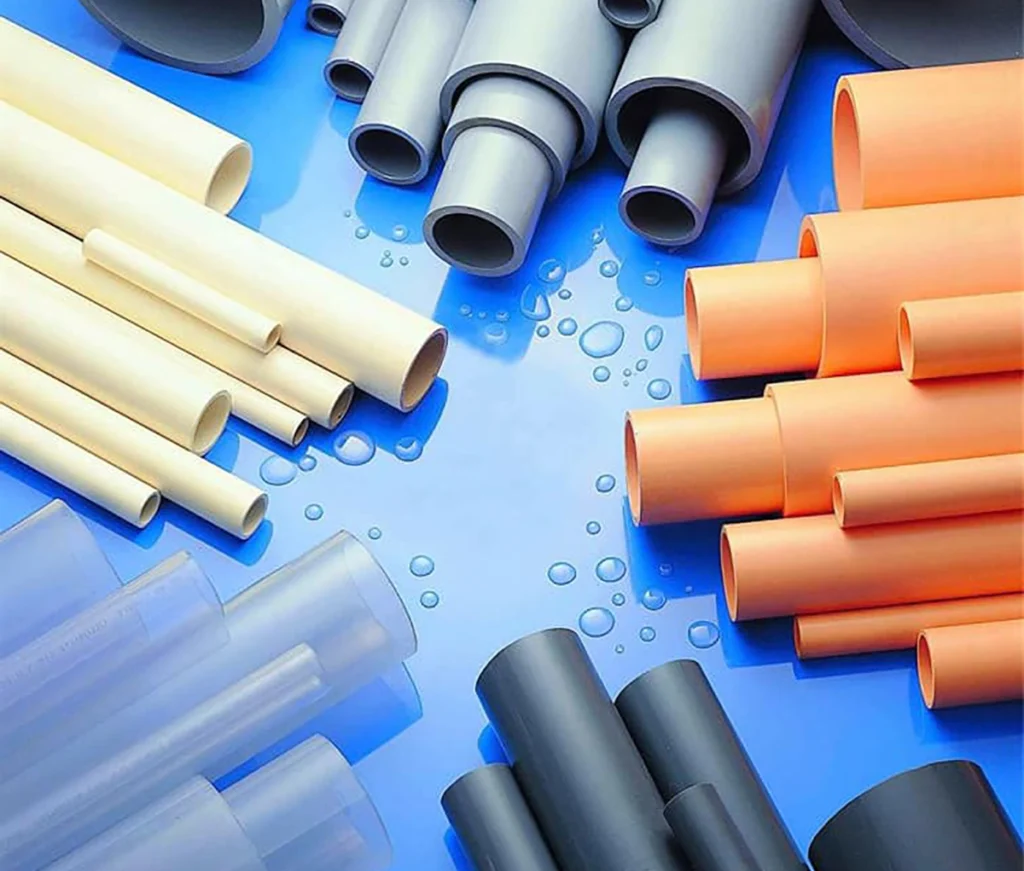
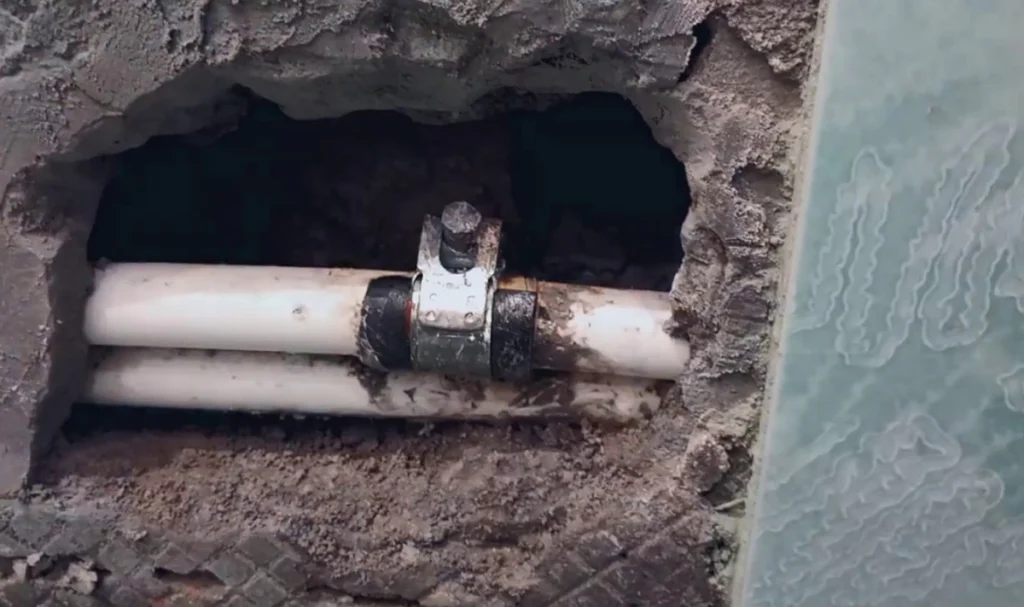
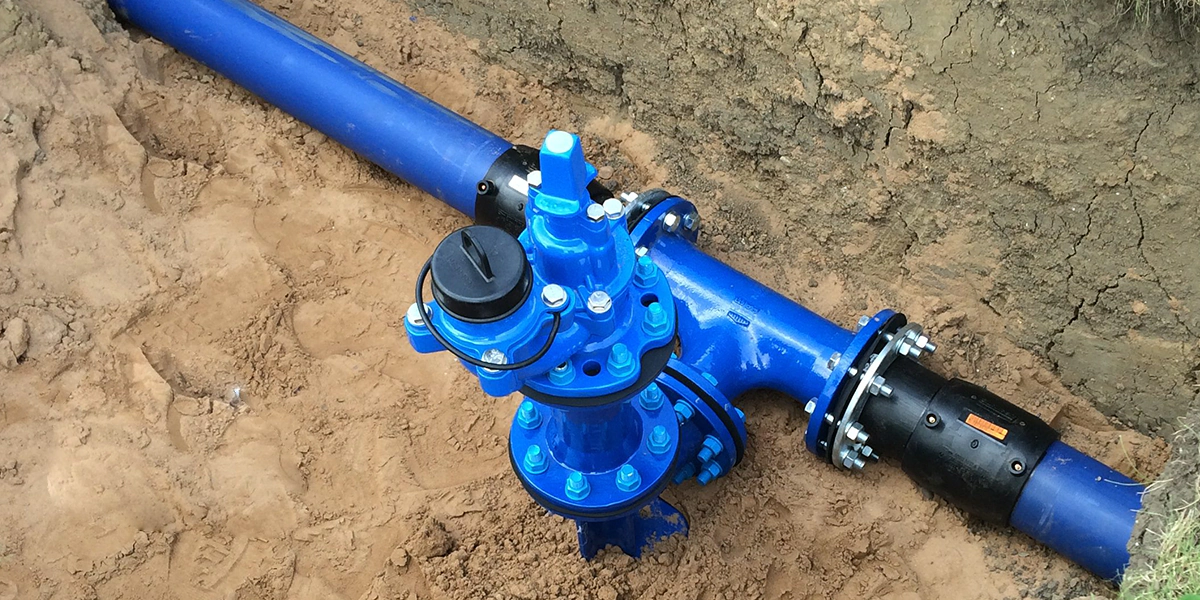
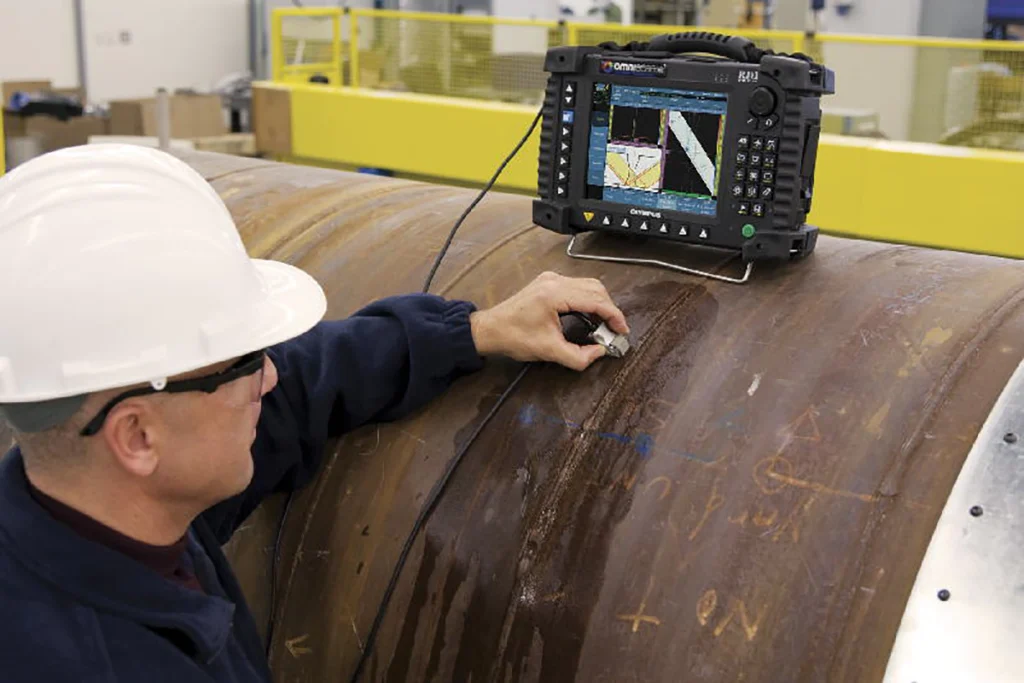
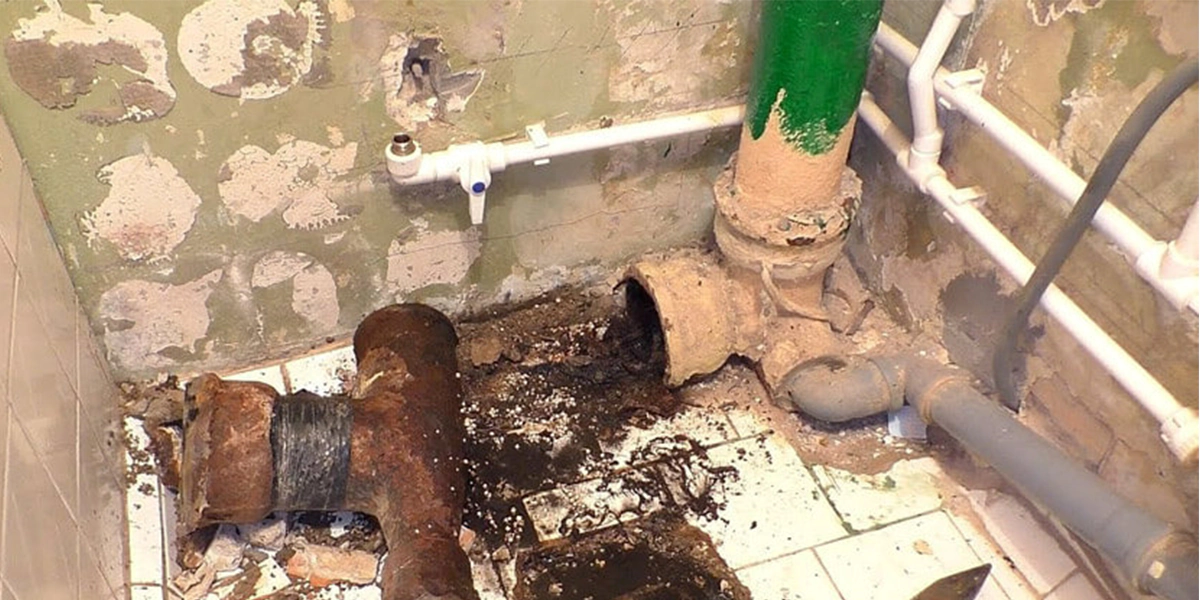
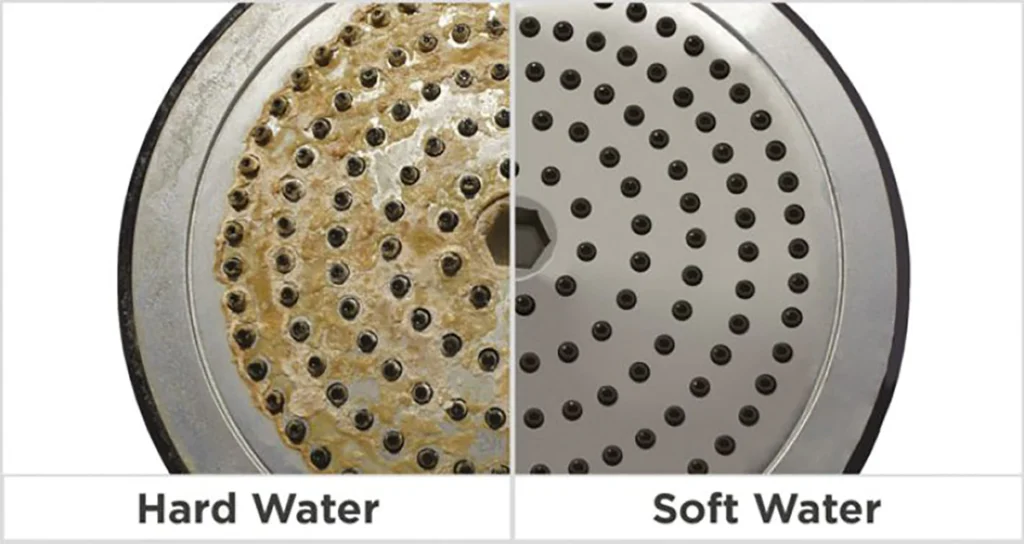
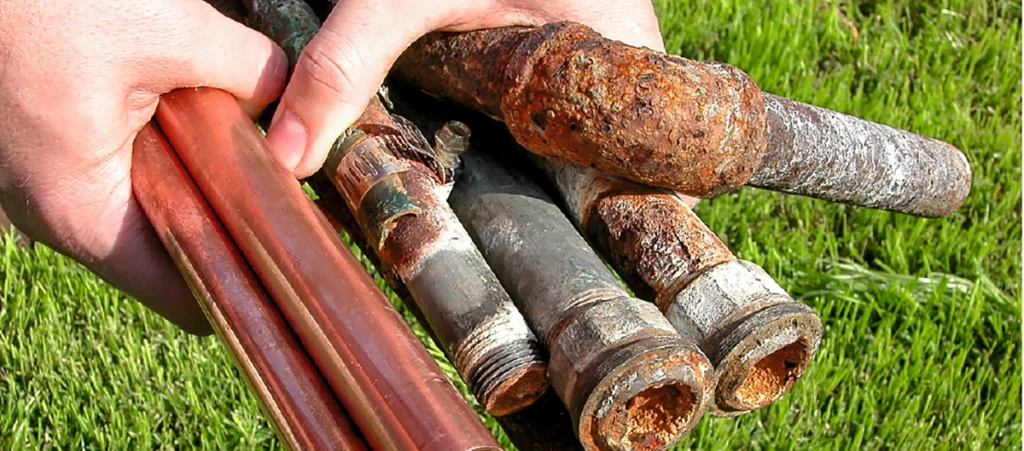
Inspecting Pipes for Corrosion
Older pipes can corrode over time, leading to leaks and reduced water quality. Check your pipes for any signs of rust or corrosion and replace them if necessary. Keeping your pipes in good condition is crucial for maintaining a healthy plumbing system.
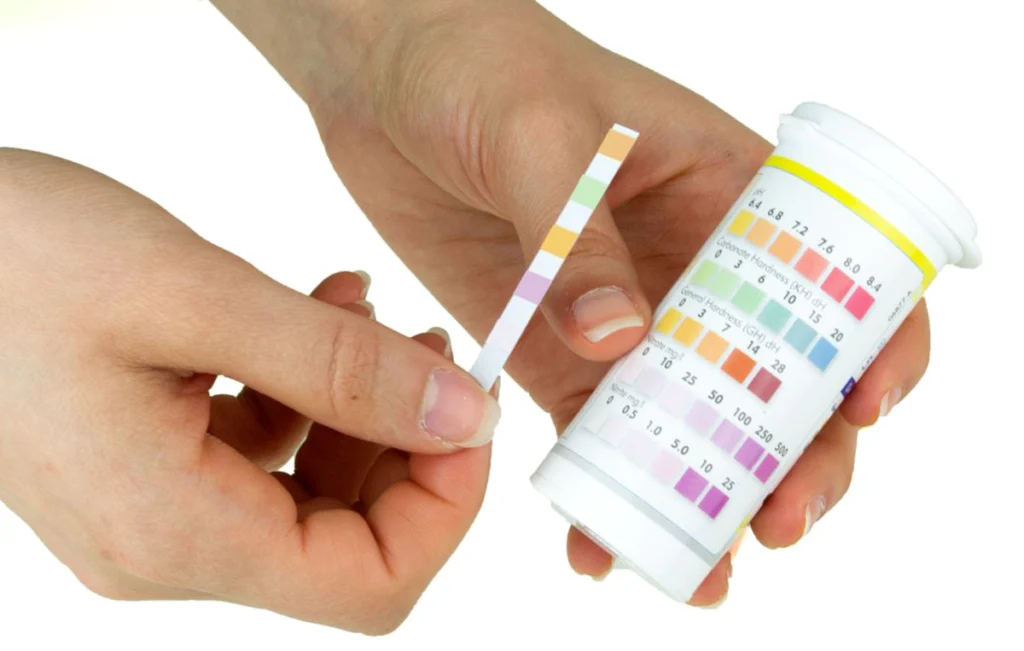
Testing Water Pressure
Test your water pressure regularly to ensure it’s within the normal range. You can use a water pressure gauge to check this. Low or high water pressure can indicate underlying issues that need to be addressed.
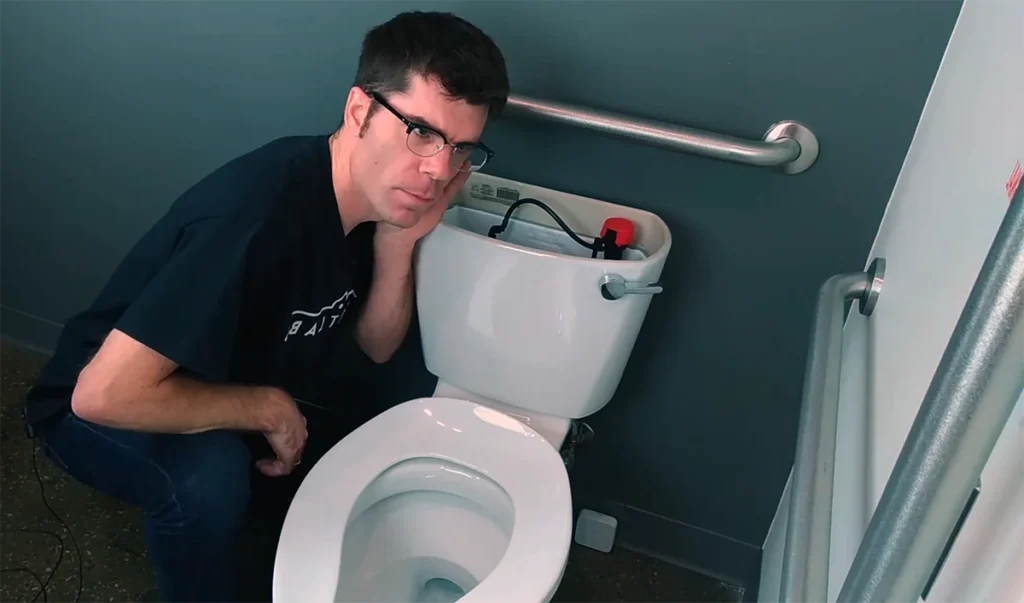
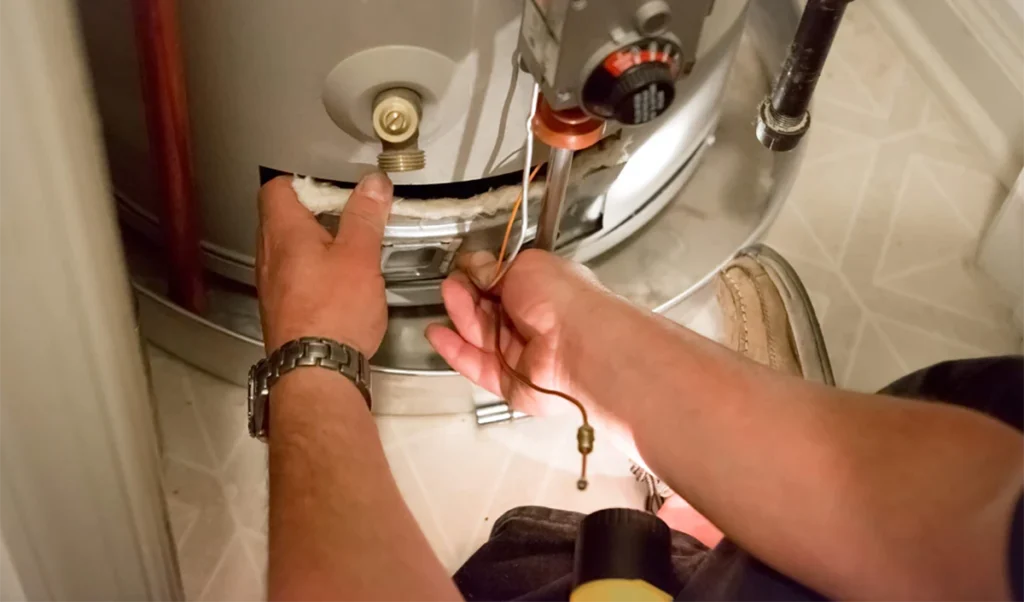
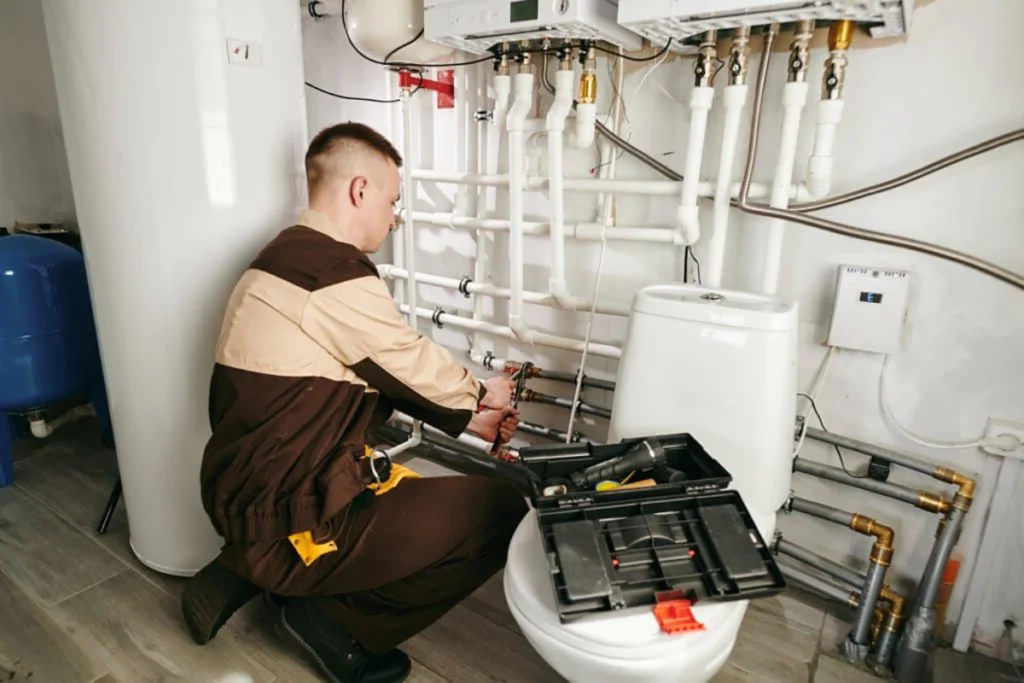
Monitoring Water Heater Performance
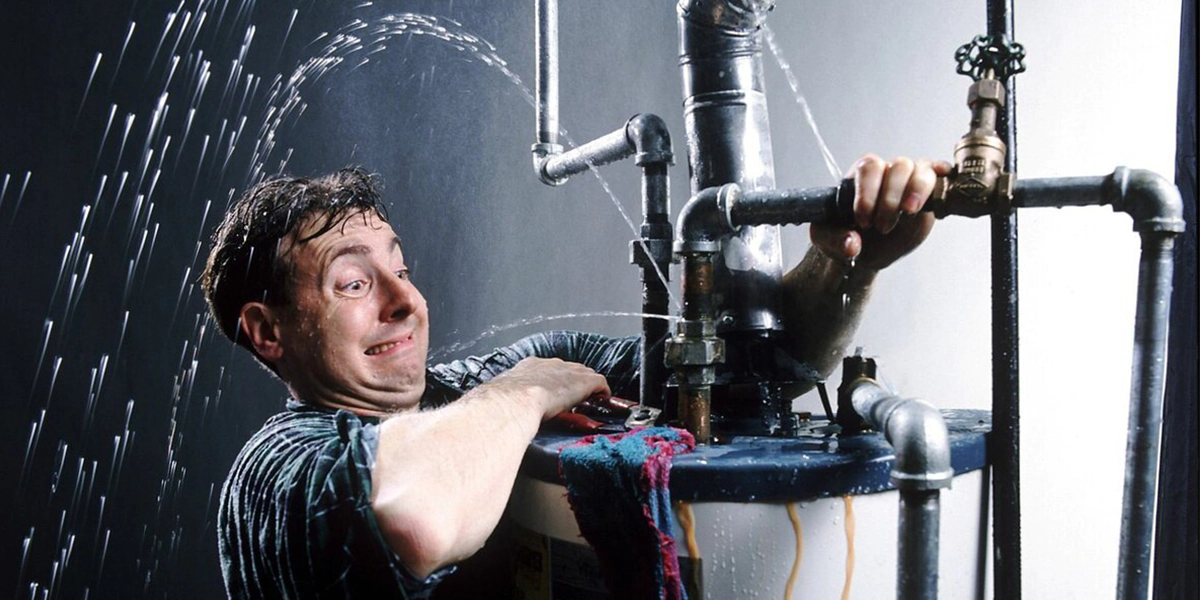
Your water heater plays a vital role in your home’s plumbing system. Ensure it’s functioning correctly by checking for any signs of leaks, strange noises, or inconsistent water temperatures. Regular maintenance can extend the lifespan of your water heater and prevent costly repairs.
DIY Solutions for Minor Plumbing Issues
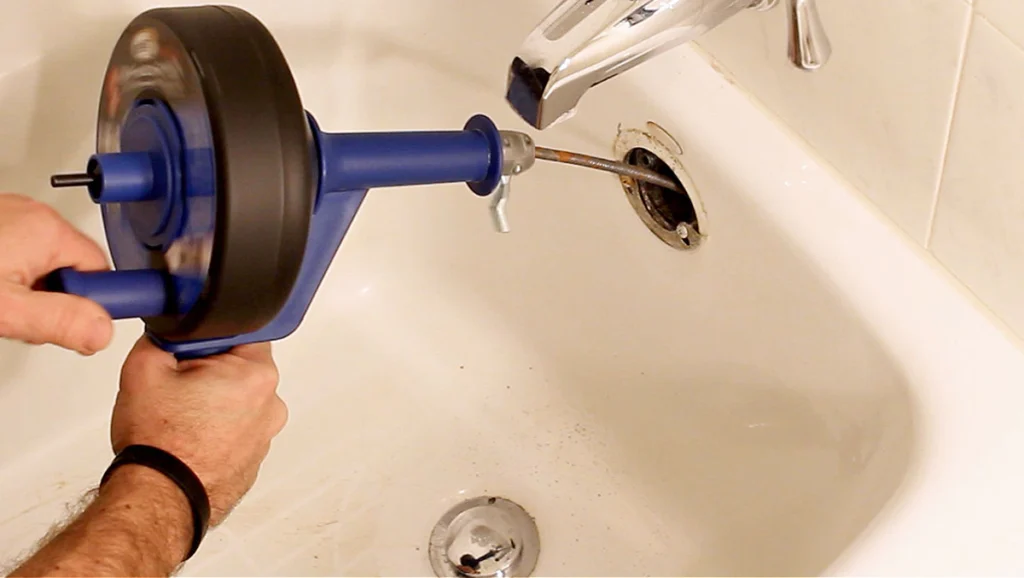
Unclogging Drains
For minor clogs, you can try using a plunger or a drain snake to clear the blockage. There are also various chemical drain cleaners available, but use them sparingly as they can damage your pipes over time.
Fixing a Leaky Faucet
A leaky faucet is not only annoying but also wastes water. Most faucet leaks can be fixed by replacing the washer or O-ring inside the faucet. This is a relatively simple and inexpensive DIY repair.
Adjusting Water Pressure
If your water pressure is too high, you can install a pressure regulator to bring it down to a safe level. For low water pressure, check for any leaks or blockages in your system that might be causing the issue.
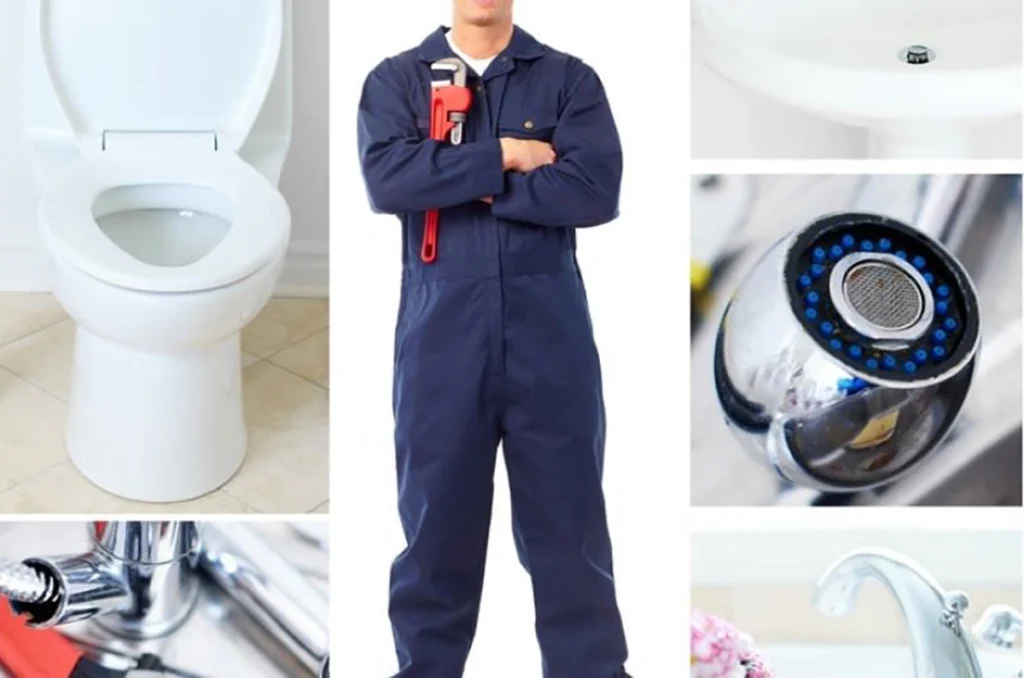
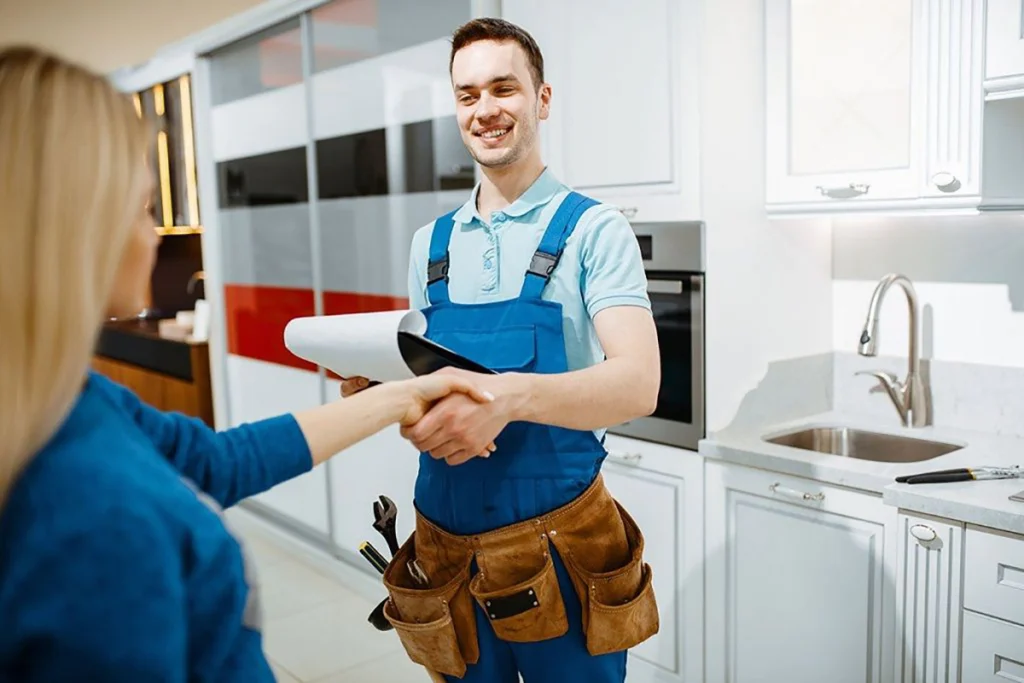
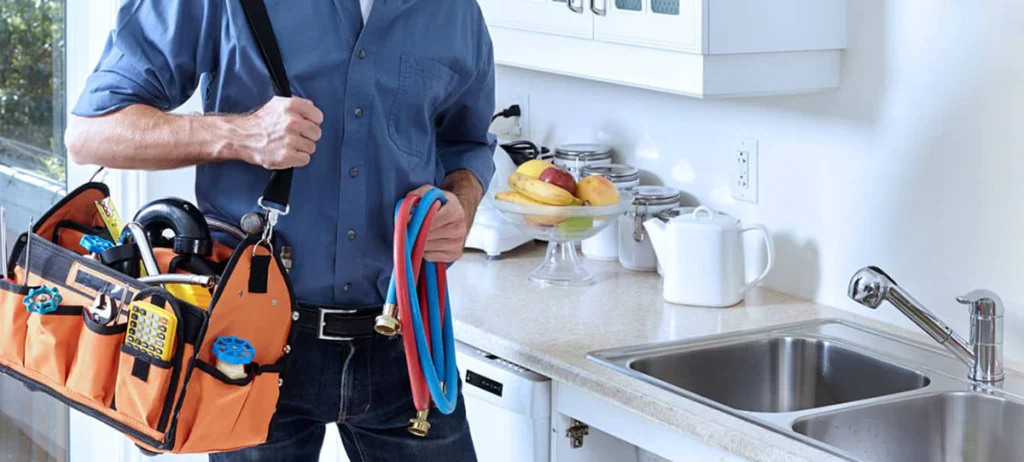
When to Call a Professional Plumber
While DIY solutions can handle minor issues, some plumbing problems require professional expertise. If you encounter any of the following, it’s time to call a plumber:
- Persistent low water pressure
- Major leaks or burst pipes
- Sewer line problems
- Water heater issues
- Repeated clogs
A professional plumber can diagnose and fix these problems efficiently, saving you time and stress.
Preventative Measures to Maintain Good Plumbing
Regular Inspections
Schedule regular plumbing inspections to catch any potential issues before they become major problems. A professional plumber can assess your system and recommend any necessary repairs or maintenance.
Proper Waste Disposal
Avoid flushing non-degradable items down your toilet and dispose of grease and food waste properly. These items can cause blockages and damage your plumbing system.
Insulating Pipes
Insulate your pipes to protect them from freezing during the winter months. Frozen pipes can burst and cause significant damage to your home. Pipe insulation is a simple and cost-effective preventative measure.
Knowing the signs of bad plumbing and taking proactive steps to maintain your system can save you a lot of trouble in the long run. From recognizing common issues to performing regular inspections, you can keep your plumbing in top shape and avoid costly repairs. Remember, when in doubt, it’s always best to call a professional plumber to ensure your system is functioning correctly.
FAQs
Regular maintenance and inspections are key. Keep an eye out for any signs of trouble and address them promptly. Proper waste disposal and insulating your pipes can also help prevent issues
Investigate the problem and try some DIY solutions if it’s a minor issue. If the problem persists or is severe, call a professional plumber to assess and fix it.
It’s a good idea to inspect your plumbing at least once a year. Regular inspections can catch potential issues early and prevent major problems.
Common plumbing problems include leaks, clogs, low water pressure, and water heater issues. These can often be fixed with DIY solutions or by calling a professional plumber.