Toilet leaks can be a real nuisance, especially when they occur at the base. If you’ve noticed water pooling around your toilet’s base every time you flush, it’s crucial to address the issue promptly. In this article, we’ll explore the four most common causes of a toilet leaking at the base and discuss how to diagnose, repair, and prevent this frustrating problem.
Identifying the Problem: Toilet Leaks When Flushed at Base
Before diving into the potential causes, let’s ensure you can identify the problem accurately. A toilet leak at the base typically becomes evident when you see water forming on the floor around the bottom of the toilet, especially after flushing. It’s essential to act swiftly to prevent further damage and mold growth.
Common Cause #1: Loose Bolts
One of the primary reasons for toilet leaks at the base is loose bolts. These bolts secure the toilet to the floor, and over time, they can become loose due to regular use. When they’re not properly tightened, water can seep out during each flush, causing puddles at the base.

Common Cause #2: Wax Ring Damage
The wax ring is a crucial component that seals the connection between the toilet and the floor drain. If this ring is damaged or deteriorating, it can no longer create a watertight seal. As a result, water may leak out from the base of the toilet.
Common Cause #3: Cracked Toilet Base
A cracked toilet base is a more serious issue that can lead to significant leaks. Cracks can develop due to various reasons, such as the toilet being dropped or accidents. These cracks allow water to escape and cause damage to your bathroom floor.

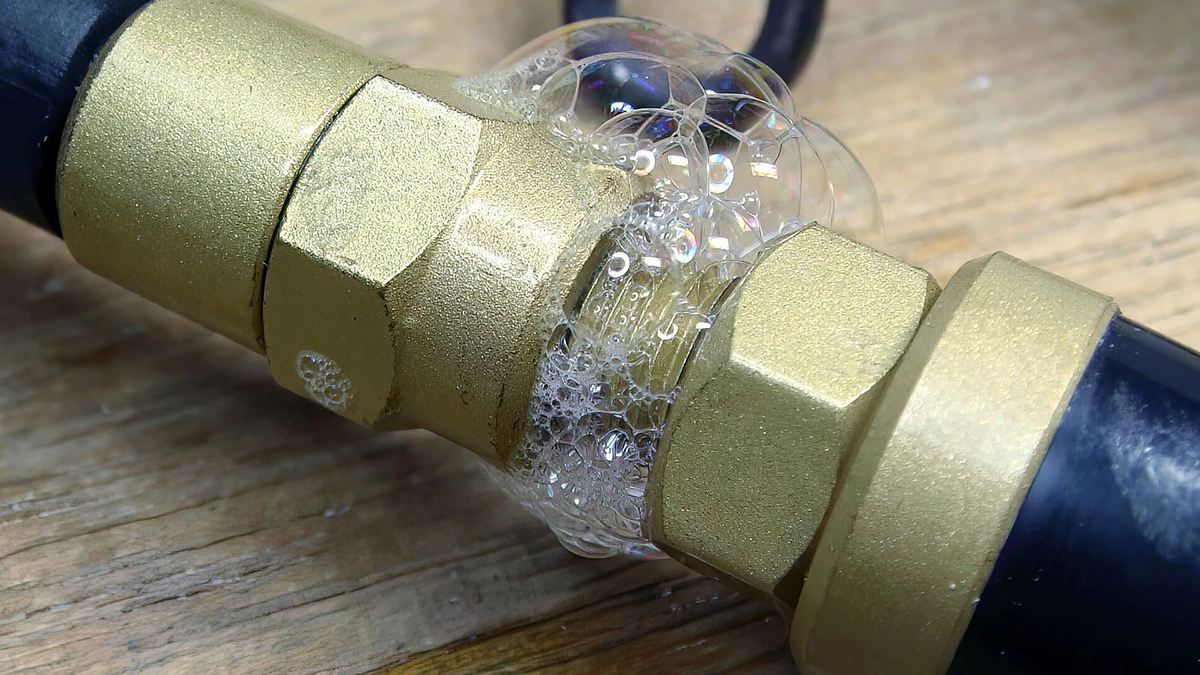
Common Cause #4: Faulty Flange
The flange is the part that connects the toilet to the sewage drain pipe. A broken or faulty flange can lead to leaks at the base of the toilet. It’s essential to inspect the flange for any issues if you’re experiencing leaks.
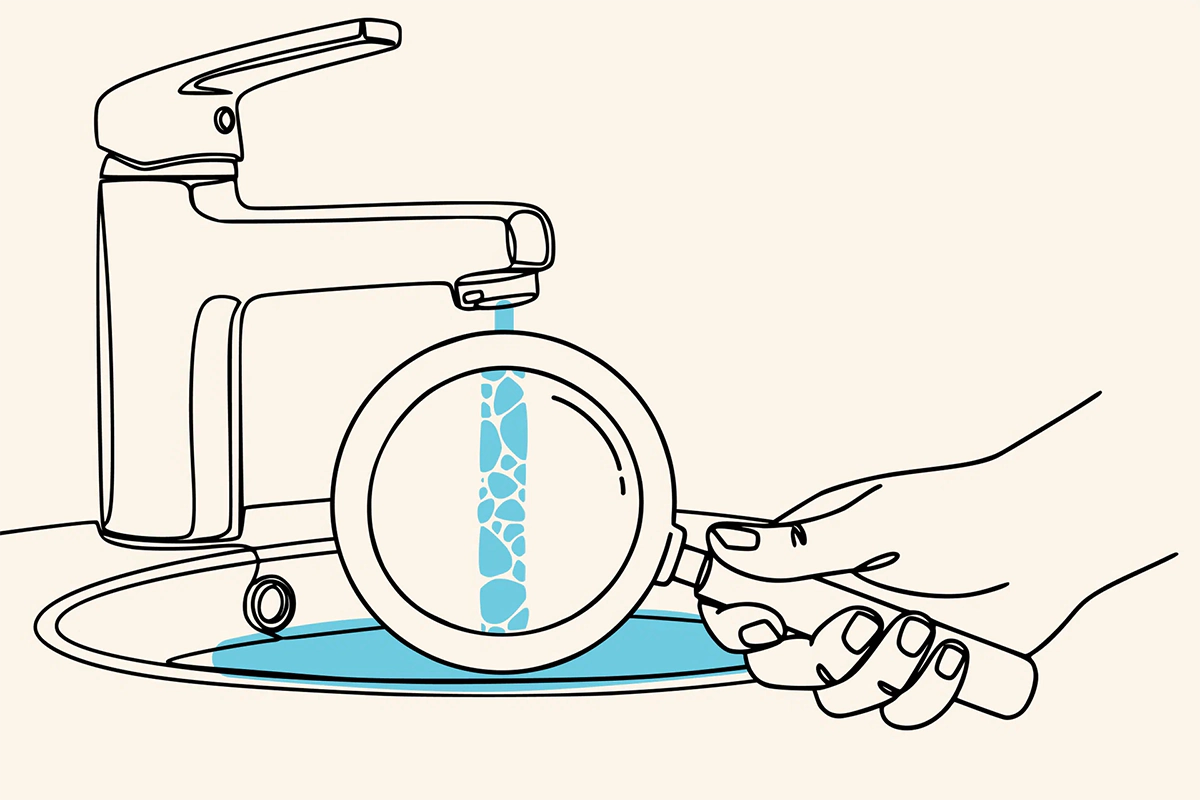
How to Diagnose a Leaking Toilet From Bottom
To accurately diagnose a leaking toilet from the bottom, you can perform a simple test. Clean up the water around the base and then flush the toilet. Watch closely to see if water starts to appear again. If it does, you likely have a base leak. This step helps confirm the problem before you proceed with repairs.
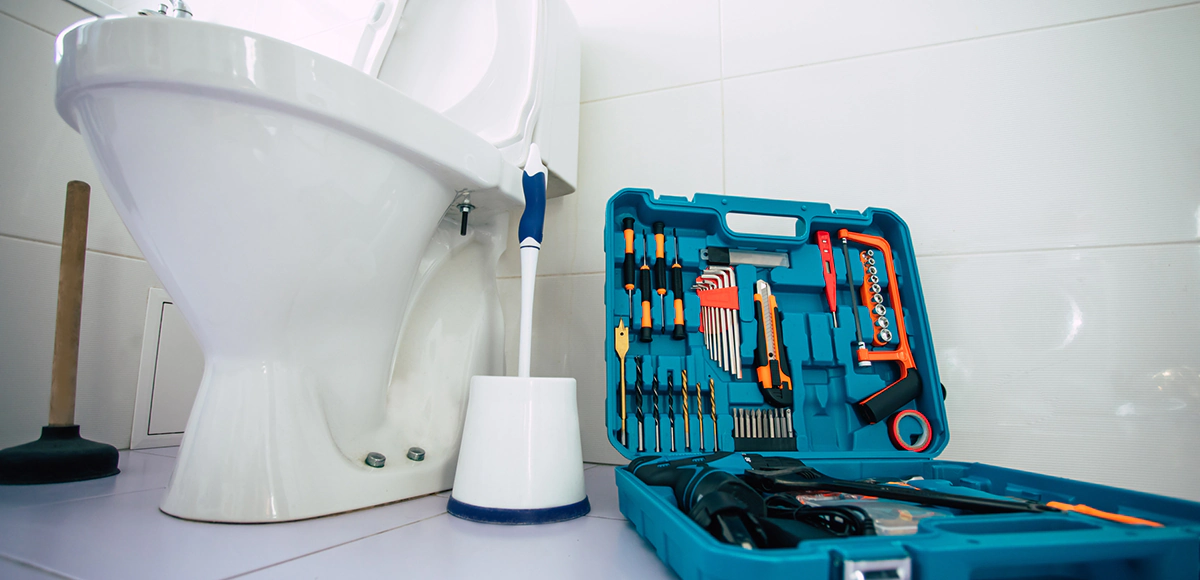
DIY Toilet Base Repair
If your toilet is leaking at the base due to loose bolts or a worn wax ring, you can fix it yourself with these steps:
- Turn Off Water & Empty Tank – Shut off the water supply valve behind the toilet and flush to drain excess water.
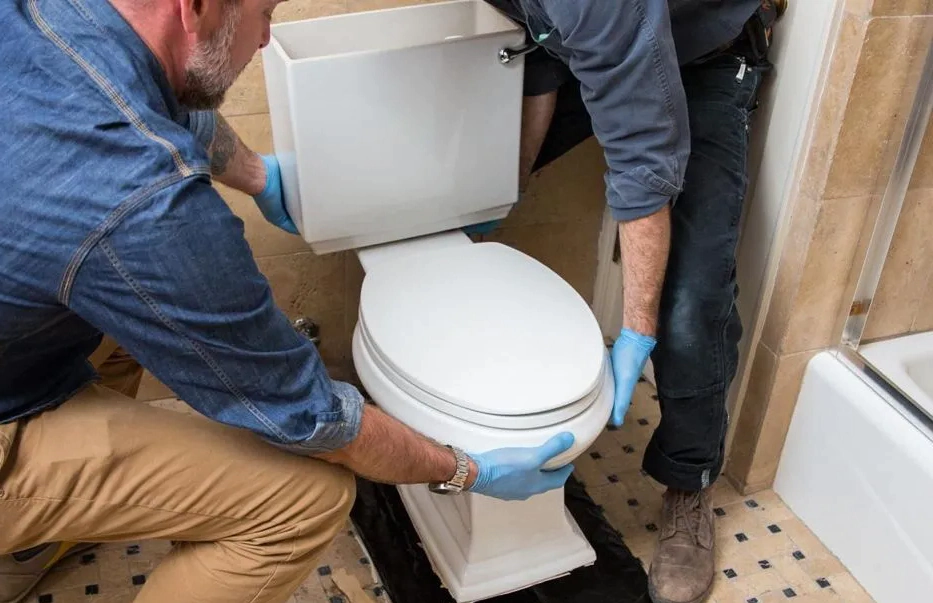
- Remove the Toilet – Disconnect the water supply, unscrew floor bolts, and lift the toilet off the flange.
- Inspect & Replace Wax Ring – Remove the old wax ring, clean the flange, and install a new ring.
- Reinstall & Secure the Toilet – Align the toilet over the bolts, press down evenly, and tighten nuts carefully.
- Reconnect Water & Test for Leaks – Reattach the supply line, turn the water on, and flush to check for leaks.
- Seal & Clean – Apply caulk around the base to prevent future leaks and improve appearance.
Seeking Professional Help
When you’re dealing with more complex issues like a cracked toilet base, a faulty flange, or if your DIY attempts haven’t resolved the problem, it’s time to seek professional assistance. Here’s what you need to know about getting the experts involved:

If DIY fixes don’t stop your toilet leak at the base, a professional plumber can ensure a lasting solution. Here’s what to expect:
- Find a Qualified Plumber – Look for a licensed plumber with good reviews and experience in toilet repairs.
- Thorough Inspection – A plumber will assess the leaking toilet base, checking for hidden damage or a faulty flange.
- Expert Diagnosis – They can identify issues like a cracked toilet base, worn-out wax ring, or improper installation.
- Proper Repairs – Using the right materials, plumbers provide a watertight fix to prevent further leaks.
- Preventative Advice – Get maintenance tips to avoid future leaks and extend your toilet’s lifespan.
- Warranty & Cost Considerations – Many plumbers offer guarantees, so you’re covered if issues resurface. Always request an upfront estimate.
- Timely Action – Ignoring a toilet base leak can lead to costly water damage and mold growth.
If DIY repairs don’t work, call a plumbing expert to fix the issue correctly and prevent recurring leaks.
Preventing Future Leaks Around Base When Flushed
To avoid future leaks at the base of your toilet, consider the following preventive measures:
- Regularly check and tighten the toilet bolts to ensure they’re secure.
- Inspect the wax ring and replace it if it shows signs of wear or damage.
- Be cautious when moving heavy objects in the bathroom to prevent accidental cracks in the toilet base.
- Schedule periodic plumbing inspections to catch and address potential issues before they become major problems.
Stop Toilet Base Leaks Today!
Toilet base leaks can be frustrating, but with the right steps, you can prevent and fix leaks effectively:
- Inspect Regularly – Check for water around the base, loose bolts, or a worn-out wax ring.
- Tighten Loose Bolts – Ensure the toilet is securely fastened to the floor to prevent movement and leaks.
- Replace the Wax Ring – A damaged wax ring can cause leaks; replace it to maintain a proper seal.
- Avoid Heavy Pressure – Prevent cracks in the toilet base by handling heavy objects carefully in the bathroom.
- Schedule Plumbing Checkups – Regular inspections by a professional can catch issues early.
- Seek Professional Help – If DIY fixes fail, call a licensed plumber for expert repairs.
- Caulk the Base – Applying caulk around the toilet base adds an extra layer of leak protection.
- Maintain Your Toilet – Routine care helps prevent future leaks and extends your toilet’s lifespan.
Don’t ignore a leaking toilet base—address the issue now to avoid costly water damage. If DIY solutions don’t work, contact a professional plumber today! 🚰💧
FAQ about possible causes of toilet leaks on base
Common causes of toilet leaks at the base include loose bolts, wax ring damage, cracked toilet bases, and faulty flanges.
To check for wax ring damage, look for water seeping out from the base of the toilet. If you notice this, it’s likely that the wax ring needs replacement.
Repairing a cracked toilet base is possible but often requires professional assistance. It’s best to call a plumber to assess the severity of the damage and perform the necessary repairs.