Plumbing is one of those essential home systems that you rarely think about until something goes wrong. At that moment, the main question is simple: how much does a plumber cost? The answer depends on the type of work, time of day, and whether it involves a minor leak or a full replacement project. This guide explains typical plumbers charges, what factors influence pricing, and how to plan your budget for both small and large jobs in Toronto and across Canada.
Beyond the immediate repair, homeowners should also consider long-term maintenance, since ignoring small issues can quickly multiply costs. Regional variations also play a role, with labor fees in larger cities often higher than in suburban or rural areas. Understanding these differences makes it easier to anticipate expenses before an emergency strikes.
Average Plumbing Repair Prices
The cost of plumbing repairs varies widely. A simple dripping faucet might cost less than $200, while repairing a sewer line can reach several thousand. Homeowners should be prepared for the fact that plumbing services involve both labor and materials, which together shape the final bill.
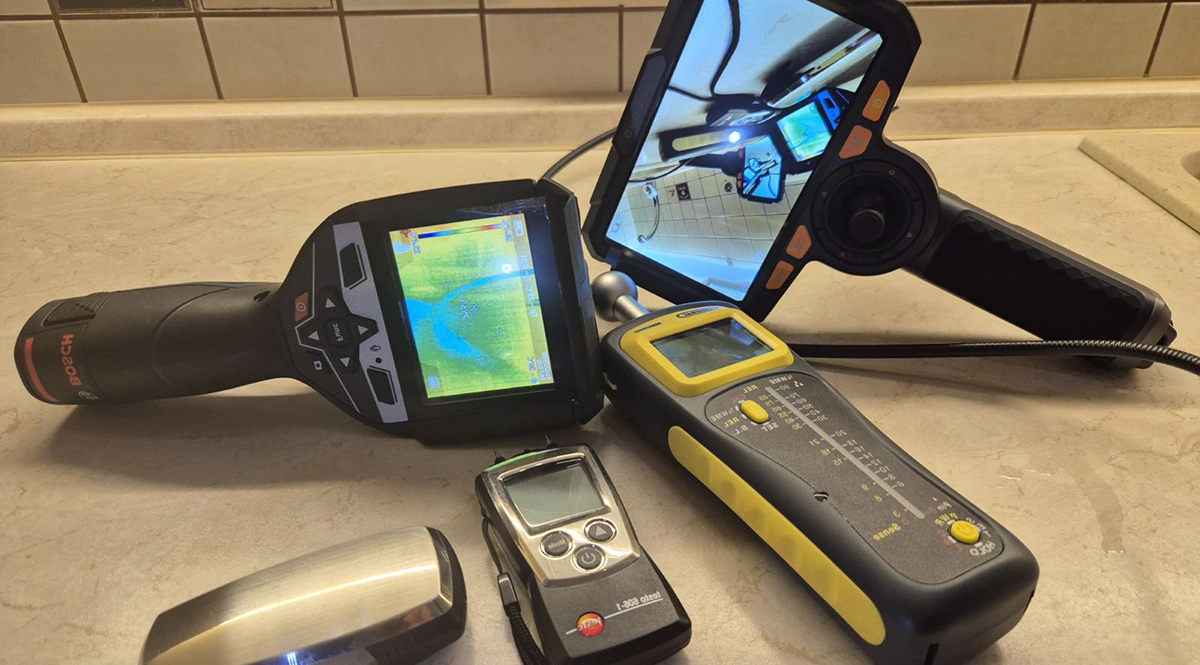
In addition to these direct costs, service call fees or diagnostic charges may be applied before any repair begins. It’s also common for prices to increase if a job requires specialized equipment, such as video inspection tools or power flushing machines. Comparing estimates from different providers helps homeowners better understand how much of the total is labor and how much is related to replacement parts.
Cost of Plumber Per Hour
Most companies charge by the hour. The cost of plumber per hour in Toronto typically ranges between $90 and $150. This range covers standard tasks like fixing leaks, unclogging drains, or replacing small parts. Complex jobs or emergency calls may push the rate higher.
Rates may also vary depending on the plumber’s level of certification. Apprentice plumbers often charge at the lower end, while licensed master plumbers command premium rates due to their expertise and ability to handle complicated projects. Some companies also include minimum-hour charges, meaning you may pay for a full hour even if the repair takes less time.
Plumber Fees: Hourly vs. Flat-Rate
There are two main billing approaches:
- Hourly billing – The customer pays based on time spent. Plumber fees per hour are higher during evenings, weekends, and holidays.
- Flat-rate service – A fixed price is quoted before work begins. Flat rates are common for straightforward tasks like fixture replacement.
Understanding these models helps you compare quotes and avoid unexpected expenses.
In practice, many homeowners prefer flat-rate pricing because it provides predictability, especially for small tasks like replacing a faucet or installing a toilet. Hourly billing, however, can be more cost-effective when the issue is minor and resolved quickly. Asking upfront which model the company uses can save you confusion and ensure you budget accurately.
Typical Charges in Toronto
Homeowners in the GTA often wonder what to expect when calling a plumber for common issues. While every project is unique, most service providers work within predictable price ranges that reflect labor time, parts required, and the level of urgency. Knowing these averages helps you understand whether a quote is fair or unusually high. It also provides a reference point when comparing different companies or deciding whether to repair or replace a fixture.
Different repairs have different price ranges. Below is a table summarizing common plumbing repair prices in the GTA.
| Service Type | Average Cost (CAD) | Notes |
| Faucet or fixture repair | $100–$250 | Includes parts replacement |
| Toilet repair | $150–$300 | See toilet repair pricing |
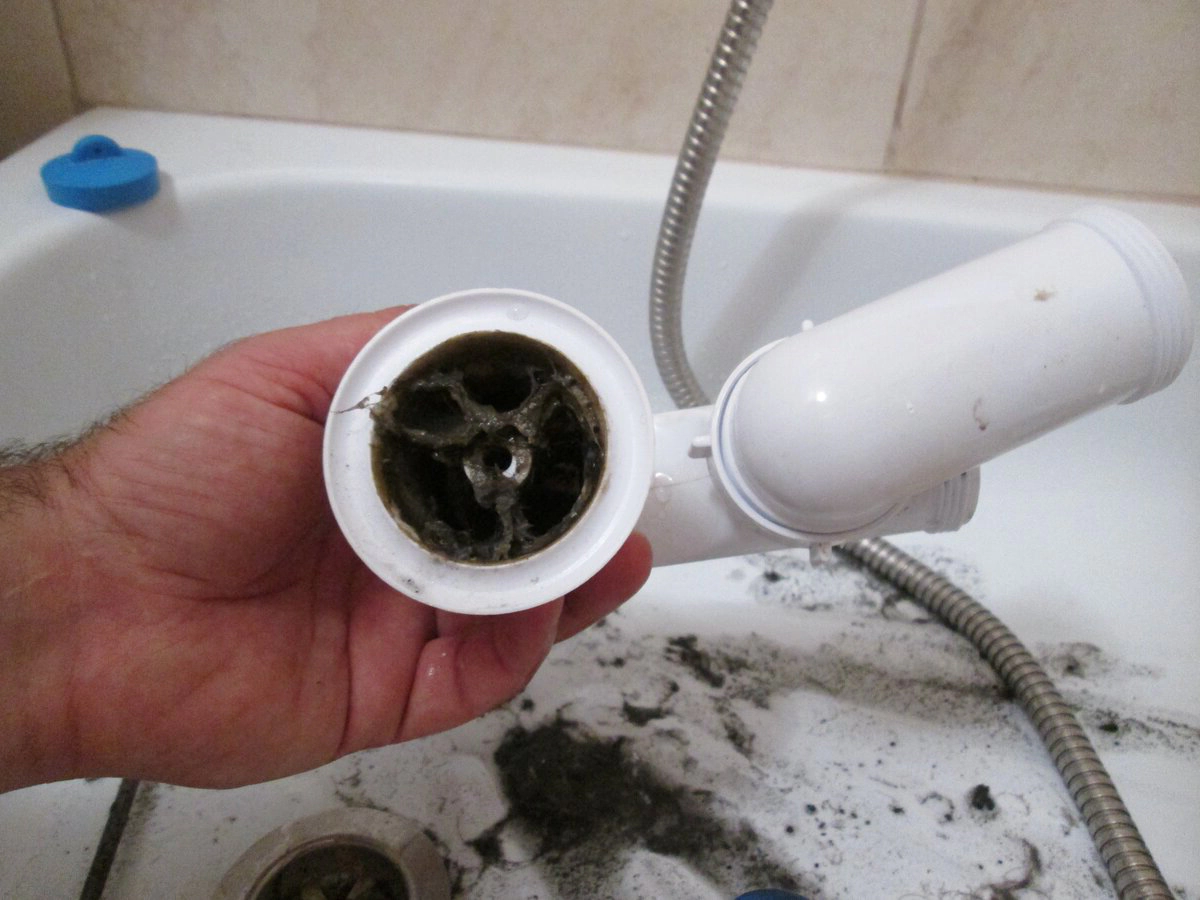
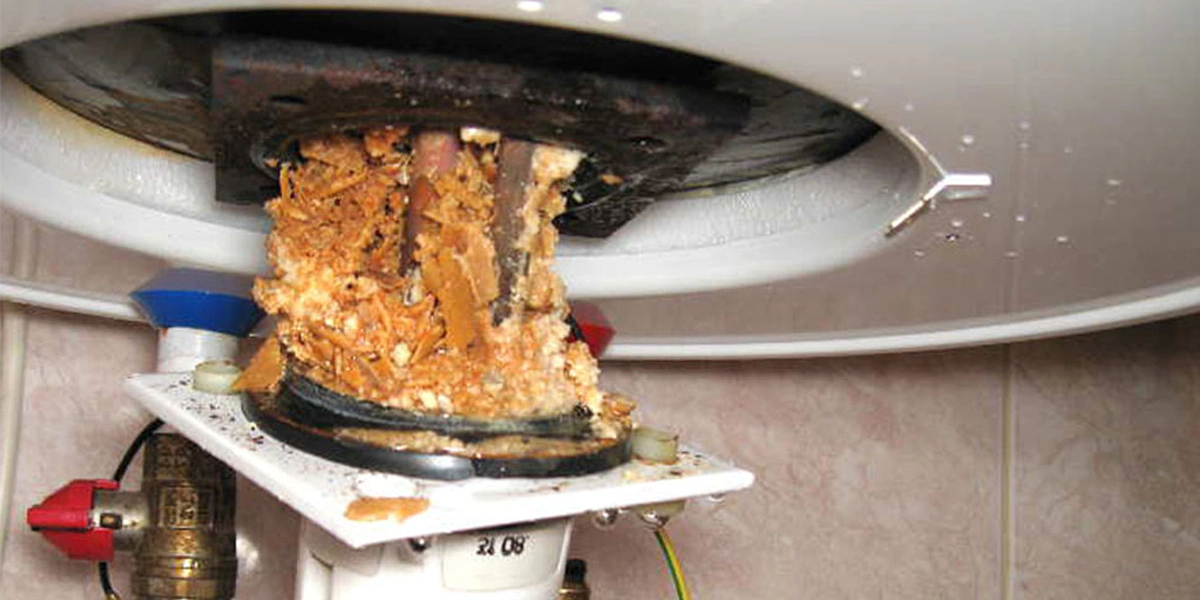
| Clogged drain | $200–$600 | Depends on pipe access and severity |
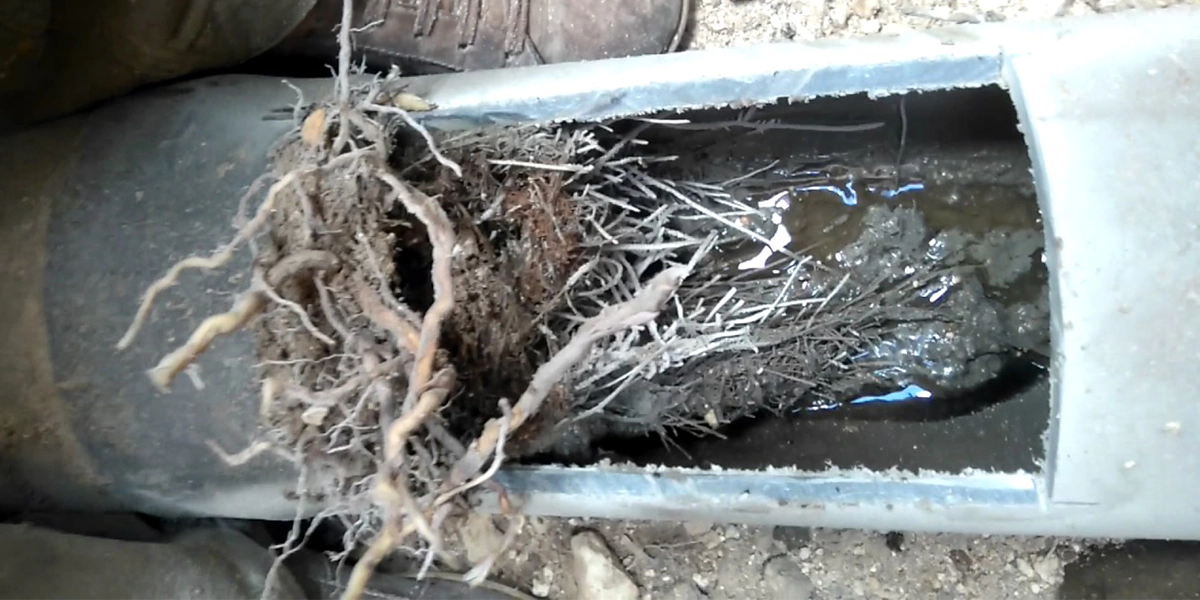
| Sewer line repair | $3,000+ | See sewer repair costs |
| Drain installation or repair | $250–$700 | See drain repair and installation services |
These figures reflect average plumbing services cost and may vary depending on property type, materials, and urgency.
What Affects Plumbing Services Prices
Even when two homeowners face the same problem, the bill can look very different. The plumbing services cost is influenced not only by the type of repair but also by circumstances such as timing, location of the pipes, and the materials selected. Understanding these elements before hiring a plumber helps you set realistic expectations and avoid surprises once the work is complete.
When requesting an estimate, keep in mind several key factors:
- Labor – Professional expertise comes at a cost. Complex systems require skilled technicians.
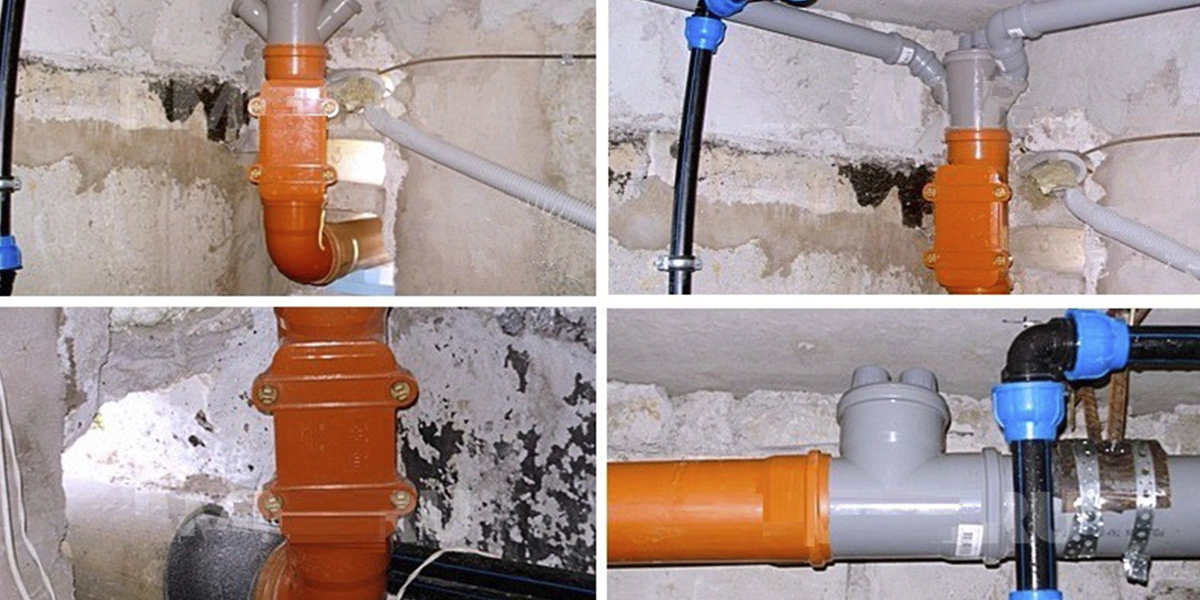
- Materials – Pipe type (copper, PEX, PVC) changes the bill significantly.
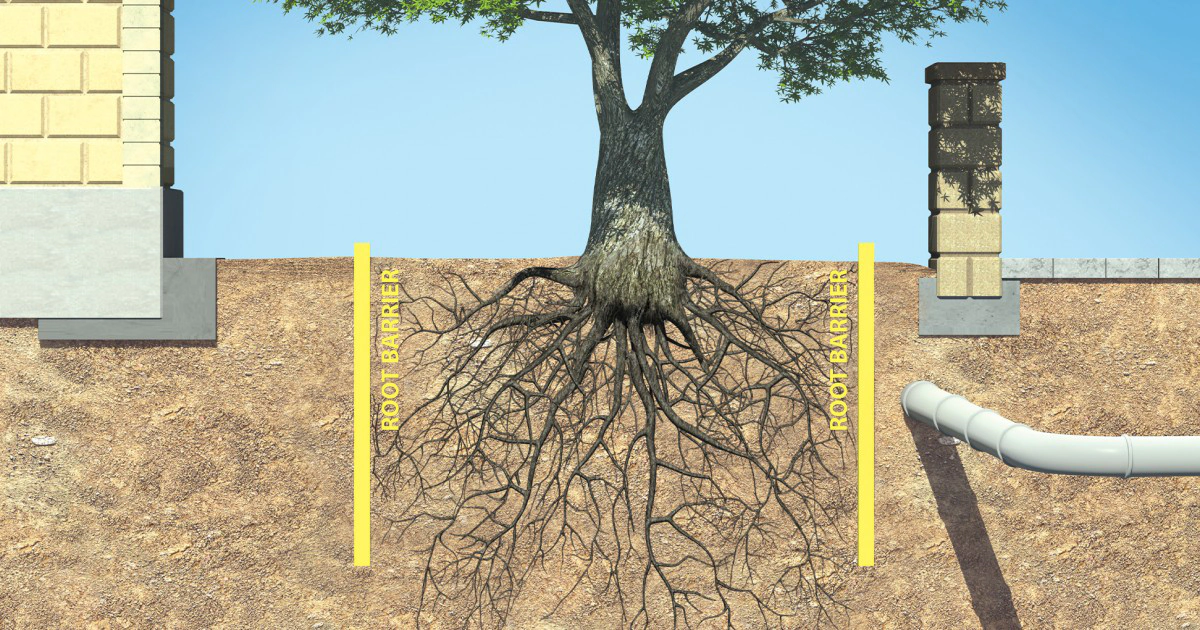
- Accessibility – Easy-to-reach pipes are cheaper to repair. Hidden or buried lines require more work.
- Emergency calls – After-hours or holiday service always increases plumbing services cost.
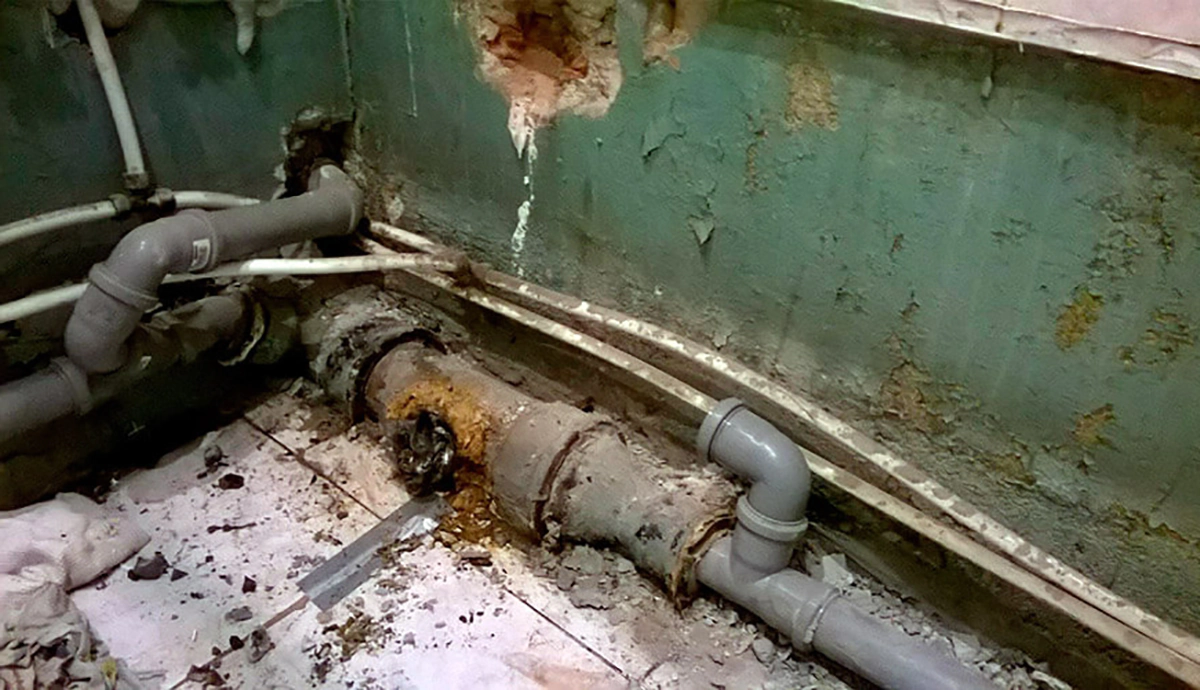
- Scope of work – Small leaks differ greatly from full pipe replacement projects.
A clear written estimate ensures you understand all charges before work starts.
Cost to Replace Plumbing in House
Sometimes repairs are not enough. The cost to replace plumbing in house depends on square footage, pipe length, and material choice. Copper is durable but expensive, while PEX offers flexibility at a lower cost. Replacing all the plumbing in an older home can cost tens of thousands but may prevent frequent breakdowns and water damage.
In most cases, full replacement is recommended when a system is more than 40–50 years old or when repeated leaks make patch repairs uneconomical. The process usually requires permits and coordination with local inspectors, which adds to both timeline and budget. Homeowners should also consider the potential resale value, as updated plumbing is often a strong selling point during property transactions.
Plumbing Estimate Toronto: What’s Included
Before agreeing to any work, it is always best to ask for a written quote. A clear plumbing estimate Toronto not only outlines the scope of work but also helps you compare different contractors on equal terms. This document gives homeowners a realistic picture of both labor and materials, so there are no surprises when the final invoice arrives.
When you request a plumbing estimate Toronto, expect the following details:
- A description of the problem and required repair.
- Number of labor hours.
- Cost of pipes, fittings, or fixtures.
- Extra fees if unexpected issues are found during the job.
Transparent estimates protect homeowners from hidden fees and make plumbing services prices easier to compare.
How Homeowners Can Control Costs
While plumbing work can be expensive, you can take steps to reduce the average cost:
- Schedule annual inspections to catch leaks early.
- Request at least two written quotes before hiring.
- Ask if flat-rate packages are available for common jobs.
- Maintain fixtures to prevent costly emergencies.
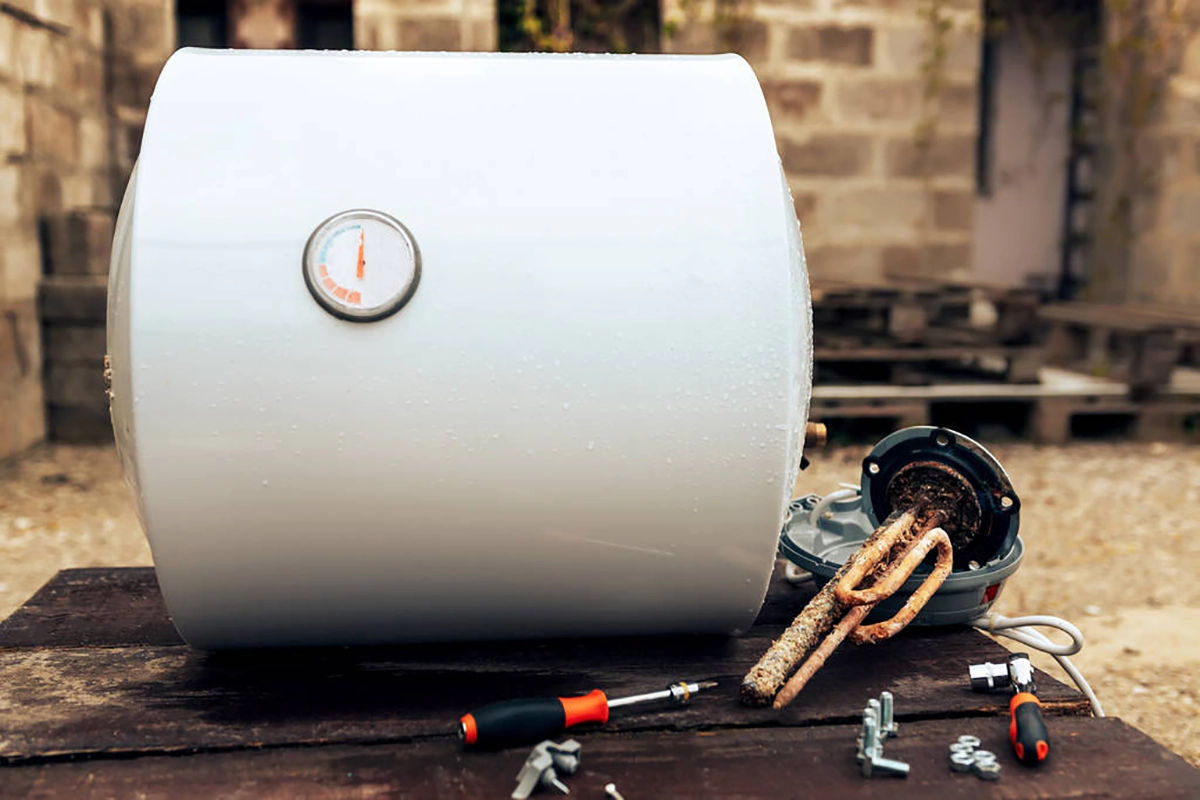
Even though charges can add up quickly, careful planning helps keep your budget under control. Proactive homeowners often save money by replacing worn-out parts—such as washers or supply lines—before they fail completely. Keeping a basic maintenance log with dates of repairs and replacements also helps predict when another service may be due, making expenses easier to manage.
Final Thoughts
Plumbing is a vital system, and knowing what influences the plumbing services cost allows you to make informed decisions. Whether you need a quick repair, a fixture replacement, or a full house repiping, understanding labor, materials, and hourly rates will help you prepare financially.
From small jobs like faucet repairs to major replacements, having a clear picture of plumbing repair prices ensures you can manage your home maintenance without surprises. Reliable budgeting not only protects your wallet but also gives you peace of mind when unexpected problems arise. Choosing the right professional with transparent pricing makes the process less stressful and ensures the job is done to standard.
FAQ
Because overhead costs, staff qualifications, and service guarantees differ. Some firms include diagnostic visits in the base rate, while others add it separately, making plumber fees per hour appear lower at first glance.
Yes. Evening, weekend, and holiday rates usually include a surcharge because plumbers must be available outside of regular hours.
Ask for a written plumbing estimate for Toronto and compare at least two offers. Estimates should clearly list labor, materials, and potential extra fees.
It depends. Hourly billing can save money if the issue is simple, but flat rates protect you when jobs take longer than expected.
Accessibility. Pipes behind walls, under concrete, or in older homes often require extra labor. Specialized equipment like drain cameras can also raise plumbing services cost.
In most cases, no. Permit fees are separate and depend on the municipality. Always confirm this before approving major projects.
Plumbing cost per hour Toronto is usually higher because of demand and overhead. In smaller towns, fees can be 10–20% lower for the same work.