Plumbing issues are inevitable in any household, but not every situation requires professional intervention. Learning to handle minor plumbing repairs on your own can save money and provide a rewarding sense of accomplishment. This article will guide you through the top 5 plumbing fixes that you can easily perform with some basic tools.
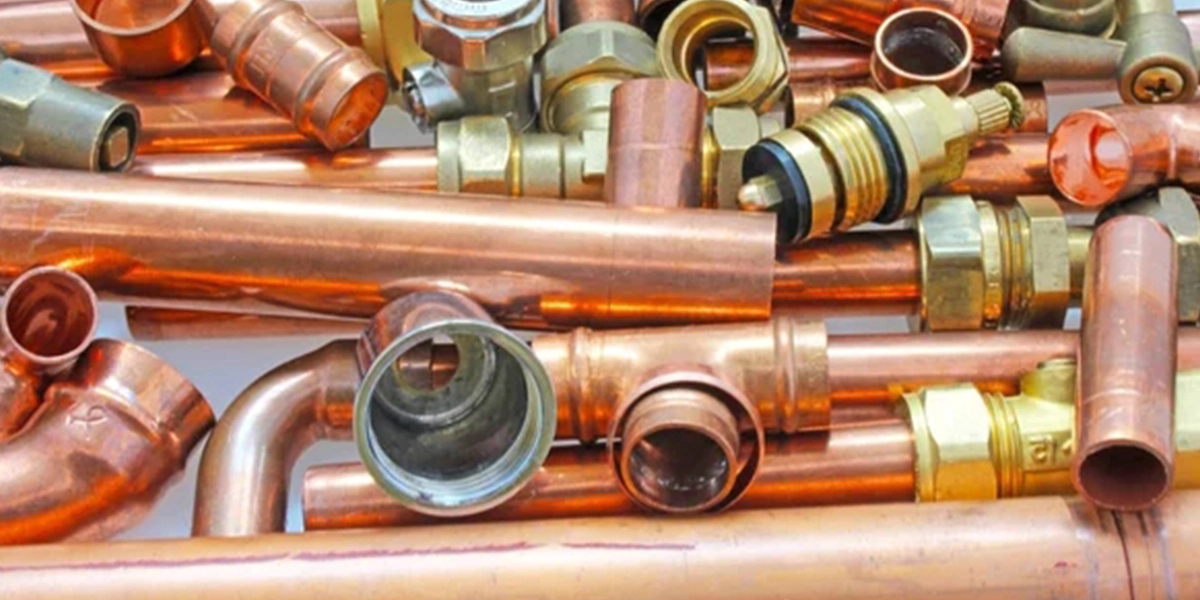
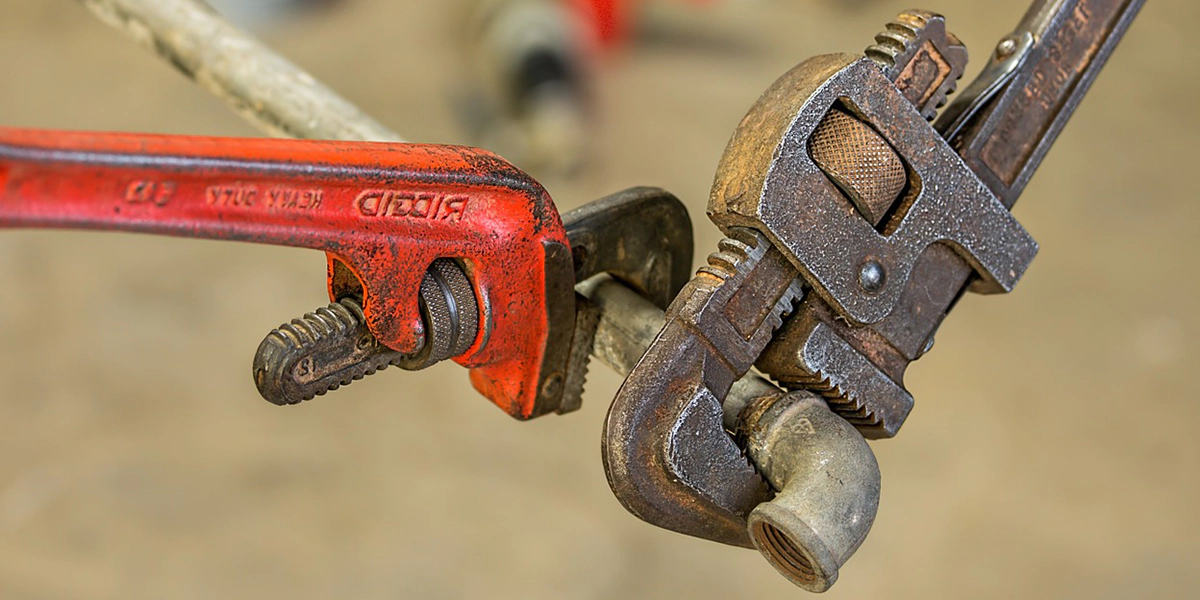
Basic Plumbing Tools
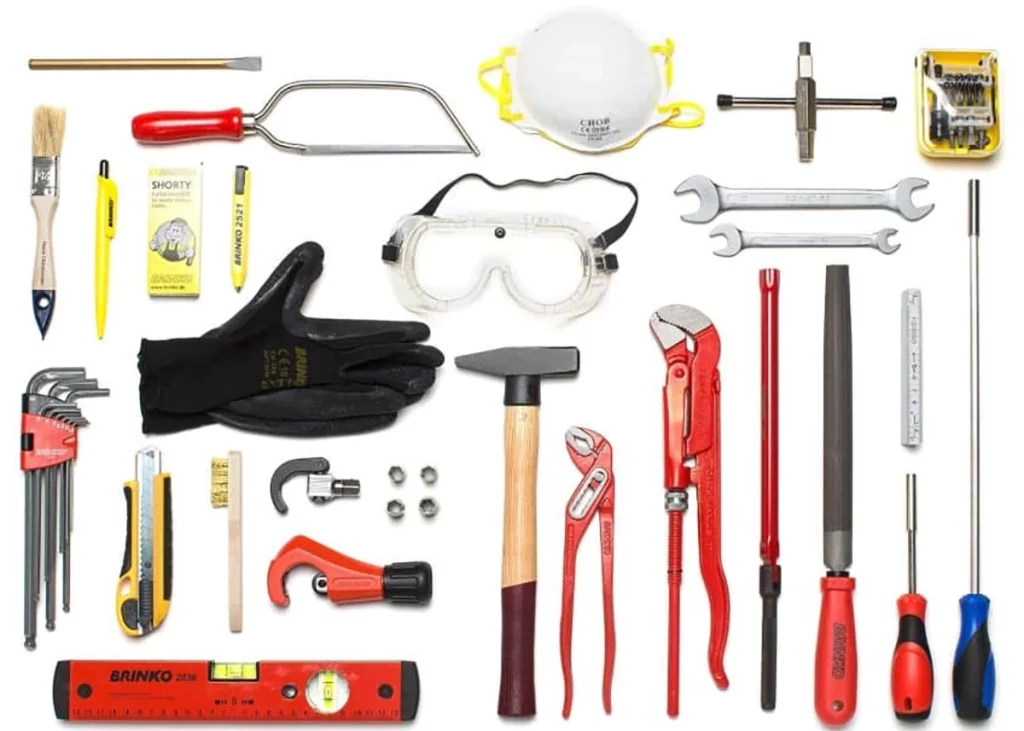
Before diving into plumbing repairs, it’s essential to familiarise yourself with the basic tools required. A good starter kit should include:
- Adjustable wrenches
- Plumber’s tape
- A plunger
- A pipe wrench
- Screwdrivers
- A hand auger (drain snake)
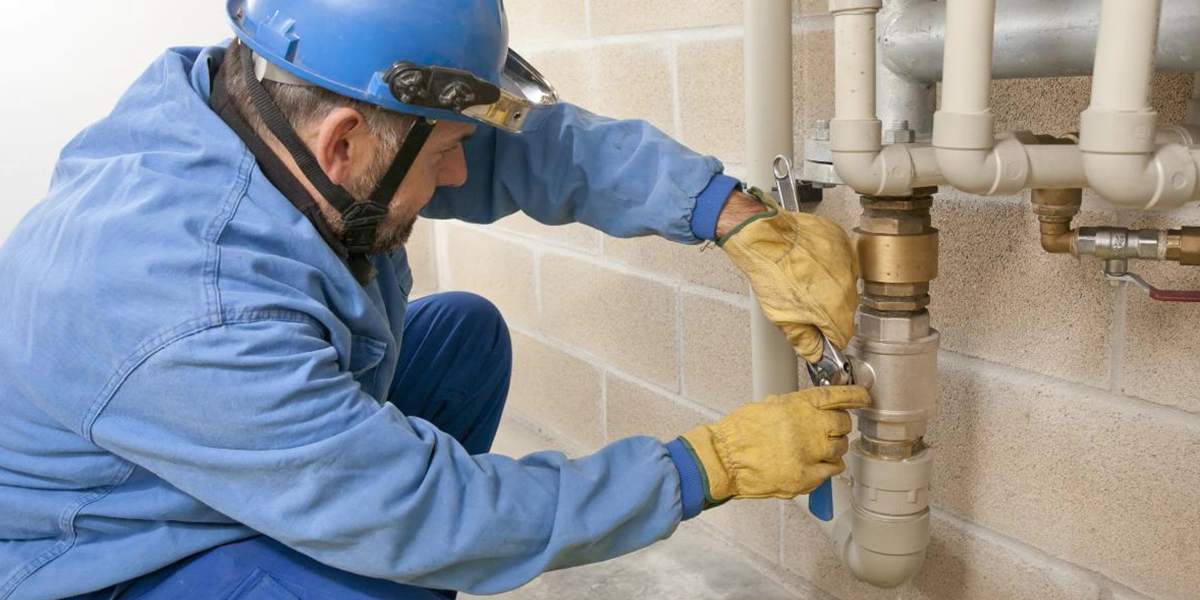
When to DIY vs. Call a Professional
While many plumbing fixes are straightforward, some situations should be left to professionals to avoid potential damage or complex issues. This section helps you understand which problems are DIY-friendly and which are not.
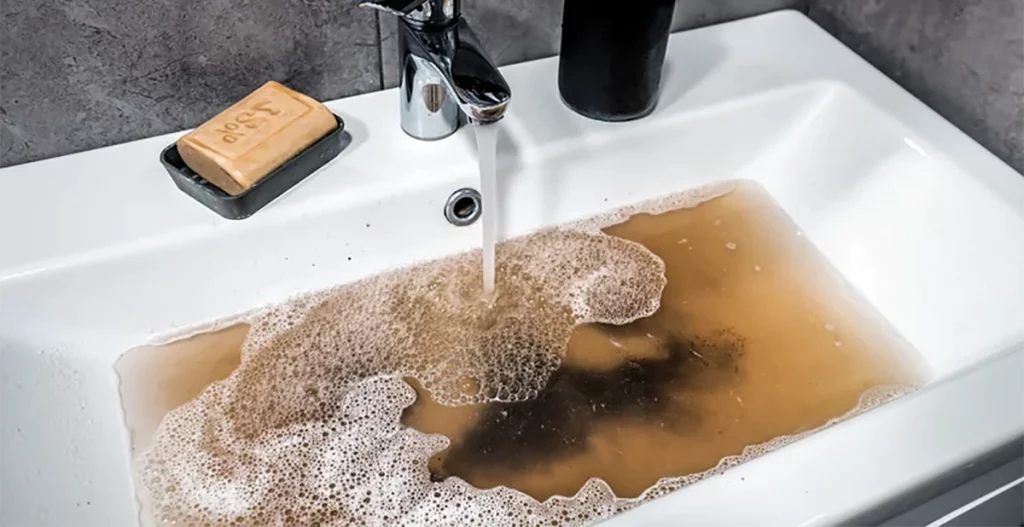
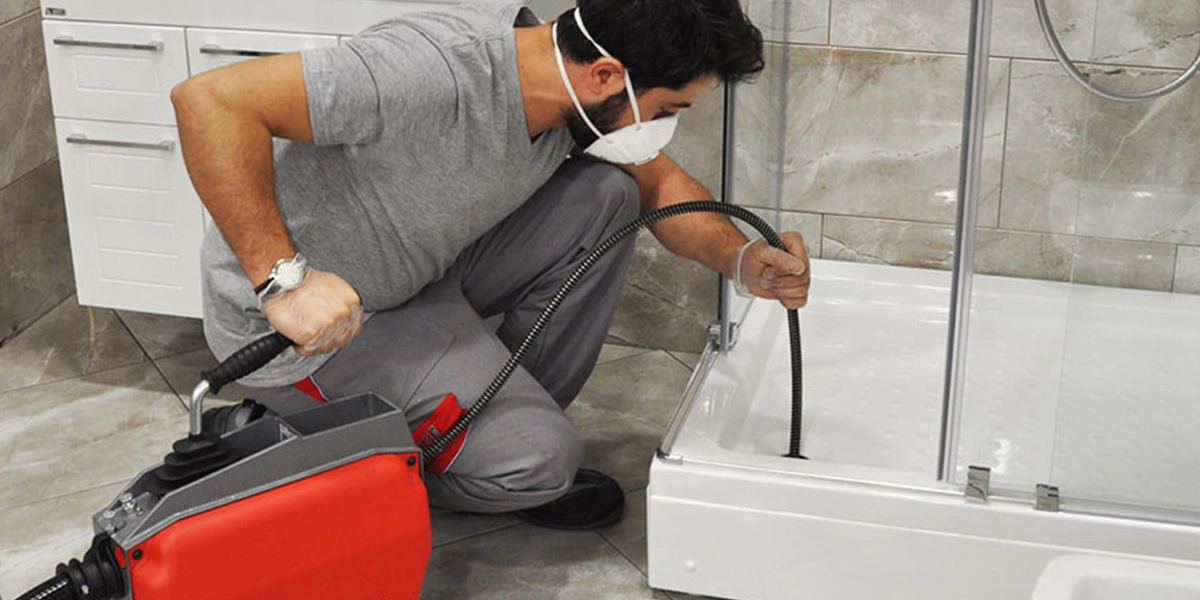
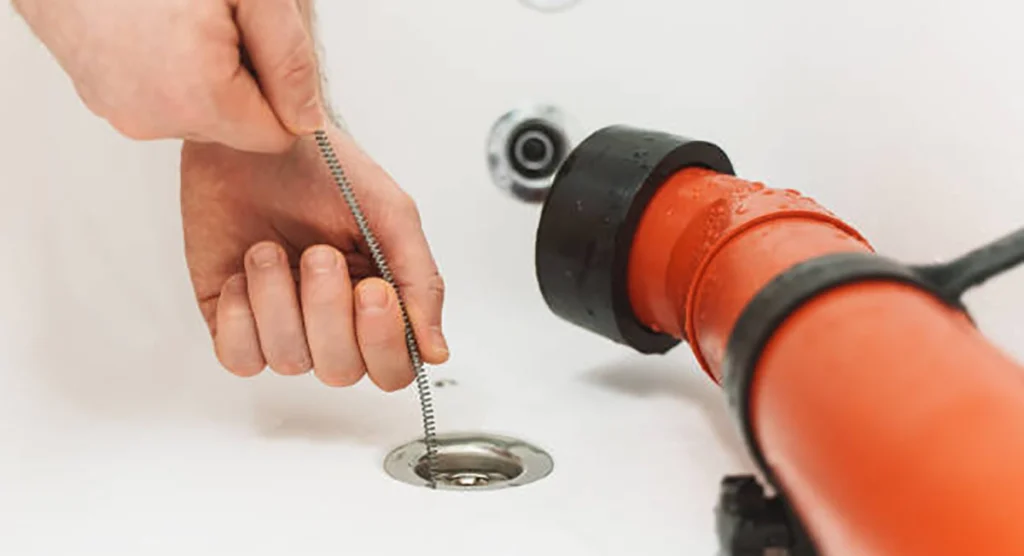
Fix #1: Unclogging Drains
Clogged drains are a common nuisance that can disrupt your daily routine, leading to unpleasant odours and potential backups. Fortunately, unclogging a drain is often a simple DIY task that requires minimal tools. Here’s how you can tackle this problem effectively:
- Use a Plunger: Start with a basic plunger, an essential tool for any home. Ensure you have a good seal around the drain before you start plunging. For sinks, fill the basin with enough water to cover the plunger’s head to create effective suction.
- Clear the Trap: For persistent clogs, the problem may be in the U-shaped trap beneath the sink. Place a bucket under the trap to catch any spills. Unscrew the trap with a wrench or by hand if it’s plastic. Remove any debris in the trap, rinse it well, and reattach it.
- Employ a Plumber’s Snake (Drain Auger): If the clog is deeper, a plumber’s snake is your next best tool. This flexible coil of wire can reach into the pipes to remove or break apart clogs. Insert the snake into the drain and turn it clockwise. When you feel resistance, you’ve likely reached the clog. Continue turning while pushing gently to clear the obstruction, then slowly pull the snake out.
- Try Baking Soda and Vinegar: For a non-chemical approach, pour a pot of boiling water down the drain. Then, add a half cup of baking soda followed by a mixture of one cup vinegar and one cup hot water. Cover the drain to keep the reaction below the surface, helping to dislodge the clog. After about 5-10 minutes, flush with more boiling water.
- Chemical Drain Cleaners: As a last resort, chemical drain cleaners can help dissolve clogs. However, use these cautiously, as they can damage some pipe materials over time and are harmful to the environment.
- Prevent Future Clogs: Regular maintenance can prevent clogs from forming. Avoid dumping grease, coffee grounds, and other sticky substances down your drain. Consider using drain covers to catch hair and other debris.
By following these steps, you can often clear up common drain clogs without the need for professional help, saving both time and money. Remember to wear protective gloves and goggles when dealing with waste and chemicals to ensure your safety during the process.
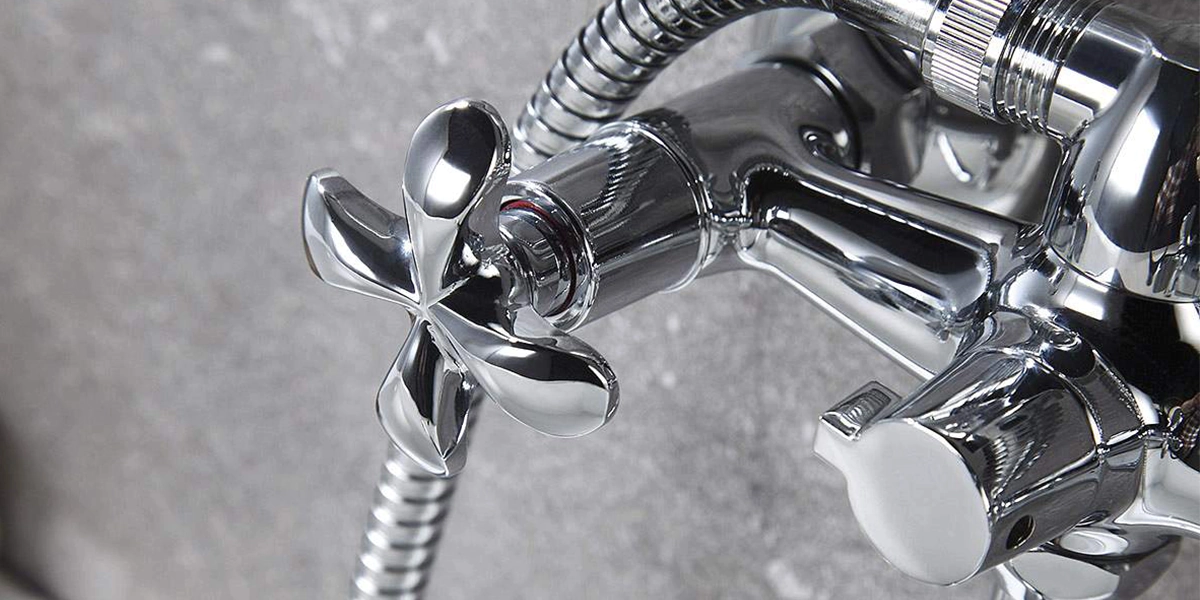
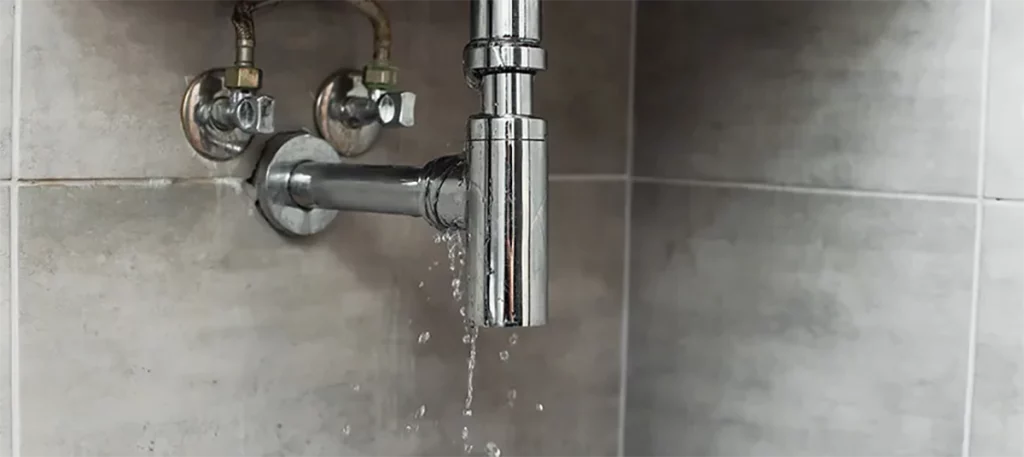
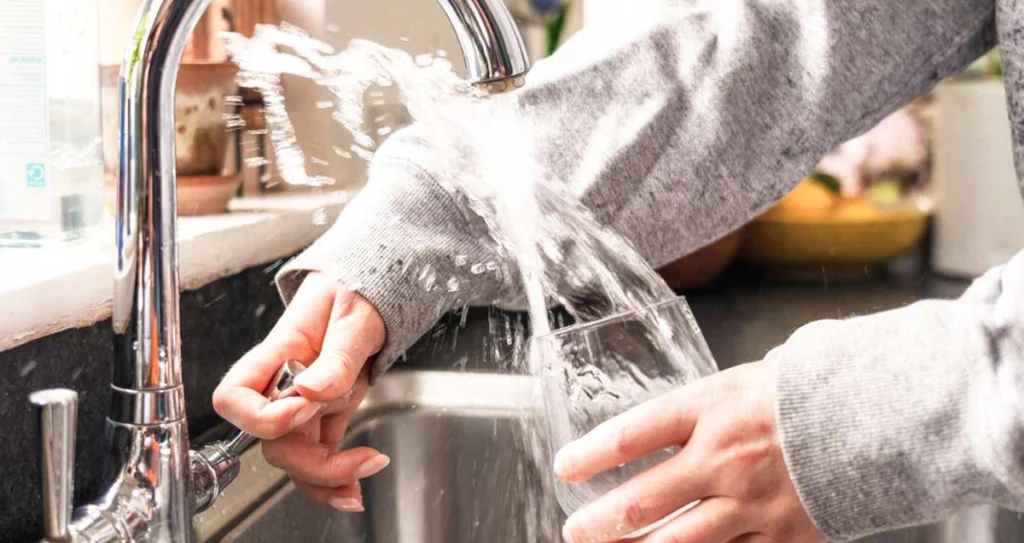
Fix #2: Fixing a Leaky Faucet
A leaky faucet is not only annoying but can also lead to significant water waste and increased utility bills. Fortunately, fixing a leaky faucet is typically a straightforward DIY task that can be accomplished with a few basic tools. Here’s how to tackle this common household issue:
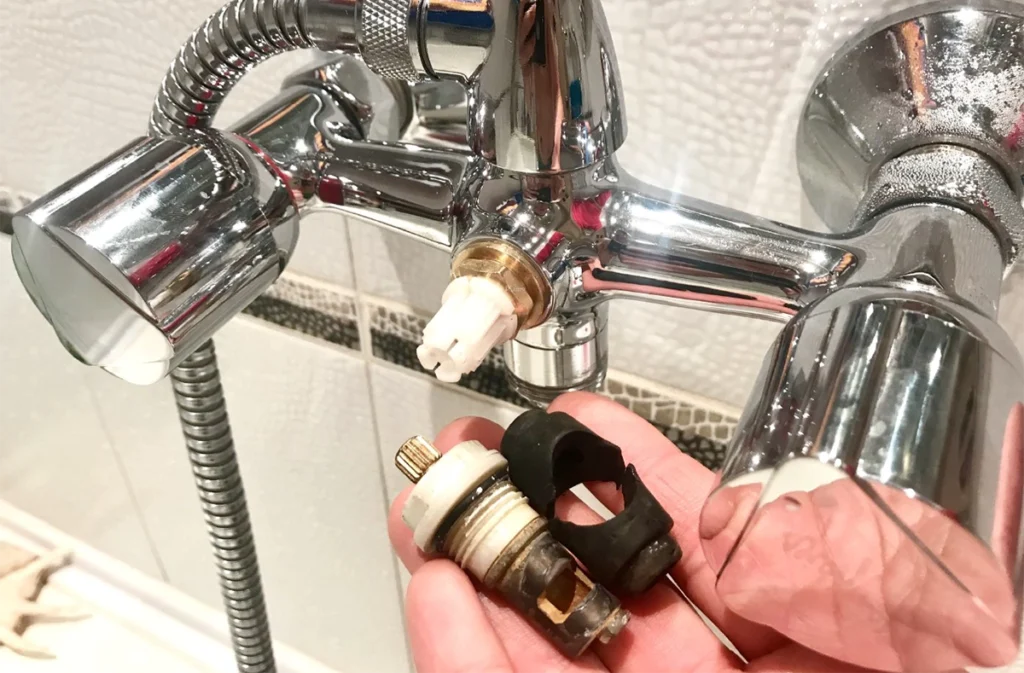
- Identify the Type of Faucet: First, determine the type of faucet you have. The most common types are compression, ball, cartridge, and ceramic disk. Each type has a different mechanism and will require slightly different steps to repair.
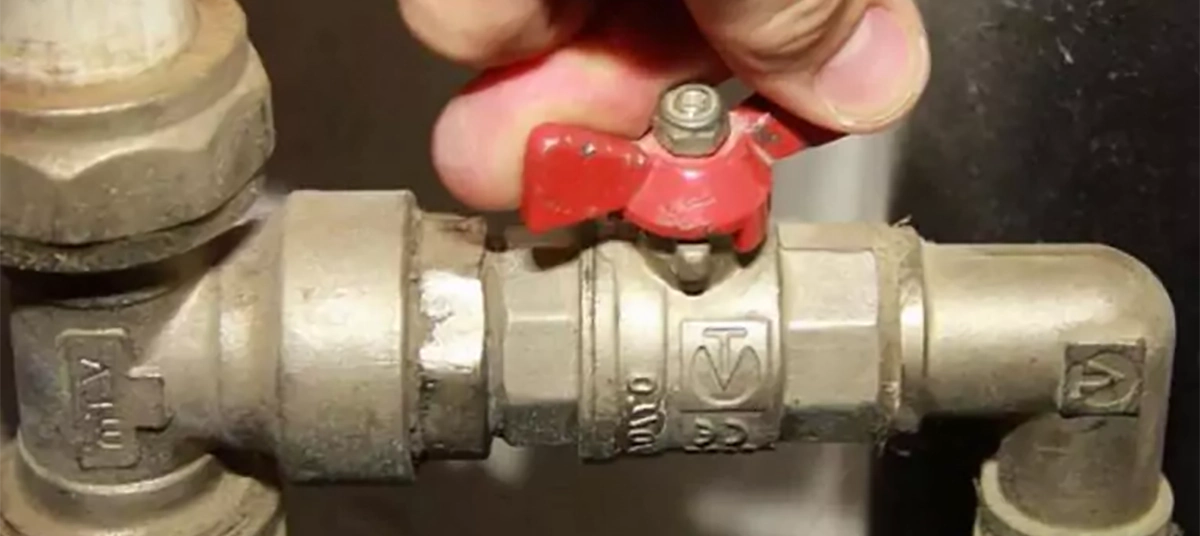
- Turn Off the Water Supply: Before you begin any work, make sure to shut off the water supply to the faucet. You’ll usually find the shut-off valves under the sink. Turn them clockwise to close. Open the faucet to drain any residual water and release any built-up pressure.
- Plug the Drain: Use a sink plug or a rag to block the drain. This will prevent small parts like screws and washers from falling down the drain during your repair.
- Disassemble the Faucet: Use an appropriate tool, such as a wrench or screwdriver, to remove the faucet handle. For many faucets, this involves removing a screw that secures the handle. Keep track of all parts and their order of assembly as you remove them.
- Inspect the Interior Components: Once the handle is off, inspect the interior parts for signs of wear or damage. Common culprits include worn washers, O-rings, or gaskets in compression faucets, and a failed cartridge in cartridge-type faucets.
Replace Worn Parts:
- Compression Faucet: Replace the rubber washer at the bottom of the stem, and consider replacing the O-ring around the stem for a good seal.
- Ball Faucet: These may require a replacement kit that includes new ball and valve seals.
- Cartridge Faucet: Pull out the cartridge and replace it with a new one that matches.
- Ceramic Disk Faucet: Replace the ceramic disks if they are cracked or worn.
- Reassemble the Faucet: Once the new parts are in place, reassemble the faucet in the reverse order that you disassembled it. Make sure everything is tight and secure but don’t over-tighten, as this can damage the parts.
- Test Your Work: Turn the water supply back on and slowly turn the faucet handle to its own position. Check for leaks and ensure the faucet operates smoothly. If it still leaks, you may need to disassemble again and check for any parts that were not installed correctly or that may still be worn out.
- Final Check: Once you are satisfied that the leak has been fixed, clean up your work area and store your tools.
Fixing a leaky faucet is a practical skill that can save money and water. With patience and careful attention to detail, most faucet issues can be resolved in an afternoon with minimal tools and expense.
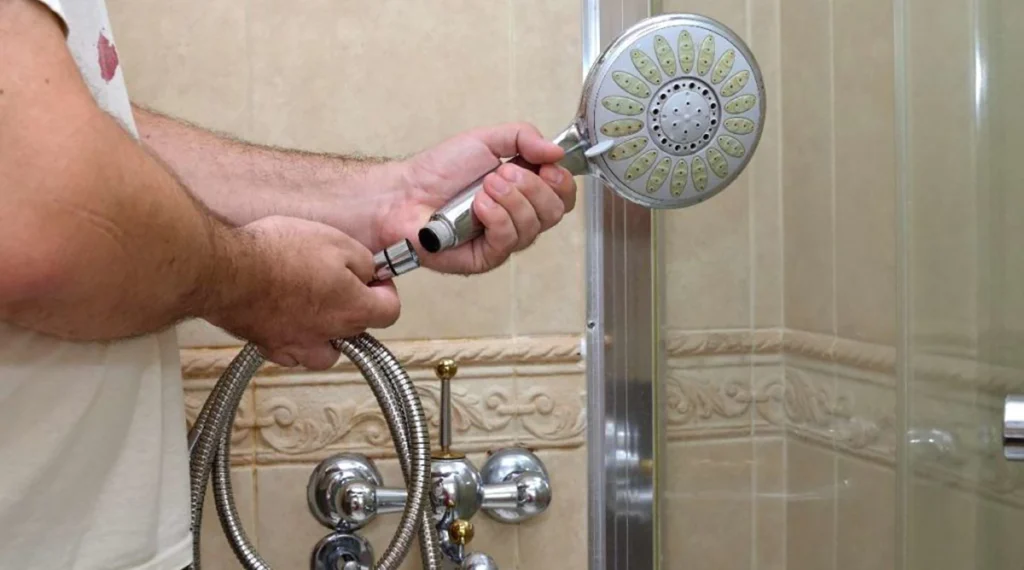
Fix #3: Replacing Shower Heads
Replacing shower heads is a practical maintenance task that not only helps in conserving water but also prevents potential issues related to water pressure and mineral buildup. Whether you’re looking to upgrade your bathroom’s functionality or aesthetics, installing a new shower head can be a simple yet effective improvement. Here’s a detailed guide on how to replace a shower head:
Tools and Materials Needed
- Adjustable wrench
- Teflon tape
- New shower head
- Cloth or towel
- Optional: pliers
Steps for Replacing a Shower Head
- Turn Off the Water Supply: While not always necessary, turning off the water can prevent any accidental spills or water pressure changes during the installation.
- Remove the Old Shower Head: Wrap the cloth around the base of the old shower head to protect the finish, then use the wrench to gently twist it counterclockwise. If it’s tightly screwed on, you may need pliers to assist.
- Clean the Threads: Once the old shower head is removed, clean the threads on the shower arm to remove any old Teflon tape or debris. This ensures a clean surface for a better seal with the new shower head.
- Apply New Teflon Tape: Wrap Teflon tape clockwise around the threads of the shower arm. This helps prevent leaks by ensuring a tight seal.
- Install the New Shower Head: Screw the new shower head onto the shower arm by hand. Once it’s hand-tight, use the wrench with the cloth again for a final tighten. Be careful not to over-tighten, as this could damage the threads or the shower head.
- Test the Installation: Turn on the water supply and observe the new shower head for any leaks. Adjust if necessary, tightening further or applying more Teflon tape.
- Final Check: Once satisfied that the installation is leak-free, take a moment to check the water flow and ensure it’s to your preference. Adjust the settings on the shower head if available.
Benefits of Replacing a Shower Head
Improved Water Efficiency: Modern shower heads are designed to reduce water usage, which can lower your utility bills and conserve water.
Enhanced Water Pressure: A new shower head can improve water pressure, which enhances your showering experience.
Reduced Risk of Leaks and Water Damage: Old, malfunctioning shower heads can lead to leaks, which might cause water damage over time. Replacing them can prevent such issues.
Updated Bathroom Aesthetics: A new shower head can also serve as a minor facelift for your bathroom, adding a touch of modernity or luxury depending on the style chosen.
Replacing a shower head is an easy DIY project that can make a significant difference in your bathroom’s functionality and aesthetics. With the right tools and a bit of time, you can achieve a professional-quality installation at home.
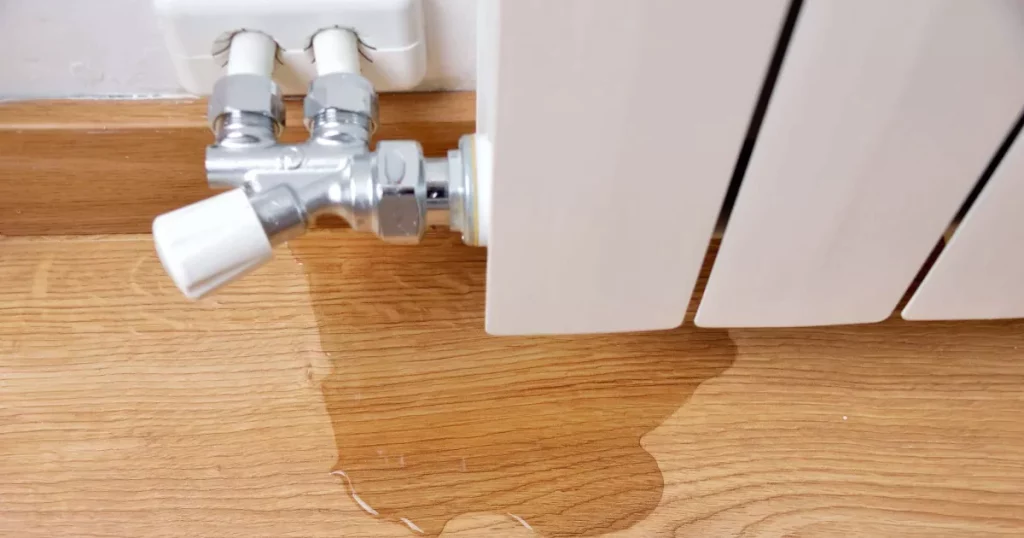
Fix #4: Running Toilet Repair
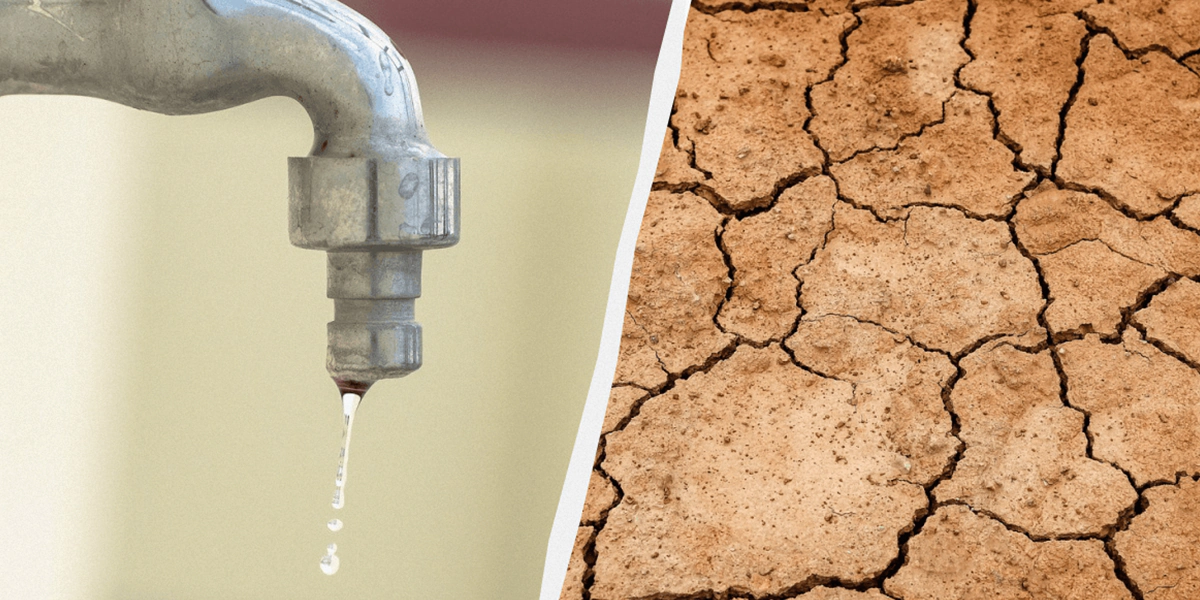
A running toilet is not only annoying but can also waste a significant amount of water, leading to higher utility bills. Fortunately, repairing a running toilet is often a straightforward DIY task. Here’s a step-by-step guide to help you fix the issue efficiently.
Tools and Materials Needed
- Adjustable wrench
- Screwdriver
- Replacement flapper or fill valve (if necessary)
- Rubber gloves
Steps for Repairing a Running Toilet
- Identify the Problem: Before you start, determine what’s causing the toilet to run. Common issues include a faulty flapper, a problem with the fill valve, or an improperly adjusted float.
- Turn Off the Water Supply: Locate the shutoff valve near the base of the toilet and turn it off by rotating it clockwise. This prevents water flow to the tank during repair.
- Flush the Toilet: With the water turned off, flush the toilet to drain the tank completely. This provides a dry work area.
- Check the Flapper: Remove the tank lid and inspect the flapper, which is typically at the bottom of the tank. If it’s worn or warped, it needs to be replaced. Unclip the old flapper and attach the new one, ensuring it’s properly seated over the valve seat.
- Inspect the Fill Valve: If the flapper isn’t the issue, check the fill valve for signs of wear or malfunction. Listen for hissing sounds which can indicate a leak. Adjust or replace the fill valve as needed. Most fill valves have a locking clip that you must remove before twisting the valve out.
- Adjust the Float: Sometimes, the float is set too high, which causes water to continuously enter the tank and overflow into the overflow tube. Adjust the float lower to ensure the water stops filling at the correct level, usually an inch below the top of the overflow tube.
- Test the Repair: Once the parts are replaced or adjusted, turn the water back on. Watch the tank refill and ensure that everything is working correctly. The water should stop filling at the right level, and there should be no running water once the tank is full.
- Check for Leaks: After the tank has filled, add a few drops of food coloring to the tank water. Wait a few minutes, and if color appears in the bowl, there’s still a leak. Double-check your repairs.
Benefits of Repairing a Running Toilet
- Water Conservation: Fixing a running toilet prevents gallons of water from being wasted daily.
- Cost Savings: Reducing water waste can lead to lower water bills.
- Prevent Damage: Ongoing leaks can eventually cause damage to the toilet or bathroom flooring.
Maintenance Tips
- Regularly inspect the toilet components for wear and tear.
- Replace the flapper and fill valve every few years, even if they don’t show obvious signs of malfunction, as preventive maintenance.
- Consider installing a modern toilet that uses less water per flush, enhancing water conservation efforts.
Repairing a running toilet is a practical skill that saves water and money while preventing potential damage from persistent leaks. With basic tools and a little time, you can ensure your toilet operates efficiently and quietly.
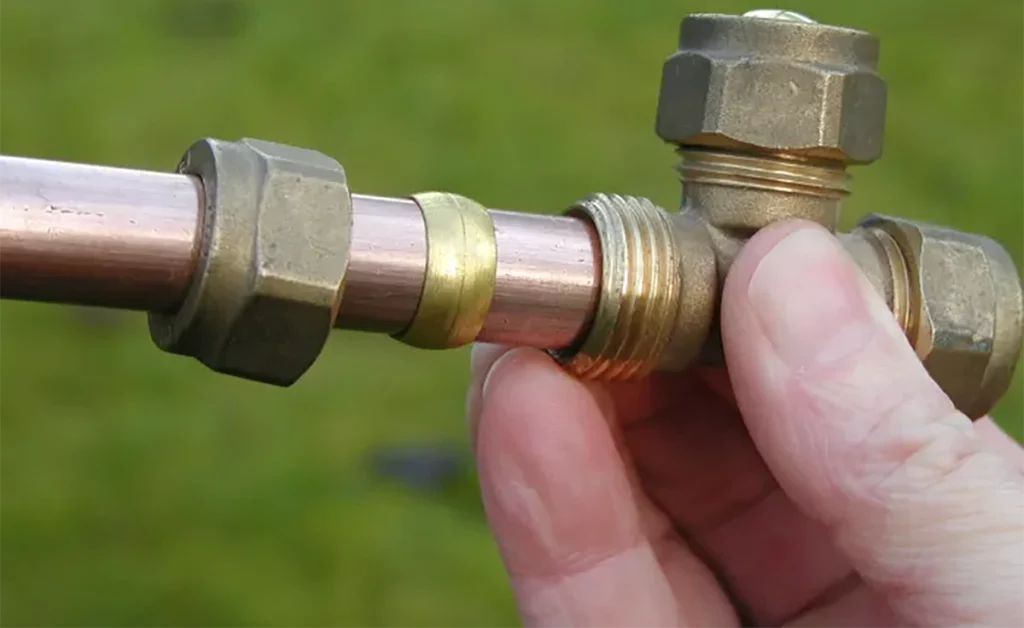
Fix #5: Installing a New Faucet
Installing a new faucet is a manageable DIY project that can refresh the look of your kitchen or bathroom and improve functionality. Whether you’re replacing an old, leaky faucet or updating your fixtures as part of a renovation, the process is straightforward with the right tools and a bit of know-how.

Tools and Materials Needed
- New faucet (ensure compatibility with your sink)
- Adjustable wrench
- Basin wrench
- Plumber’s putty or silicone sealant
- Teflon tape
- Towel or rag
- Bucket (to catch any residual water)
Steps for Installing a New Faucet
- Prepare the Area: Clear out the space under the sink. Place a bucket underneath to catch any water remaining in the lines. Lay down a towel or rag to protect the surfaces and catch any dropped tools or parts.
- Turn Off the Water Supply: Locate the shutoff valves under the sink. Turn them clockwise to close. Turn on the old faucet to release any remaining pressure and water in the lines.
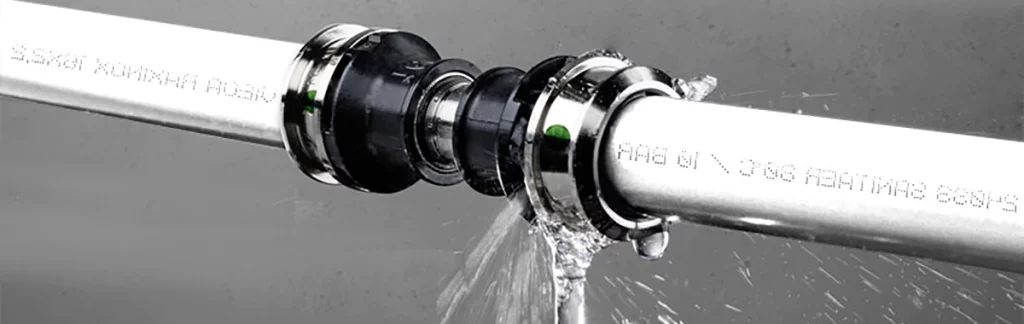
- Disconnect the Supply Lines: Use an adjustable wrench to loosen and disconnect the supply lines from the valves. If they are old or worn, consider replacing them with new flexible supply lines for easier installation.
- Remove the Old Faucet: Use a basin wrench to loosen and remove the mounting nuts holding the faucet in place. Once loose, remove the faucet from the sink. Clean the area around the sink holes to remove any grime or old sealant.
- Apply Sealant: If your new faucet doesn’t come with a built-in gasket, apply plumber’s putty or a silicone sealant around the base of the faucet to create a watertight seal. This step is crucial to prevent leaks.
- Install the New Faucet: Position the new faucet into the sink holes. From underneath the sink, screw on the mounting nuts and washers provided. Tighten them by hand, then use the basin wrench to secure them firmly but be careful not to overtighten.
- Reattach Supply Lines: Wrap Teflon tape around the threads of the faucet’s tailpieces to ensure a good seal. Connect the supply lines to the tailpieces and tighten them with an adjustable wrench. Again, be careful not to overtighten.
- Turn On the Water Supply: Once everything is connected, slowly turn on the shutoff valves and watch for any leaks. Make any necessary adjustments.
- Test the Faucet: Turn on the faucet to check both hot and cold water functionality. Make sure the faucet handles work smoothly and the water flow is adequate.
Benefits of Installing a New Faucet
- Aesthetic Upgrade: A new faucet can significantly enhance the look of your kitchen or bathroom.
- Improved Functionality: Modern faucets often come with features like higher spouts or pull-out sprayers, improving usability.
- Water Conservation: Many newer faucets are designed to conserve water, which can help reduce your water bill and environmental impact.
Maintenance Tips
- Regularly clean your faucet with gentle cleaners to prevent damage to the finish.
- Check occasionally for leaks and tighten connections if necessary.
- If your water has high mineral content, consider installing a water softener to extend the life of your faucet.
Installing a new faucet can transform the functionality and style of your sink area, making it a worthwhile project for DIY enthusiasts. With basic tools and careful following of instructions, you can achieve a professional-looking installation.
Preventative Maintenance Tips
Regular preventative maintenance is crucial for extending the life of your equipment, preventing unexpected breakdowns, and ensuring efficient operation. Here’s a comprehensive guide to basic preventative maintenance practices that can save you time, money, and hassle in the long run.

General Maintenance Tips for All Equipment
- Read the User Manual: Always start with the manufacturer’s instructions. The manual typically contains specific maintenance guidelines tailored to your equipment.
- Regular Cleaning: Dirt, dust, and debris can cause equipment to work harder, leading to inefficiency and wear. Regular cleaning ensures optimal performance and longevity.
- Lubrication: Keep moving parts lubricated as required to reduce friction and prevent wear. Use the type of lubricant recommended by the manufacturer.
- Tighten Loose Parts: Regularly check and tighten loose bolts and screws, as vibration can cause them to loosen over time.
- Inspect for Wear and Tear: Regularly inspect your equipment for any signs of wear or damage. Replace worn or broken parts promptly to avoid further damage or safety hazards.
- Update Software: For equipment with digital components, keep software up to date to ensure compatibility and functionality.
Specific Tips for Household Appliances
- Refrigerators: Clean condenser coils annually, check door seals for tightness, and set the correct temperature to keep the refrigerator running efficiently.
- Washing Machines: Check hoses for bulges or leaks and replace them every three to five years. Keep the machine level to prevent excessive vibration.
- Dryers: Clean the lint filter after every cycle and inspect the venting system yearly to ensure it is not blocked.
Automotive Maintenance
- Check Fluid Levels: Regularly check and top up engine oil, coolant, brake fluid, and transmission fluid.
- Tire Maintenance: Regularly check tire pressure and tread depth. Rotate tires according to the manufacturer’s recommendations to ensure even wear.
- Battery Care: Clean battery terminals to prevent corrosion, and ensure the battery is securely mounted and insulated.
HVAC Systems
- Change Filters Regularly: Dirty filters restrict airflow, reducing efficiency and straining your HVAC system. Change filters every 1-3 months depending on usage.
- Annual Servicing: Have a professional service your HVAC system annually to check for issues and ensure it’s running efficiently.
- Check Ductwork: Ensure that ductwork is sealed and insulated properly to prevent energy loss.
Gardening Equipment
- Sharpen Blades: Keep cutting blades sharp on mowers and pruning equipment to ensure clean cuts and efficient operation.
- Clean After Use: Remove soil and debris from equipment after each use to prevent rust and decay.
- Winter Storage: Drain fuel from gas-powered equipment before storage in the winter to prevent fuel degradation and engine damage.
IT and Electronics
- Keep Vents Clear: Ensure that air can circulate freely around electronic equipment to prevent overheating.
- Surge Protection: Use surge protectors to safeguard sensitive electronics from power spikes.
- Regular Backups: Regularly backup data to prevent loss in case of hardware failure.
Benefits of Preventative Maintenance
- Cost Savings: Regular maintenance can prevent costly repairs or replacements.
- Increased Safety: Well-maintained equipment is safer to use and less likely to malfunction.
- Higher Efficiency: Regular maintenance keeps equipment running at peak efficiency, reducing energy use and improving performance.
By integrating these preventative maintenance tips into your regular routine, you can significantly increase the reliability and lifespan of your equipment. Not only does this approach save money on repairs, but it also ensures that your equipment performs well when you need it most.
Conclusion
DIY plumbing repairs can be a practical and satisfying way to keep your home running smoothly. Remember, the key to success is knowing when you can handle the problem yourself and when to call in the experts.