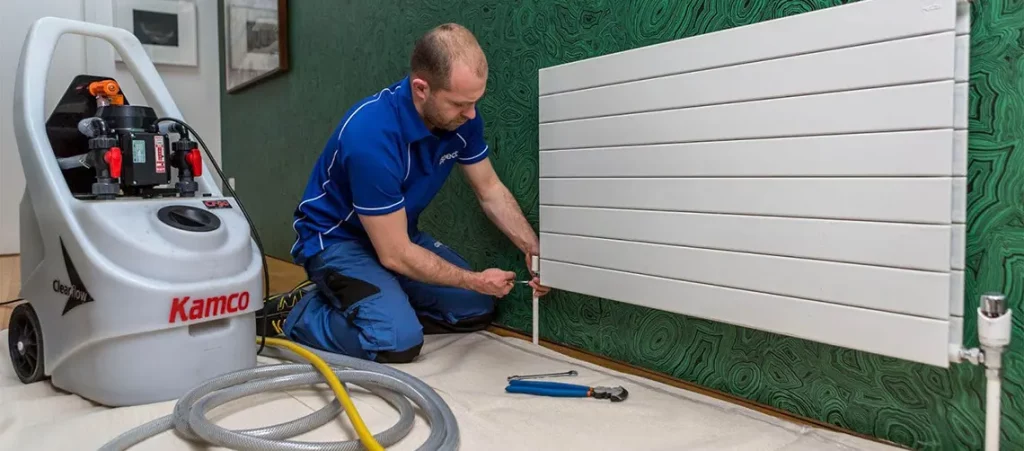
Sewer backups can be a homeowner’s worst nightmare, causing extensive damage and costly repairs. However, with proper preventive measures, you can safeguard your home from this unfortunate event. In this blog post, we will discuss some essential tips to prevent sewer backup and protect your home. We will explore the importance of draining outdoor faucets before winter, when to turn off outside water, and how to winterize your plumbing effectively.
Contents
The Importance of Draining Outdoor Faucets Before Winter Hits
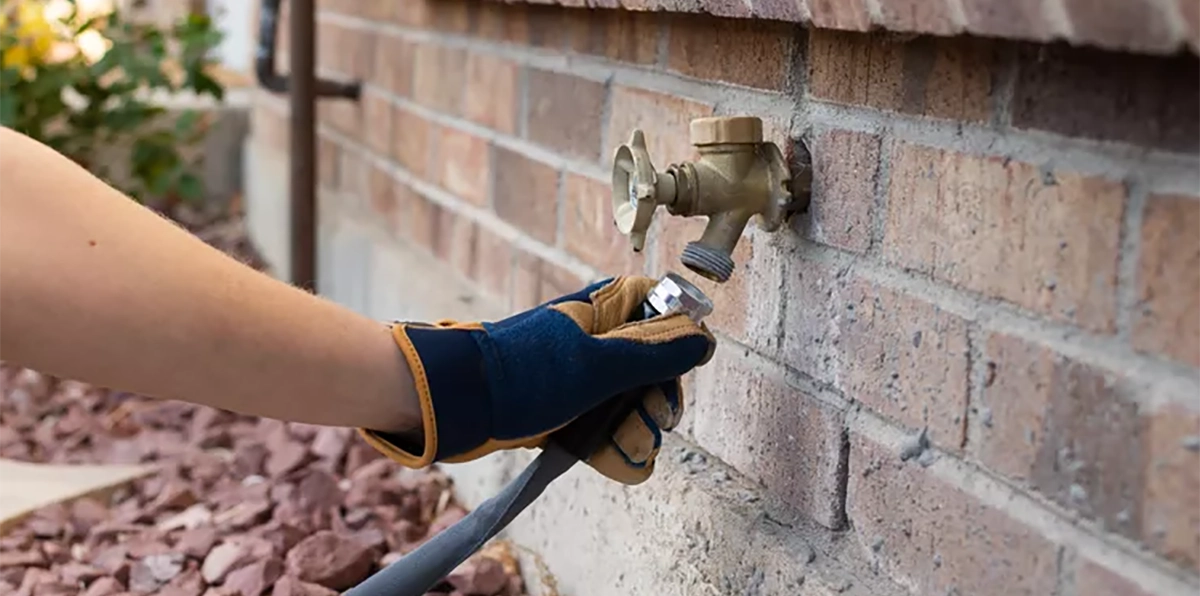
Before the cold winter sets in, it’s important to properly drain your outdoor faucets to prevent them from freezing and possible damage. Everyone asks the question: when do I turn off the water outside? When the temperature drops below freezing, you should turn off your outdoor water supply.
Winterizing Your Plumbing: How to Drain Outdoor Faucets
How to protect outdoor faucets from freezing? When it comes to winterizing your plumbing system, draining outdoor faucets is a crucial step. Follow these simple steps to properly drain your outdoor faucets before the cold weather sets in.
Turn off the water supply valve
One of the essential steps in winterizing your plumbing system is to turn off the water supply valve for your outdoor faucets. This valve is typically located near the water meter or inside your home’s utility room. By turning off the water supply valve, you effectively cut off the water flow to the outdoor faucets, preventing any new water from entering the pipes.
To turn off the water supply valve, locate the valve handle and turn it clockwise until it is fully closed. It’s important to note that different homes may have different setups, so you may need to consult your home’s plumbing system or seek professional advice if you’re unsure about locating or operating the water supply valve.
Turning off the water supply valve serves two purposes: first, it prevents water from freezing inside the pipes, which can cause them to burst and lead to significant water damage; second, it conserves water and reduces the risk of leaks or other plumbing issues during the winter season.
Find your faucets
Identify all outdoor faucets on your property. Look for any visible signs of taps. These could be garden faucets, hose faucets, and any other outdoor plumbing fixtures. Outdoor faucets often have a separate valve or handle compared to indoor faucets. You may also notice hoses or nozzles connected to the taps that should be disconnected before draining the water. If you’re unsure of the location of all outdoor faucets, consult your home’s plumbing drawings or check with previous homeowners or a professional plumber. They can provide valuable information about the number and location of outdoor faucets in your home.
Remove faucet connections
After locating all your outdoor faucets, the next step is to remove the faucet connections. This crucial step ensures that water can fully drain from the faucets.
To remove the faucet connections, follow these simple steps:
- Begin by disconnecting any hoses or attachments connected to the outdoor faucets. Unscrew the hose or attachment from the faucet, ensuring a firm grip and gentle twisting motion. Place the removed hoses and attachments in a safe and dry location for storage during the winter months.
- Check for any additional connections or adapters between the faucet and the hose. Some outdoor faucets may have extra attachments, such as splitters or extenders. Remove these connections as well, allowing for a more efficient draining process.
- Inspect the faucet threads for any signs of wear, damage, or debris. Clean the threads if necessary, using a soft brush or cloth to remove any dirt or residue. This ensures a proper seal when reconnecting the faucet in the future.
- If you notice any leaks or drips at the faucet connection points, consider replacing the washers or applying plumber’s tape to create a tight seal. This helps prevent any water from escaping during the draining process and reduces the risk of leaks when using the faucet again.
By removing the faucet connections, you allow the water to flow freely from the outdoor faucets, ensuring a thorough draining process. Even a small amount of trapped water can freeze and expand, potentially leading to cracked pipes.
Drain the water
Once you have turned off the water supply valve and removed the faucet connections, it’s time to drain the water from your outdoor faucets.
To effectively drain the water from your outdoor faucets, follow these steps:
- Open the outdoor faucet valves fully. Both the hot and cold water valves should be opened to ensure that all water can flow out. This allows for a thorough draining process.
- Pay attention to the flow of water and ensure that it is consistent. If the flow seems slow or restricted, it may indicate a clog or blockage in the pipes. In such cases, you may need to consult a professional plumber to address the issue before the winter season.
- Allow the water to flow freely from the faucets until it stops completely. This indicates that all the water has been drained from the pipes. It’s important to note that this process may take a few minutes, depending on the length and complexity of your plumbing system.
While the water is draining, keep an eye out for any leaks or drips. If you notice any, it’s crucial to address them before the winter arrives. Leaks can indicate damaged pipes or faulty connections, which can worsen during freezing temperatures. If pipes do freeze, you may need professional frozen pipe repair services. Repair any leaks or drips promptly to prevent water damage and potential plumbing emergencies.
Once the water has fully drained, close the faucet valves tightly. This prevents any water from re-entering the pipes and ensures that the draining process is complete.
Use the bleed cap
The bleed cap is a small accessory that helps release any trapped water and air from the pipes, further protecting your plumbing system during the winter months.
Here’s how to use the bleed cap effectively:
- After draining the water from your outdoor faucets, locate the bleed cap. It is typically located on the side or bottom of the faucet, near the connection point.
- Carefully unscrew the bleed cap in a counterclockwise direction. Be cautious not to apply excessive force, as it may cause damage to the cap or faucet.
- As you remove the bleed cap, you may notice a small amount of water or air being released. This is a normal part of the process, as it helps remove any residual moisture or trapped air inside the pipes.
- Allow the water and air to escape until you no longer see any signs of flow or pressure. This ensures that the pipes are completely clear and ready for the winter season.
- Once the bleeding process is complete, securely tighten the bleed cap back into place. Ensure it is snug but be careful not to overtighten, as it may cause damage to the cap or faucet threads.
It’s important to note that not all outdoor faucets may have a bleed cap. Some faucets may have a different mechanism or design to allow for proper drainage. If you’re unsure about the presence or use of a bleed cap on your outdoor faucets, it’s recommended to consult a professional plumber for guidance.
Clean debris
Clearing away debris not only helps maintain the functionality of the faucets but also prevents potential blockages and ensures a smooth draining process.
Here are some steps to effectively clean debris from your outdoor faucets:
- Start by inspecting the area around each faucet.
- Use a brush, broom, or your hands (if gloves are worn) to gently remove the debris. Be careful not to damage the faucet or any surrounding fixtures while doing so.
- Pay special attention to the faucet openings and spouts. These areas are particularly prone to debris buildup. Use a small brush or toothbrush to clean any dirt or residue that may be blocking the opening. This helps ensure proper water flow and prevents any potential clogs.
- If you notice any stubborn or hard-to-remove debris, you can use a gentle cleaning solution or vinegar-water mixture to loosen it. Apply the solution to the affected area and let it sit for a few minutes. Then, scrub the area gently with a brush or cloth to remove the debris.
- After cleaning, rinse the faucets and surrounding areas with water to remove any cleaning residue or remaining debris. This step ensures that the faucets are free from any contaminants and ready for winter use.
Tighten the faucet
Follow these steps to properly tighten the faucet:
- Start by inspecting the faucet connections for any signs of looseness. Check the area where the faucet connects to the wall or pipe.
- Using a wrench or pliers, gently tighten the faucet in a clockwise direction.
- As you tighten the faucet, check for any leaks or drips. Turn on the water supply briefly to test for any signs of water escaping from the connection points.
- If the faucet still leaks after tightening, you may need to replace the washers or consult a professional plumber for assistance.
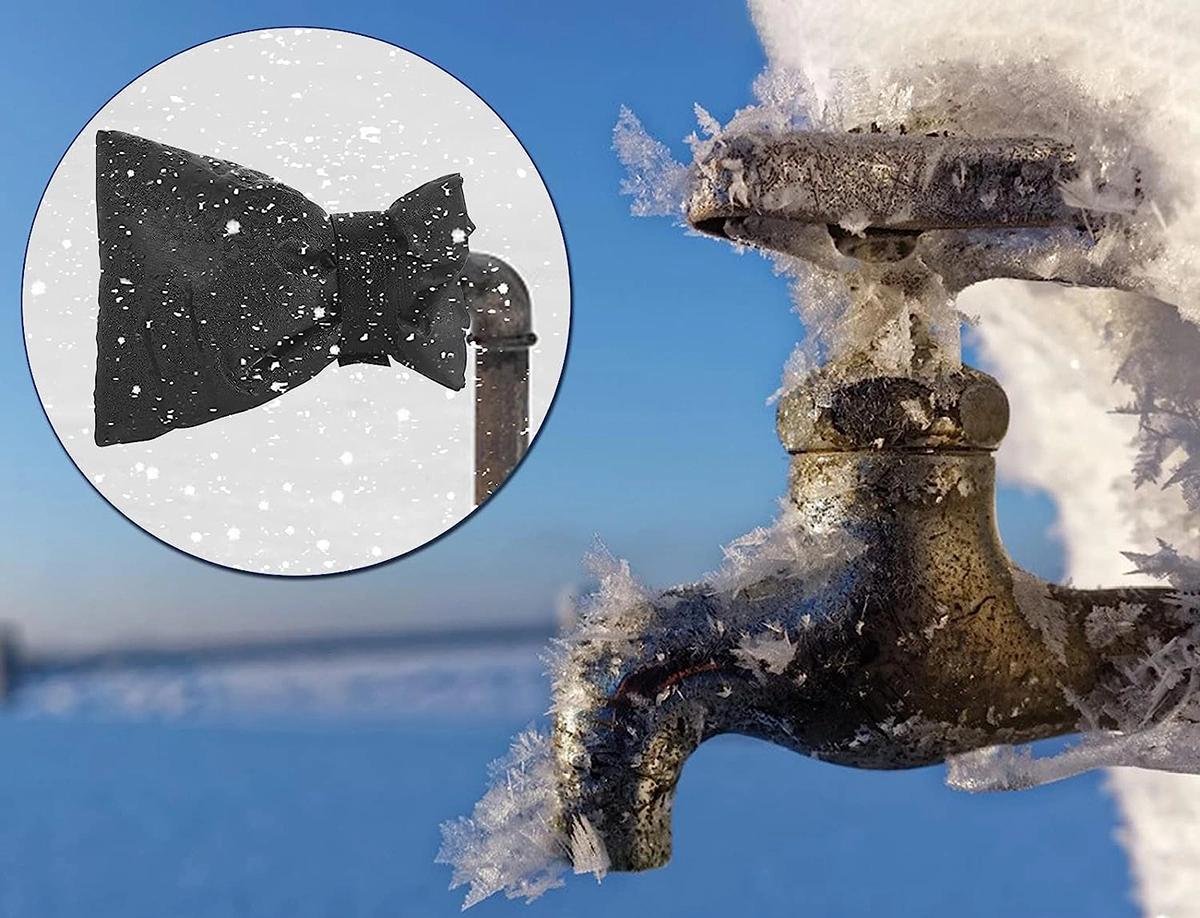
Place insulation cover on faucet
To provide an extra layer of protection for your outdoor faucets during the winter, it is recommended to place insulation covers on them.
Follow these steps:
- Purchase insulation covers specifically designed for outdoor faucets.
- Before placing the insulation covers, make sure the faucets are clean and dry.
- Slide the insulation cover over the faucet, ensuring that it fits snugly. The cover should enclose the entire faucet and extend a few inches beyond the faucet spout. This provides adequate insulation and protection.
- Secure the insulation cover in place using the attached fasteners or ties, if provided. Make sure they are tightened enough to hold the cover in place but not overly tight, as it may damage the cover or faucet.
- For additional protection, consider wrapping the exposed pipes leading to the faucet with foam pipe insulation. This further insulates the pipes and prevents freezing. Secure the foam insulation in place using tape or zip ties.
FAQ: Winterizing and Draining Outdoor Faucets
It is generally safe to turn on outside water when the risk of freezing temperatures has passed, typically in the spring when consistent warmer weather is expected.
After shutting off the water, it is recommended to let the faucets run for a few minutes to ensure that all the water has been drained from the pipes.