There’s something immensely satisfying about fixing things on your own, isn’t there? The rush of accomplishment, the money saved. But, with DIY plumbing, one tiny mistake can lead to a huge mess. Ever been there? Let’s delve into the most common DIY plumbing mistakes, so you can avoid them!
Recognizing Plumbing Mistakes
Plumbing, as straightforward as it might seem, is a complex field that requires knowledge and expertise. DIY endeavors, when it comes to plumbing, can sometimes lead to more problems than solutions. Let’s dive into some common mistakes and how to spot them before they become bigger issues.
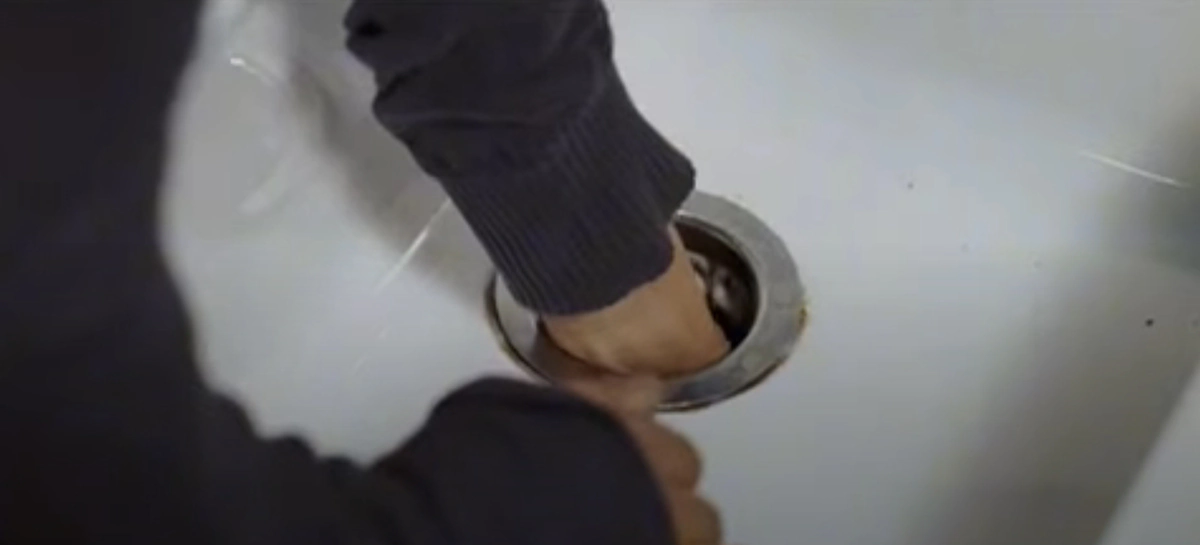
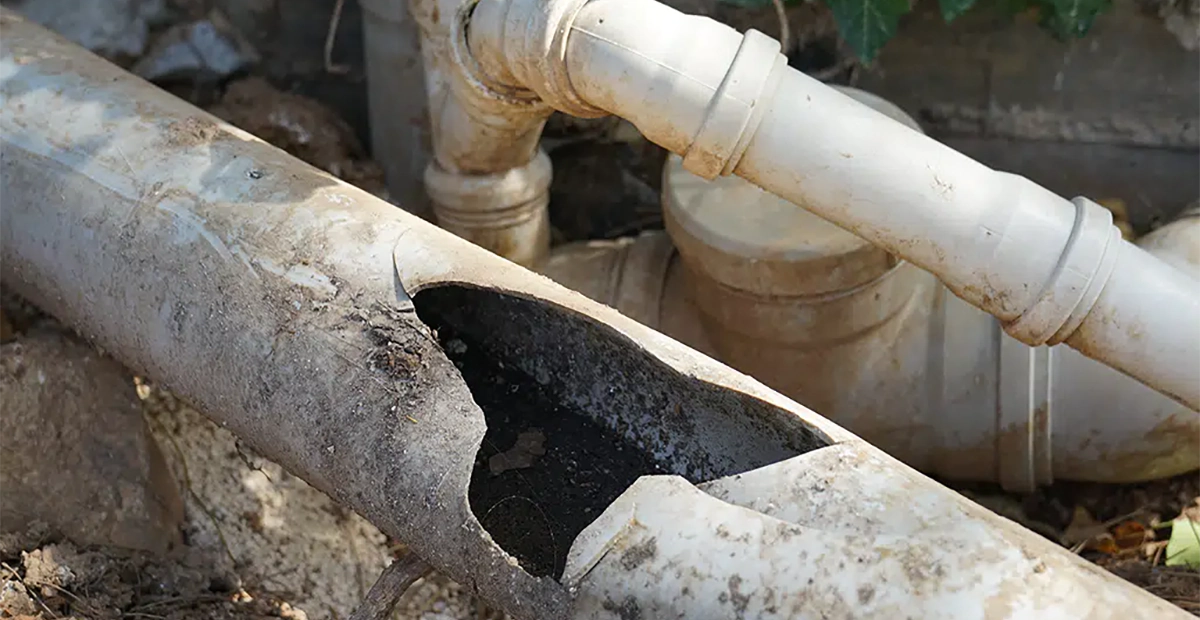
Overlooking Leaks
Ever heard the phrase, “A small leak will sink a great ship?” In the world of plumbing, this couldn’t be truer.
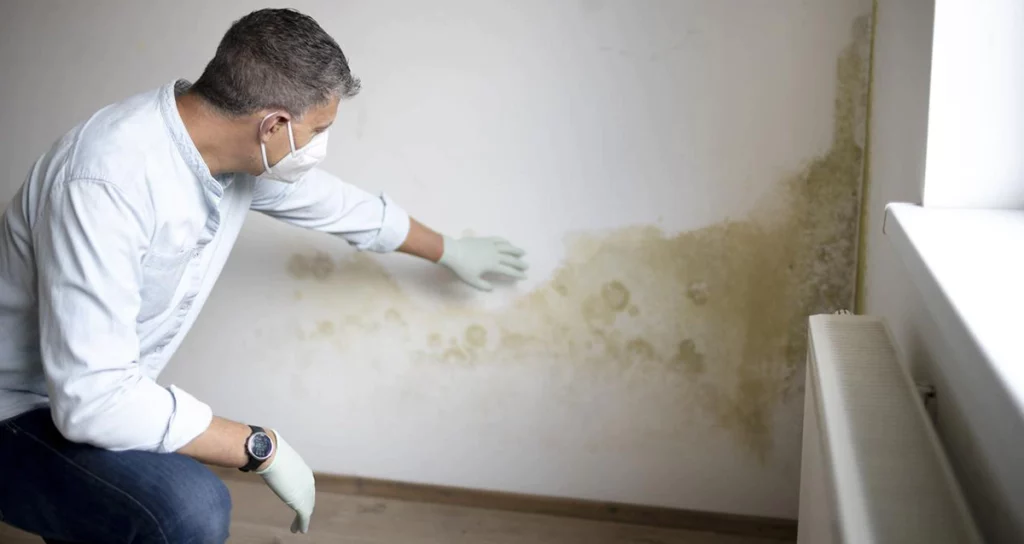
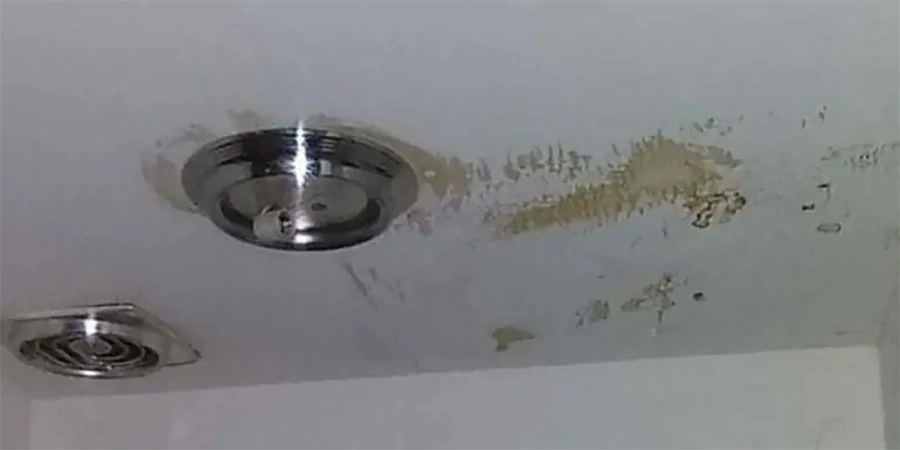
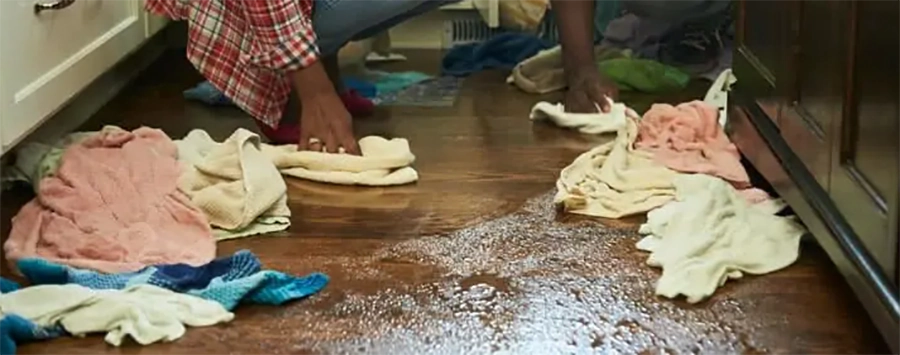
One of the most overlooked DIY mistakes is neglecting minor leaks. These leaks might appear harmless at first glance – just a drop here or there. But over time, even a tiny leak can lead to significant problems. Moisture accumulation can result in mold growth, which is harmful to health and can damage the structural integrity of your home. Additionally, consistent water leakage can increase your water bills significantly.
But how do you recognize these sneaky leaks? Look out for:
- Wet spots or dampness in unexpected places.
- A consistent sound of dripping water, even when all taps are off.
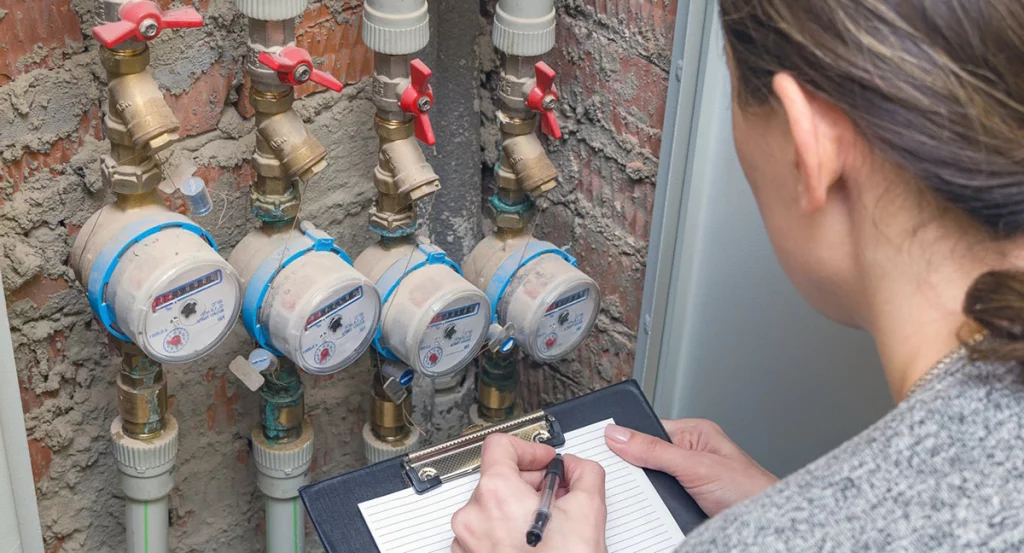
- Unexplained increases in your water bill.
- Remember, addressing a leak early on can save you from a much more significant headache (and expense) down the line.
Incorrect Tool Use
Just like you wouldn’t use a hammer to paint a wall, using the wrong tools for plumbing jobs can lead to disastrous outcomes.
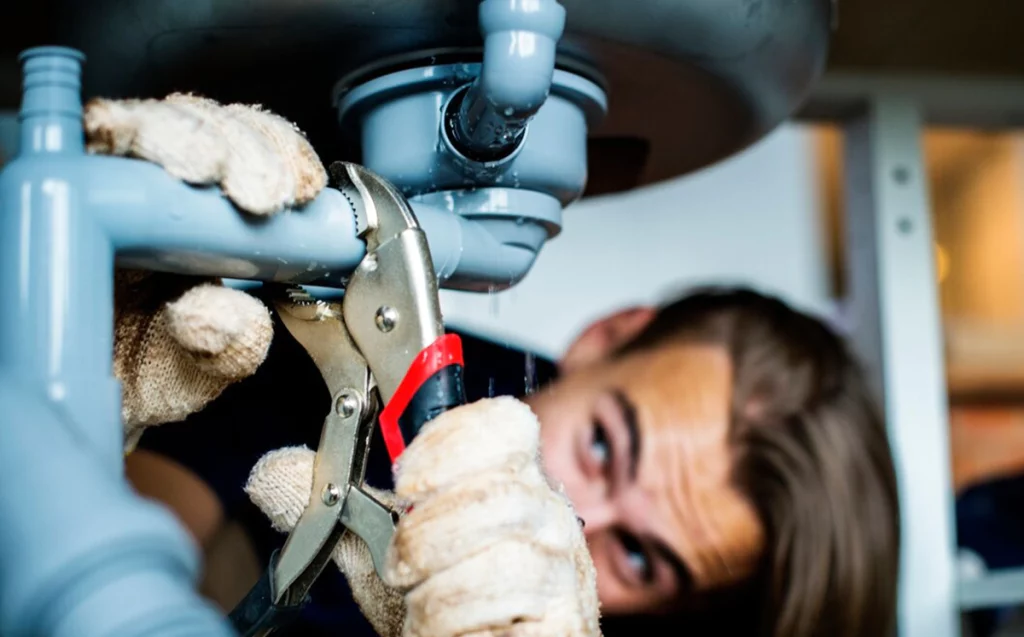
One common mistake is using a regular wrench instead of a pipe wrench or using chemical drain cleaners frequently, which can corrode pipes over time. Another typical DIY error is over-tightening fittings or connections, which might lead to broken bolts or stripped screws.
Detailing Common Mistakes
The sound of rushing water when none should be, a mysterious puddle under the sink, or that ever-annoying dripping faucet. You’ve got a plumbing problem! While it’s tempting to tackle these issues yourself, DIY plumbing often leads to common and sometimes costly mistakes. Let’s dive into these pitfalls to keep our homes dry and our wallets full.
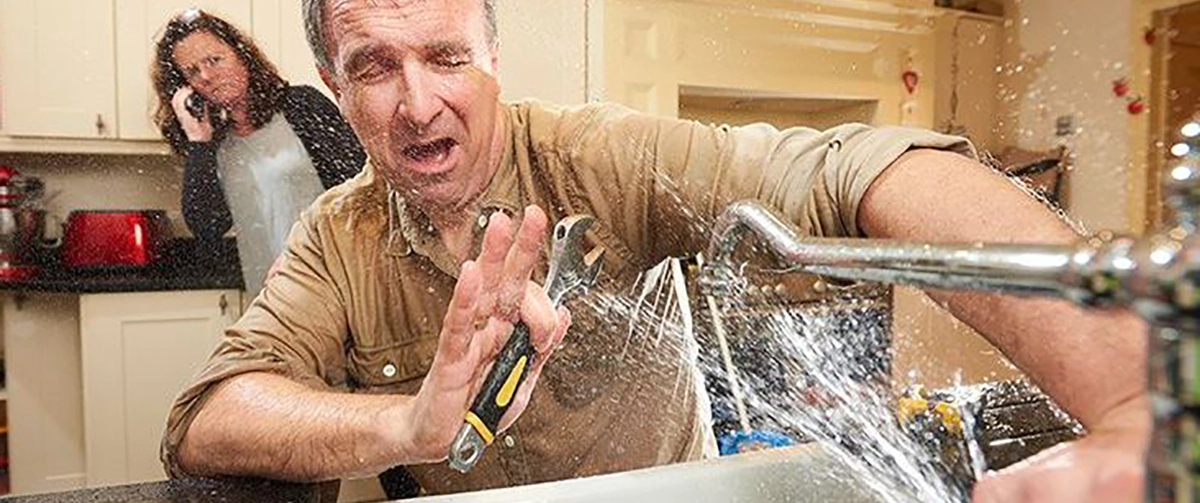
Not Turning Off Water
Imagine painting over a wet canvas. That’s what you’re doing if you don’t turn off the water before a plumbing project. It’s a common oversight and can turn a small job into a flooded disaster.
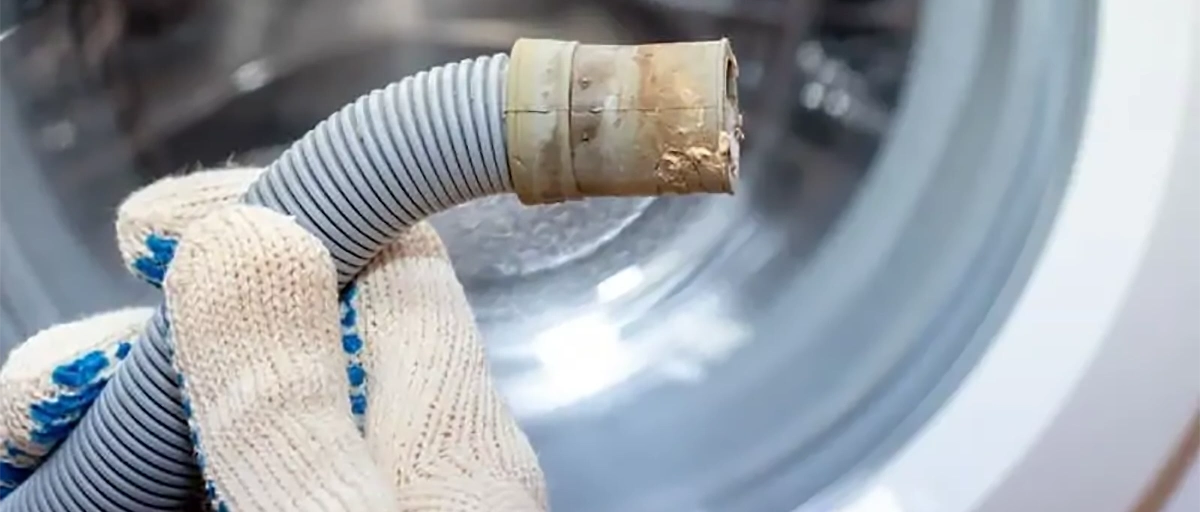
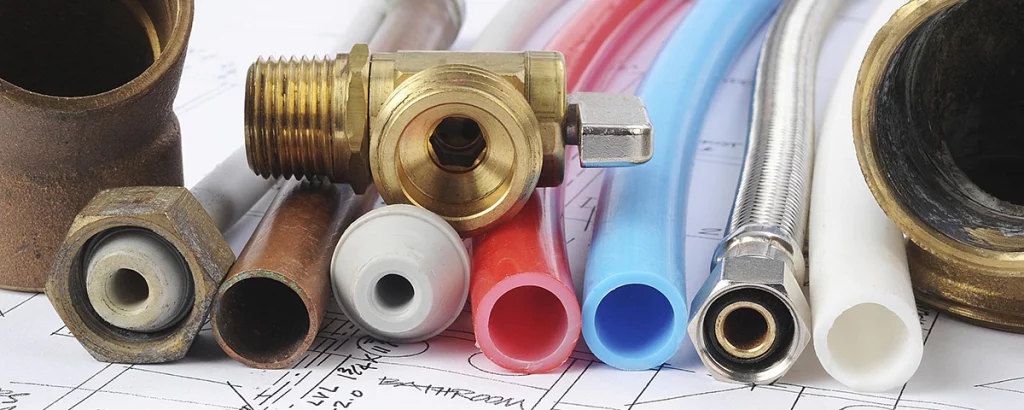
Mismatching Pipes
Not all pipes are created equal. Pairing a copper pipe with a galvanized one, for instance, can cause corrosion. It’s essential to know your pipes and match them correctly. It’s like piecing together a puzzle – the right pieces make a beautiful picture.
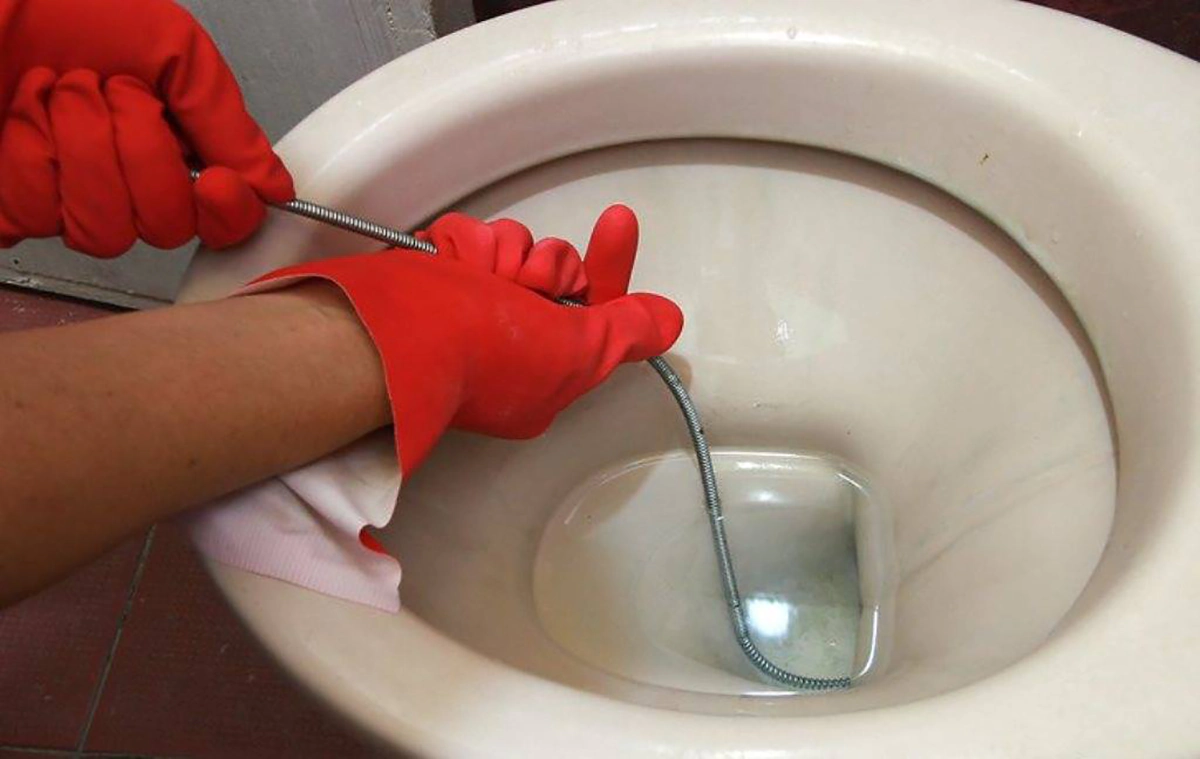
Overuse of Drain Cleaners
We get it, clogged drains are frustrating. But pouring drain cleaner like it’s going out of style? That’s a no-no. Overuse can corrode pipes and harm the environment. A little goes a long way, just like too much of a good thing can be bad.
The Consequences of DIY Mistakes
Who doesn’t love a good DIY project? The idea of rolling up your sleeves and diving into that home improvement task can be incredibly satisfying. It’s a journey of creation, personalization, and oftentimes, significant savings. But what happens when DIY goes wrong?
DIY, or Do It Yourself, has become a buzzword in recent years. Shows on TV, YouTube channels, and numerous blogs have propelled this culture forward. The reasons? First, there’s the sense of accomplishment. Completing a DIY project feels like a personal victory. Secondly, it can be a money-saver. Why hire someone when you can do it yourself for a fraction of the cost?
However, as with everything, there’s a flip side. The downside of DIY is the risk of making mistakes. And in the realm of home improvement, these mistakes can have dire consequences.
Structural Damage
Unstable Foundations and Framework. Imagine trying to fix a minor crack in your wall, and you end up damaging a load-bearing structure. This can lead to instability in your home’s foundation. Such mistakes can also result in sagging roofs or uneven floors. It’s like trying to replace a button on a shirt and ending up tearing the entire sleeve.
Damages Beyond Repair. Some DIY errors can result in irreversible damages. You might think you’re adding value to your home by creating a new window space, but end up compromising the structural integrity of the wall.
The Cost of Rectifying DIY Mistakes. These mistakes don’t just pose dangers; they also come with a price tag. Often, the cost of fixing a DIY mistake is much higher than if a professional had been hired in the first place. Think of it as trying to bake a cake without a recipe, messing it up, and then buying a new one from the store – it’s double the expense!
Health Risks
Exposure to Harmful Substances. Many home improvement projects involve chemicals or materials that can be harmful if not handled correctly. Accidentally puncturing a pipe could expose you to mold or asbestos, especially in older homes.
Physical Injuries. Then there’s the risk of physical injury. Misusing tools, not taking proper safety precautions, or simply being unaware can lead to cuts, bruises, or more severe injuries. Ever tried catching a falling knife? It’s a reflex, but not always the right decision.
Long-Term Health Impacts. Furthermore, certain mistakes might not show immediate health risks but can manifest over time. Prolonged exposure to mold or using the wrong type of paint can have long-term health implications.
Remember, it’s okay to admit when you’re out of your depth. Sometimes, it’s better to seek professional help than to dive into a project with limited knowledge. It’s like trying to swim across a vast ocean with just a lifejacket – ambitious, but risky.
DIY projects can be fun, fulfilling, and economical. But it’s essential to recognize the potential pitfalls. Before starting a DIY task, assess the risks, gather the right knowledge, and don’t hesitate to call in the pros when things get tricky. Because, in the end, isn’t the safety and well-being of our homes and ourselves the ultimate goal?
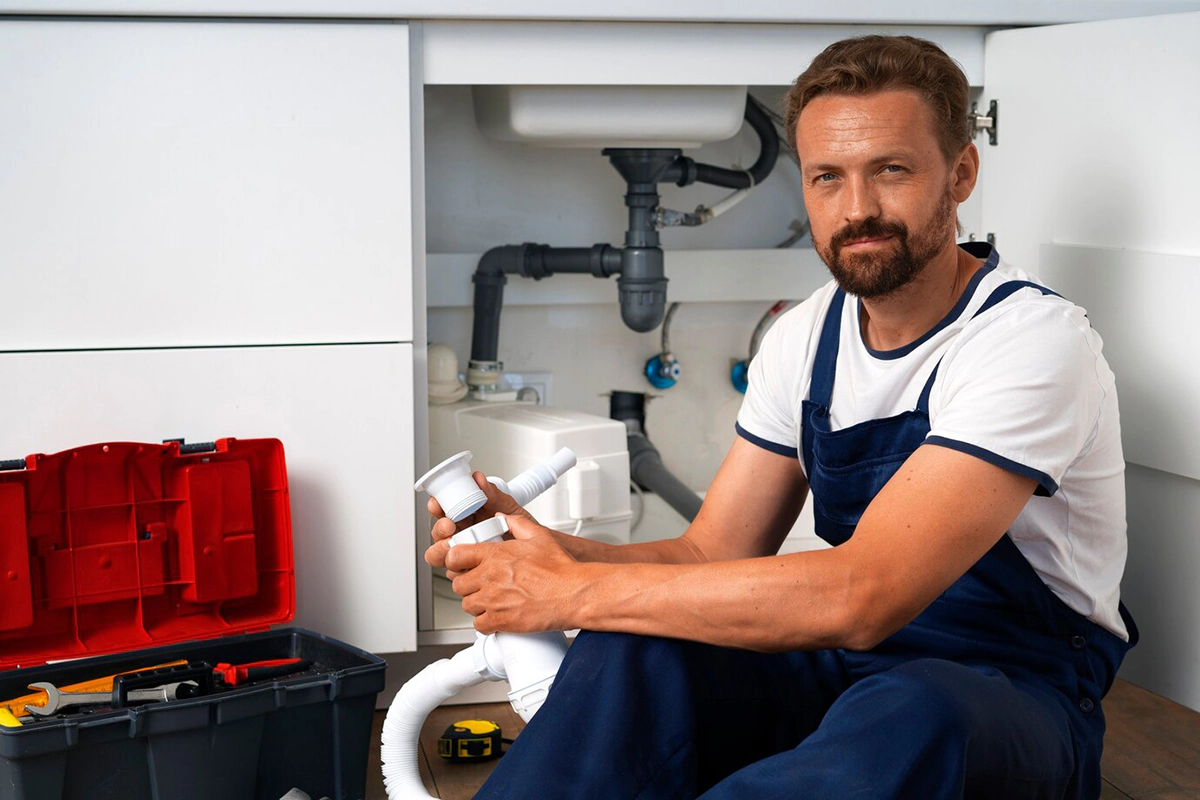
Consulting Professionals
While DIY projects can be fulfilling, when in doubt, always consult a professional. They bring expertise, experience, and the right tools for the job.
DIY plumbing projects can save money, but they come with their set of risks. By recognizing and understanding common mistakes, you can avoid the pitfalls many face. And remember, there’s no shame in seeking professional help when needed. After all, isn’t it better to be safe than sorry?
Signs You Need to Call a Plumber
- Persistent Leaks: If you’ve tried fixing a leak and it still persists, it’s time to call a professional.
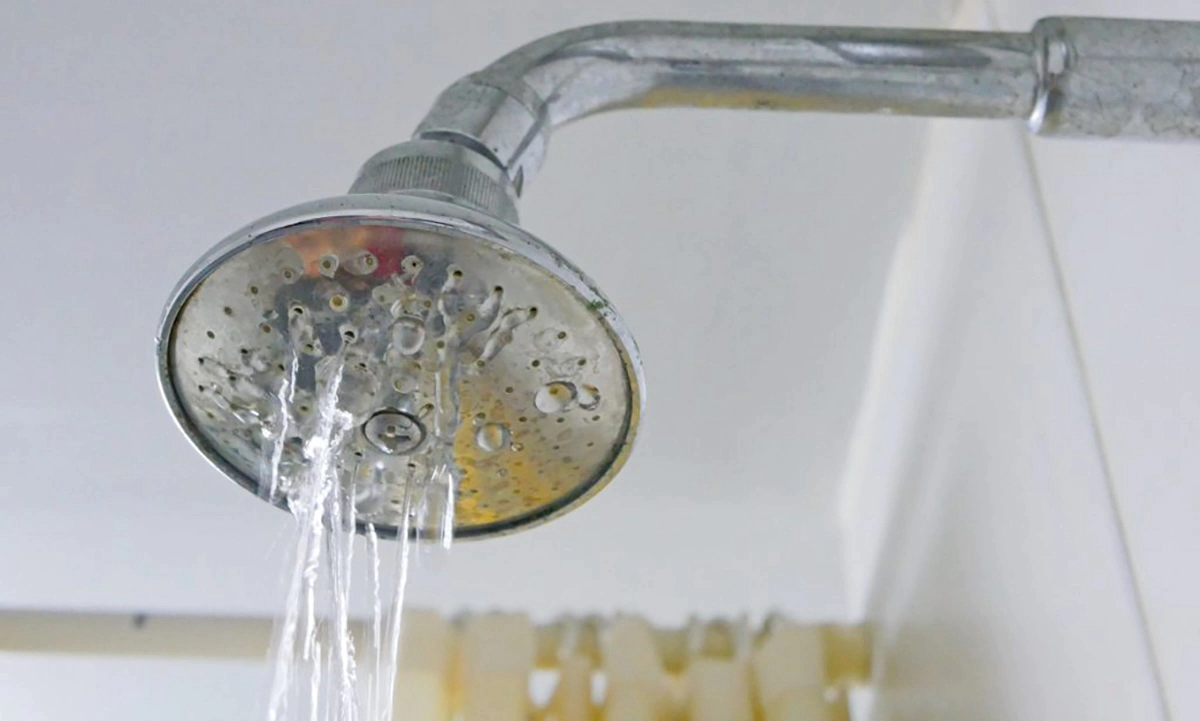
- Low Water Pressure: If water trickles out of your taps, there could be an underlying issue like a hidden leak or blockage.
- No Hot Water: If your water heater isn’t working correctly, it’s best to have a plumber inspect it. DIY fixes might result in more damage or potential hazards.
- Sewer Line Issues: If you notice a foul smell or multiple drains clogging at once, it might indicate a problem with your sewer line.
- Remodeling Projects: If you’re planning to remodel your bathroom or kitchen, involving a plumber can help you avoid costly mistakes.
In essence, if you’re unsure about a task or the problem seems beyond your skills, it’s always safer to call a professional.
DIY projects can be incredibly rewarding, but they also come with their set of challenges, especially in areas like plumbing where errors can be costly. Remember, there’s no shame in seeking professional help when necessary. It’s always better to ensure the job is done right, ensuring the safety and longevity of your home’s plumbing system.
FAQ about common plumbing mistakes
The five most common plumbing problems are: a. Dripping faucets b. Clogged drains c. Running toilets d. Leaky pipes e. Low water pressure.
The risks of DIY plumbing include causing further damage, resulting in more expensive repairs, potential health hazards due to incorrect handling of materials, and the possibility of violating local building codes.
Proper tool use in DIY plumbing is essential to prevent damage to pipes and fittings, ensure safe and effective repairs, and maintain the longevity and efficiency of the plumbing system. Using the wrong tools can lead to mistakes that might escalate existing issues or create new problems.