Why Pipes Are Making Noises: Causes, Risks, and Professional Solutions
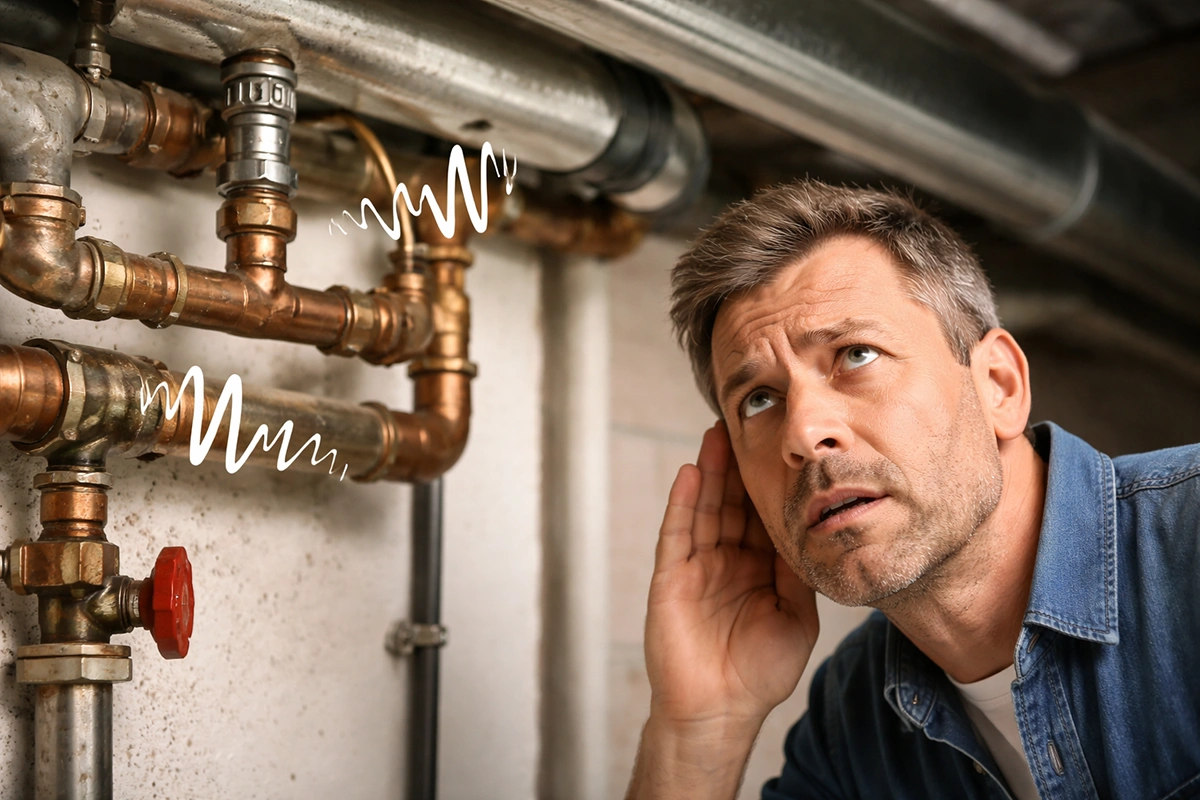
When homeowners notice that pipes keep making noises, it often starts as a minor annoyance but quickly turns into a concern. Many clients contact us saying that their pipes started making loud noises suddenly, even though nothing has changed in daily water usage.
Others report that my pipes are making noises mainly at night, after flushing the toilet, or when the heating system turns on.
From an expert plumbing perspective, pipes making noises is not a random issue. These sounds are a signal that something inside the plumbing system needs attention. Understanding what causes noises in pipes allows you to respond early, avoid damage, and maintain a safe and efficient system.
Common Plumbing Noises in Pipes and What They Mean
Plumbing systems can produce different sounds depending on the underlying issue. Identifying the type of noise is the first step toward an effective solution.
Banging and Knocking Pipes
If pipes are making strange noises such as loud bangs or sharp knocks, the most common cause is water hammer. This happens when water flow stops abruptly, forcing pressure back through the system.
Typical reasons include:
- Sudden valve closure;
- Excessive water pressure;
- Failed or missing air chambers.
Over time, water hammer can loosen fittings, stress joints, and increase the risk of leaks.
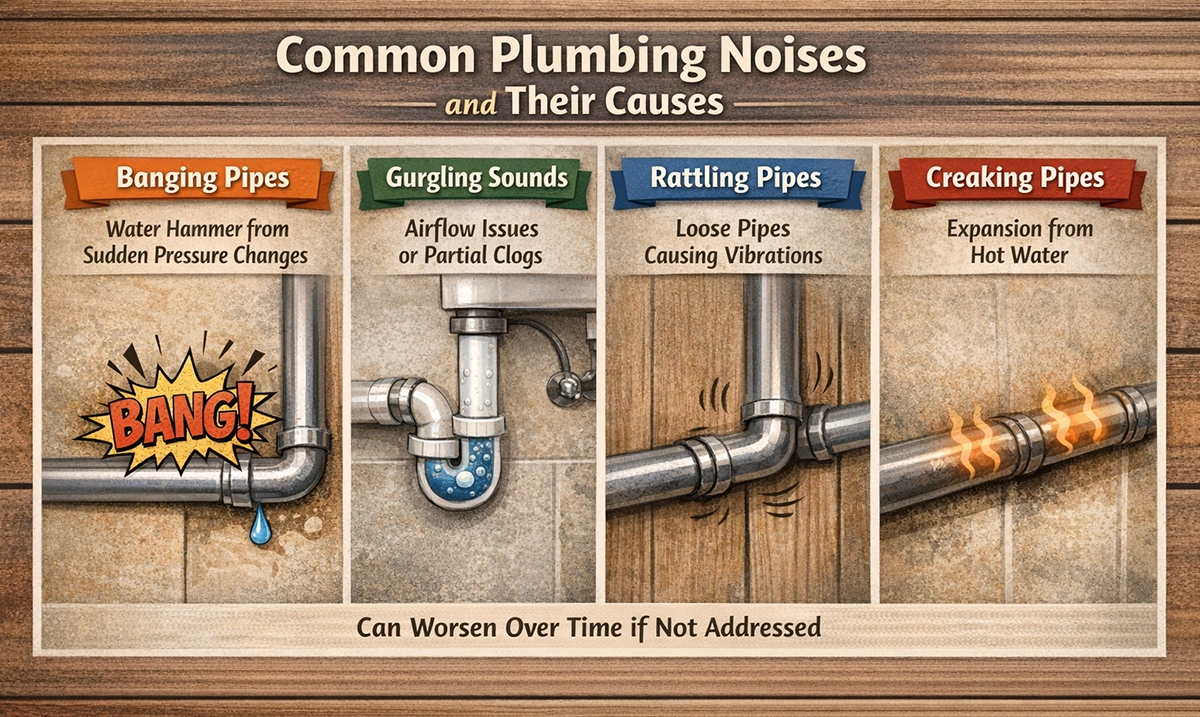
Gurgling Noises in Water Pipes
Many homeowners ask, why are my water pipes making gurgling noises?
Gurgling sounds usually point to airflow problems or partial blockages.
Common causes of noises in drain pipes include:
- Clogged drain lines;
- Improper venting;
- Debris buildup inside pipes.
These noises in pipes are often heard after flushing toilets, draining sinks, or during heavy water use.
Rattling and Vibrating Pipes
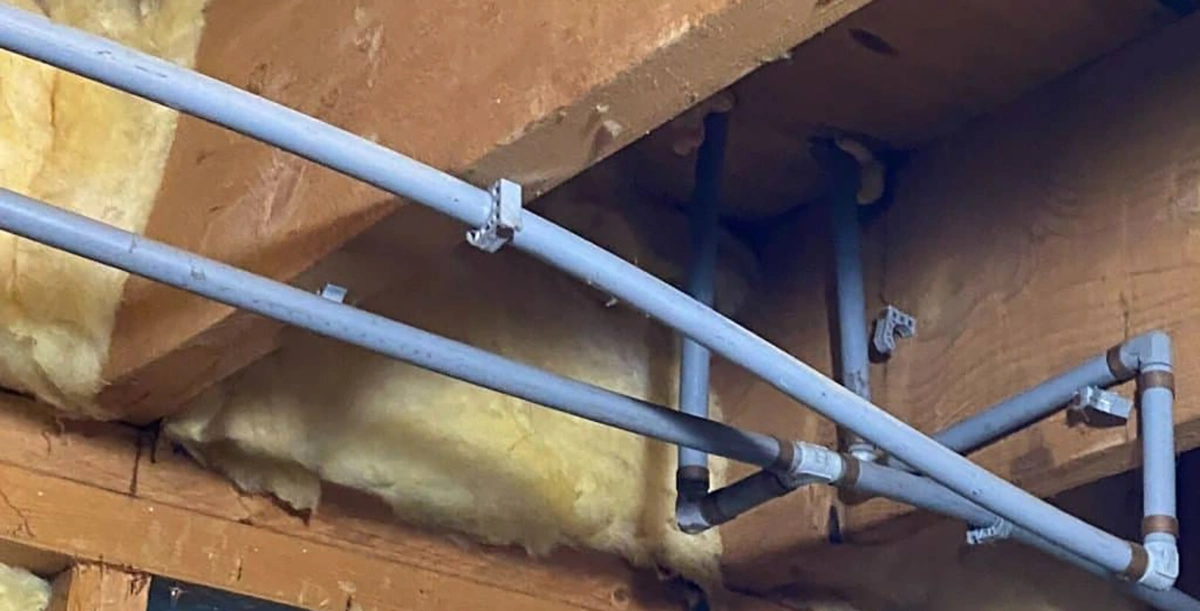
Rattling is one of the most common plumbing noises in pipes, especially in older buildings. When pipes are not properly secured, water movement causes them to vibrate against walls, joists, or other surfaces.
This issue often appears when:
- Pipes lack proper mounting brackets;
- Fasteners have loosened over time;
- Pipe insulation is missing or worn.
Creaky and Squeaky Pipe Noises
Creaky pipes noises are usually related to thermal expansion. As hot water flows, pipes expand and rub against surrounding materials. When they cool, they contract, producing repetitive squeaks or creaks.
These noises in water pipes are not dangerous but can worsen if pipes are tightly constrained without insulation.
What Causes Noises in Pipes?
From a professional plumbing standpoint, the most frequent causes include:
- High or fluctuating water pressure;
- Trapped air in supply or drain systems;
- Loose fittings or unsecured pipe runs;
- Thermal expansion from hot water or heating systems;
- Blockages, sludge, or sediment buildup.
If pipes started making loud noises, it usually means one of these factors has gradually reached a critical point.
How to Fix Pipes Making Noises
1. Secure and Insulate Pipework
One of the simplest solutions is properly securing exposed pipes. Adding pipe clips, brackets, or insulation can significantly reduce vibration and pipes making noises during normal operation.
This is especially effective for:
- Rattling supply lines;
- Vibrating drain pipes;
- Creaking caused by friction.
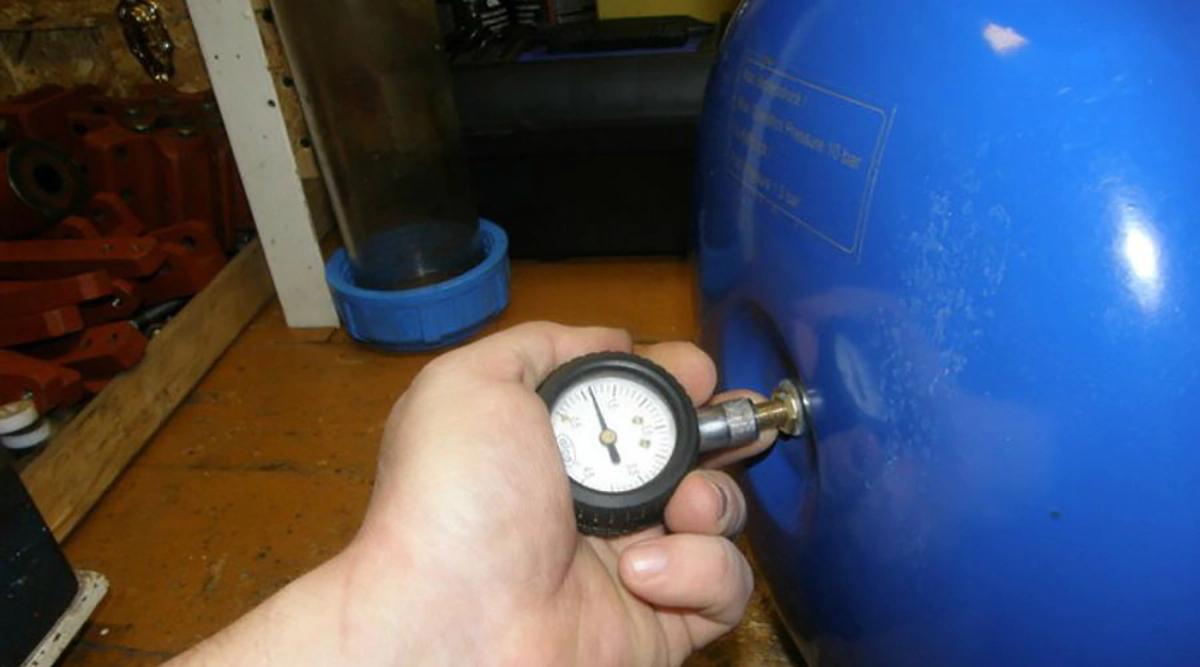
2. Adjust Water Pressure
High pressure forces water through pipes too aggressively, increasing noise and wear. Installing or adjusting a pressure-reducing valve can eliminate many noises in pipes and protect fixtures and appliances.
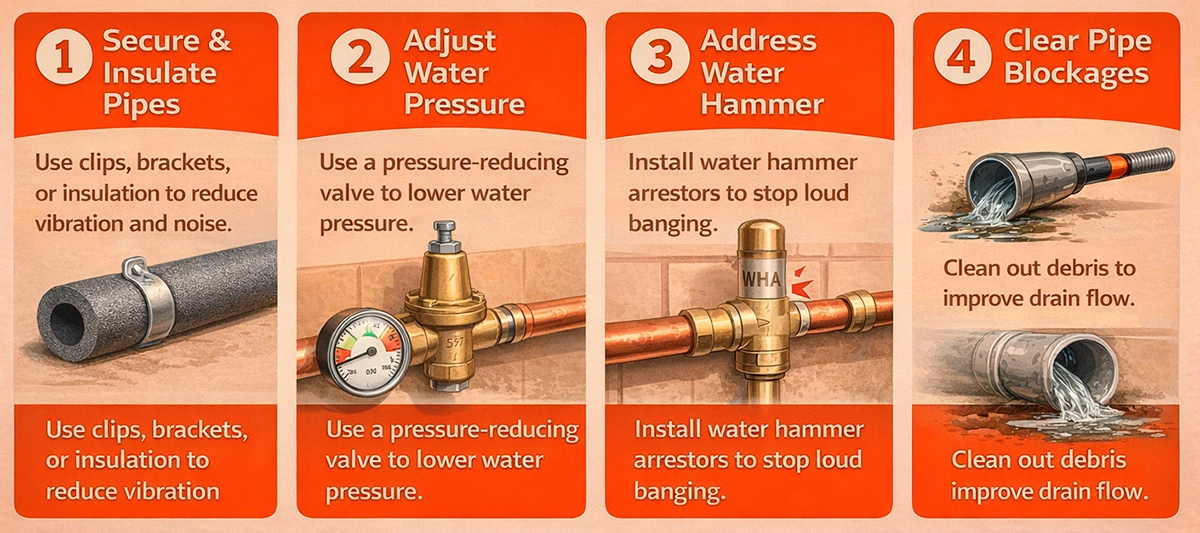
3. Address Water Hammer
If your pipes are making strange noises such as loud bangs, installing water hammer arrestors can absorb pressure shocks and prevent long-term damage.
In some cases, resetting air chambers may also help, but persistent hammering should be professionally evaluated.
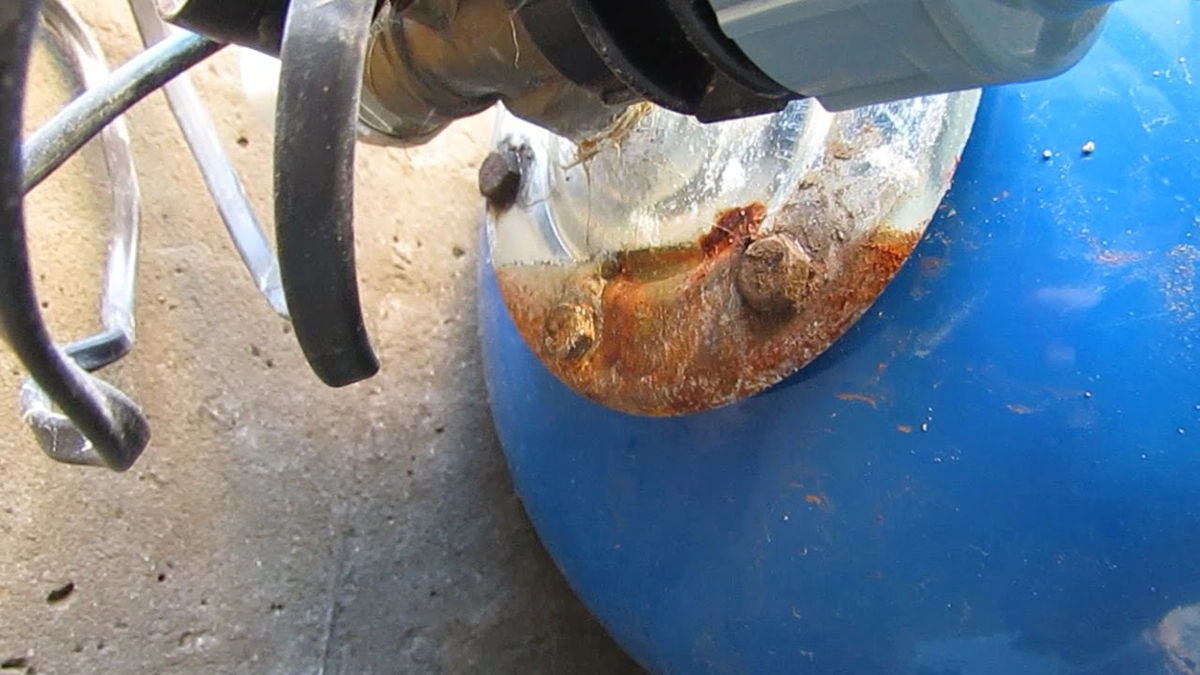
4. Clear Blockages and Improve Drain Flow
Persistent noises in drain pipes often indicate blockages or sludge buildup. Professional drain cleaning removes debris safely and restores proper airflow and drainage.
This approach prevents:
- Gurgling sounds;
- Slow drainage;
- Pressure imbalance in the system.
When Pipe Noises Become a Serious Problem
While some plumbing noises in pipes are harmless, others can signal risks that should not be ignored.
Call a professional if:
- pipes keep making noises even after basic fixes;
- noises increase in volume or frequency;
- leaks, damp spots, or reduced water pressure appear;
- noises are accompanied by foul odors from drains.
Ignoring these signs can lead to pipe damage, water leaks, or costly repairs.
Professional Plumbing Services That Help Eliminate Pipe Noises
In many cases, resolving noisy pipes requires targeted plumbing services rather than temporary fixes. Depending on the cause, professional solutions may include:
- Drain cleaning and camera inspection to identify blockages;
- Pipe repair or replacement for damaged sections;
- Installation of pressure regulators or water hammer arrestors;
- Securing and insulating exposed pipework;
- Repairing or replacing faulty valves and fittings.
Expert diagnosis ensures the root cause is addressed, not just the symptom.
Final Thoughts from Plumbing Experts
If my pipes are making noises, it’s never something to ignore. Each sound — whether banging, gurgling, rattling, or creaking — provides valuable insight into what’s happening inside the system. By understanding what causes noises in pipes and acting early, homeowners can avoid structural damage, water loss, and unnecessary stress.
A quiet plumbing system isn’t just about comfort — it’s a sign of safety, efficiency, and long-term reliability.