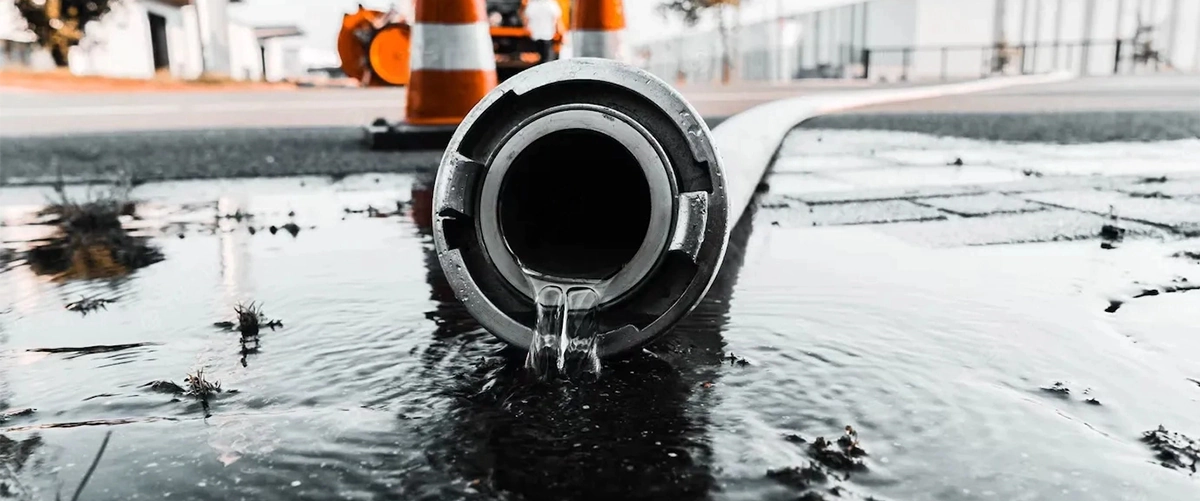
As a homeowner, one of the worst plumbing problems you can face is a blocked main sewer line. Not only can it cause a huge mess and inconvenience, but it can also lead to costly repairs if not dealt with promptly.
Maintaining your plumbing system is extremely important. While some plumbing issues can be minor and easy to fix, others can be much more serious and require immediate attention. One such issue is a blocked main sewer line. In this article, we’ll discuss the warning signs of a blocked main sewer line, DIY solutions, when to call a professional plumber, and how to prevent this problem from occurring.
Why is a Blocked Main Sewer Line a Problem?
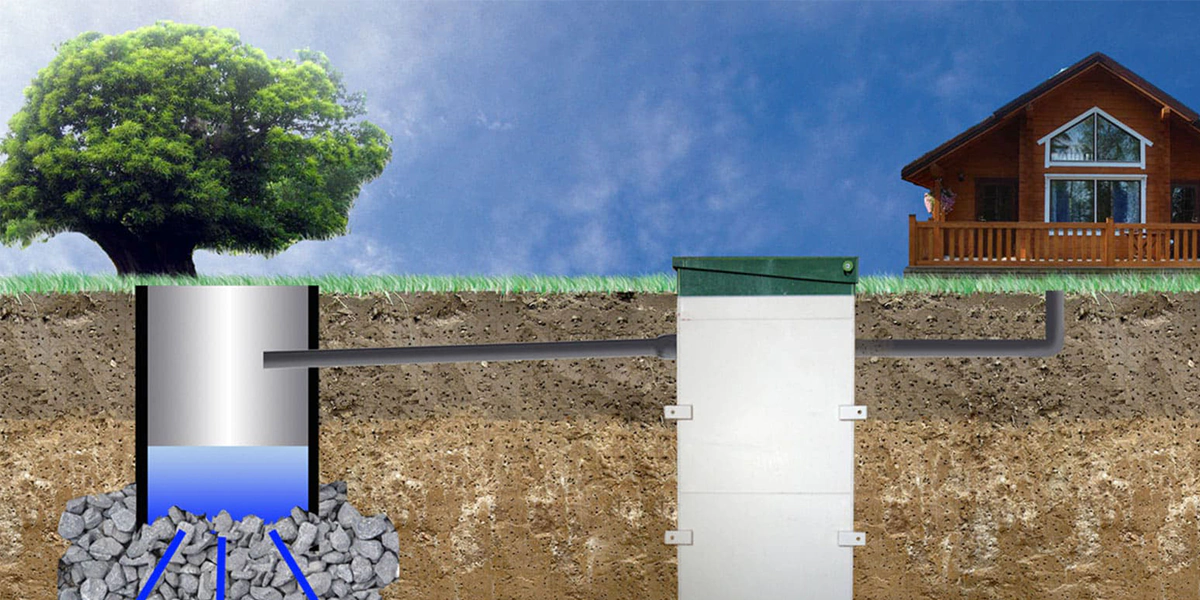
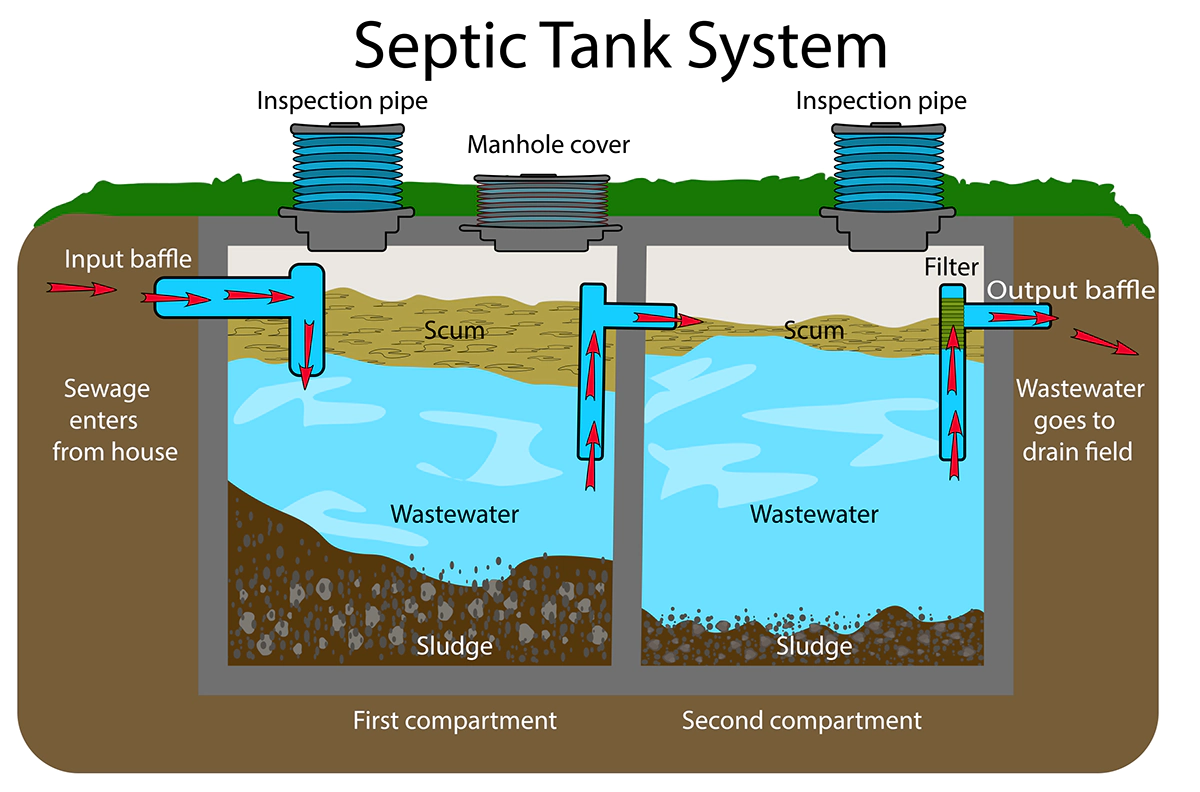
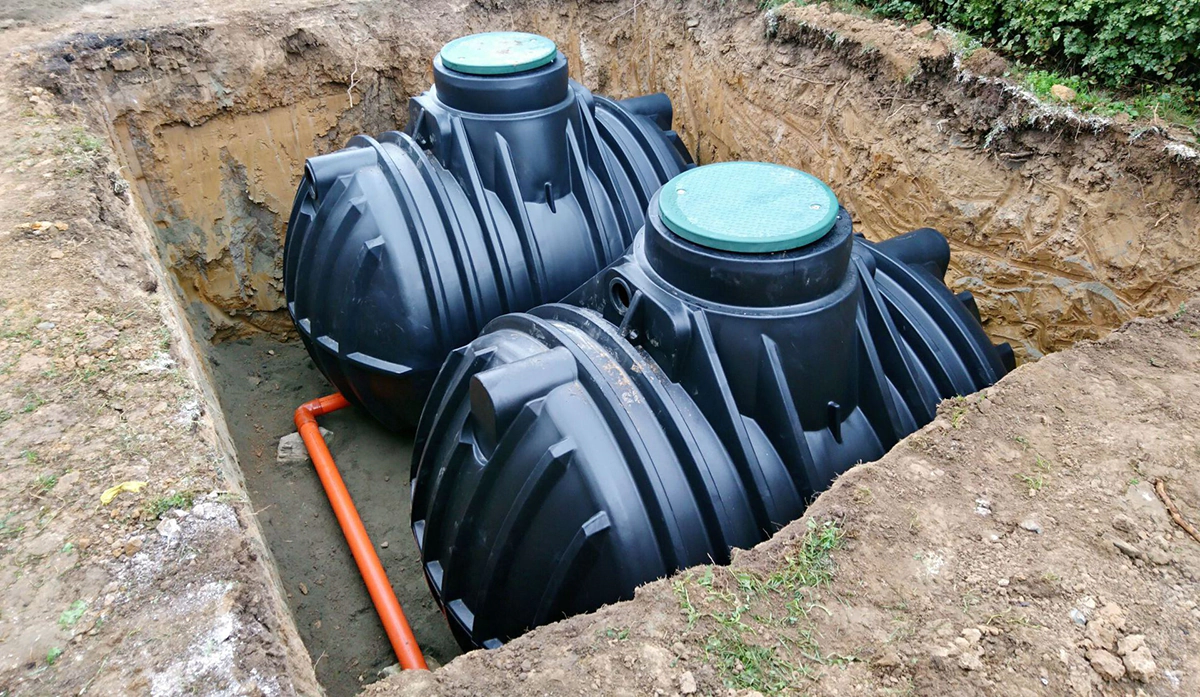
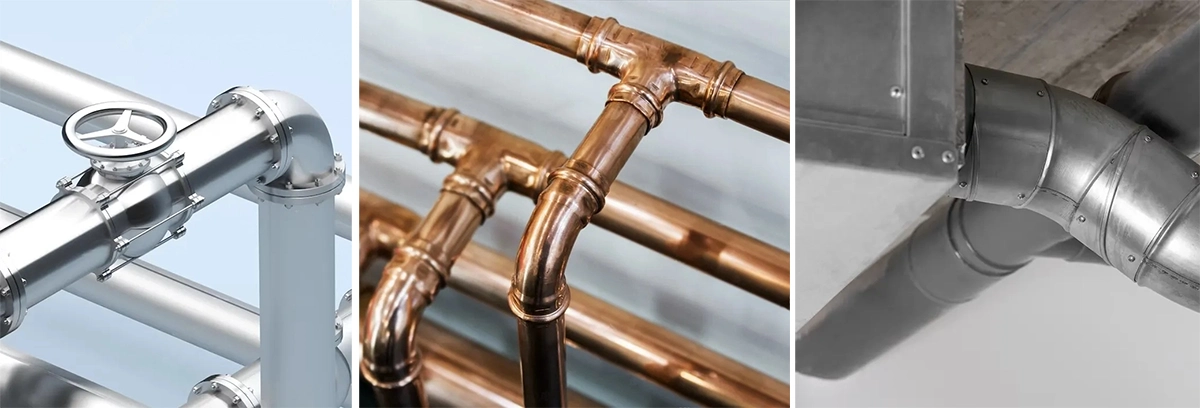
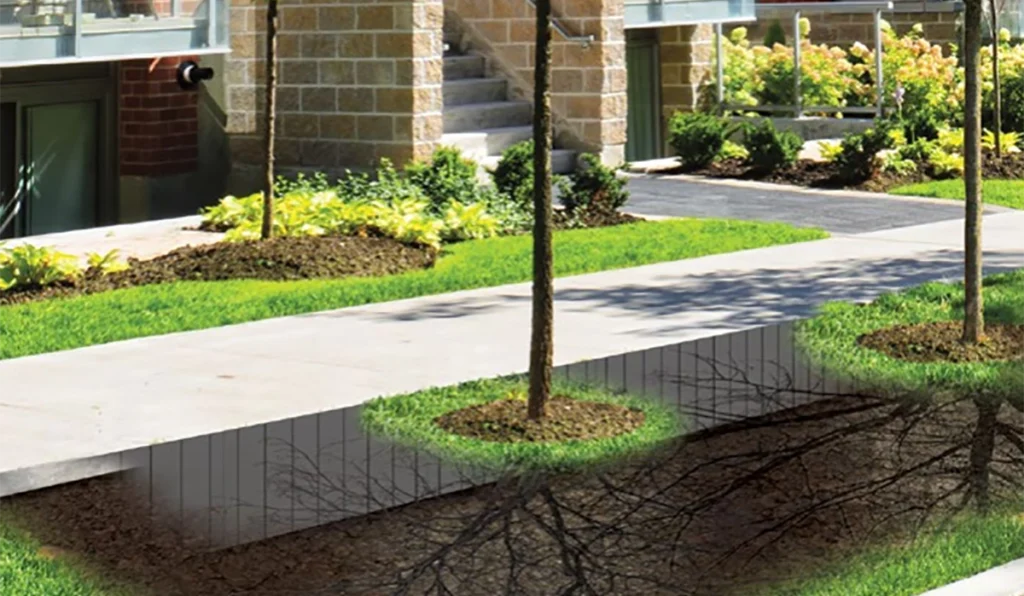
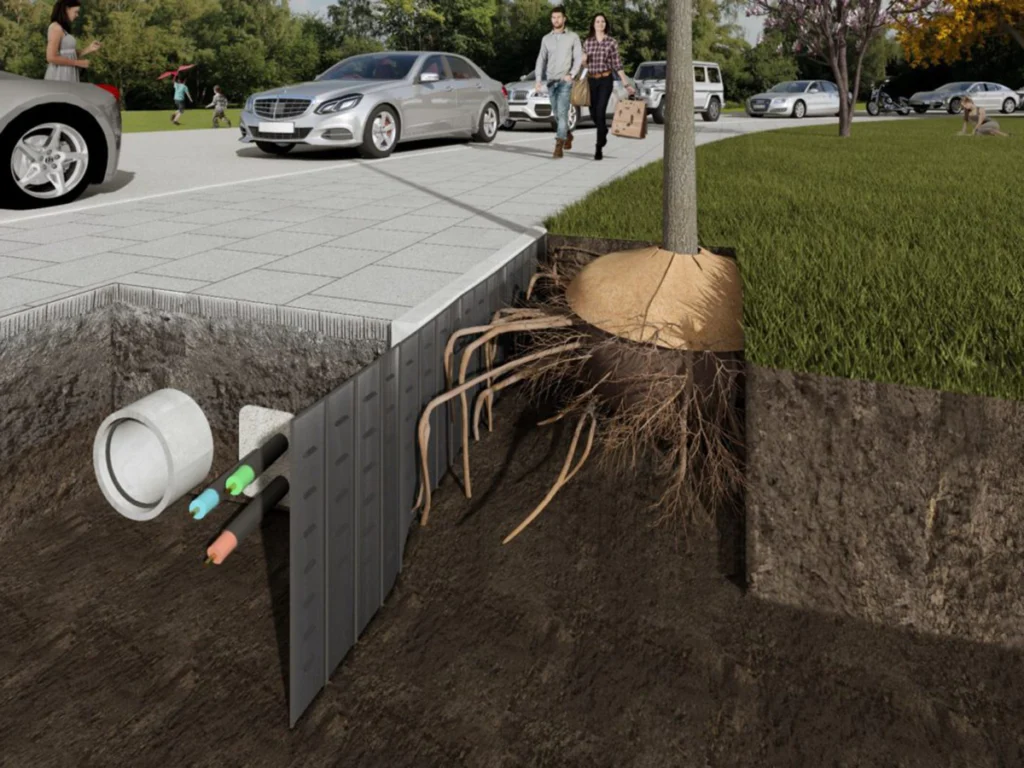
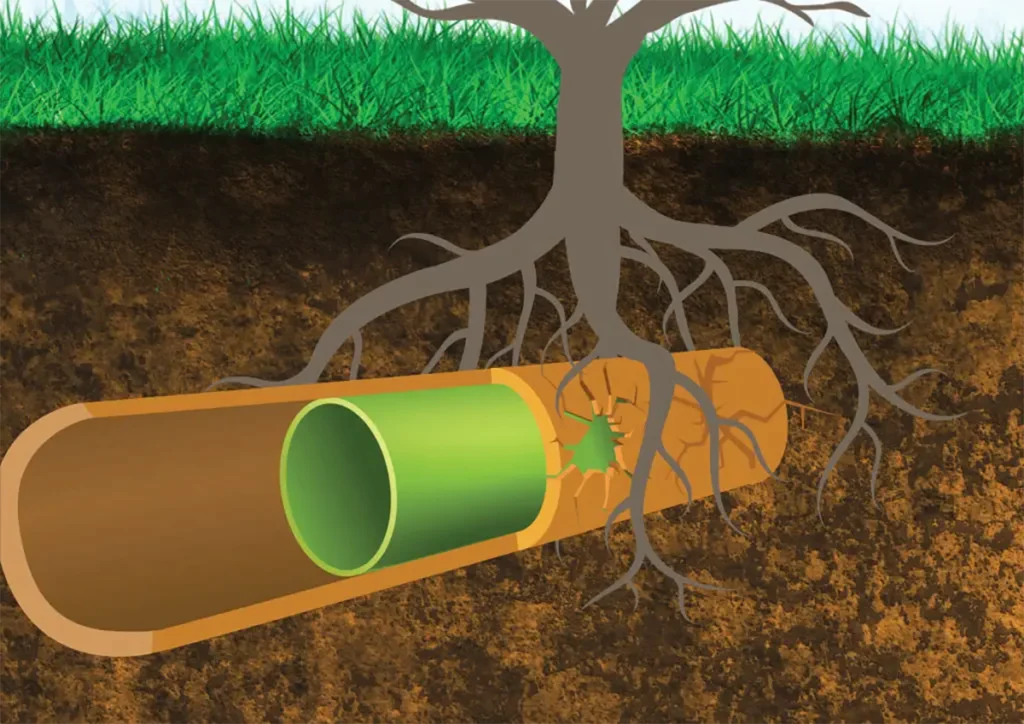
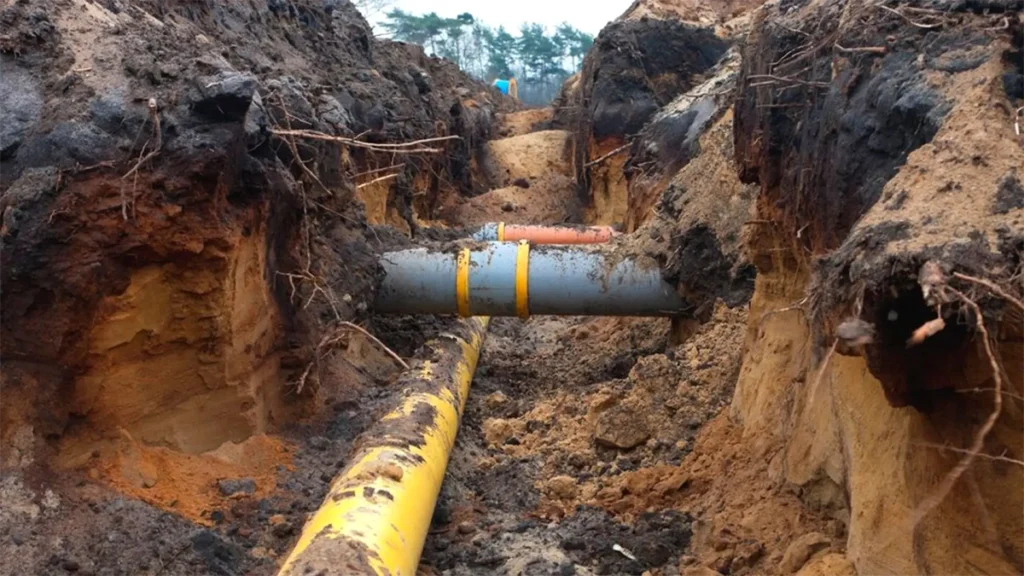
Before we get into why a blocked main sewer line is such a big problem, let’s first define what a main sewer line is. The main sewer line is the pipe that connects your home’s plumbing system to the municipal sewer system. It’s responsible for carrying all of the wastewater from your home to the sewer system.
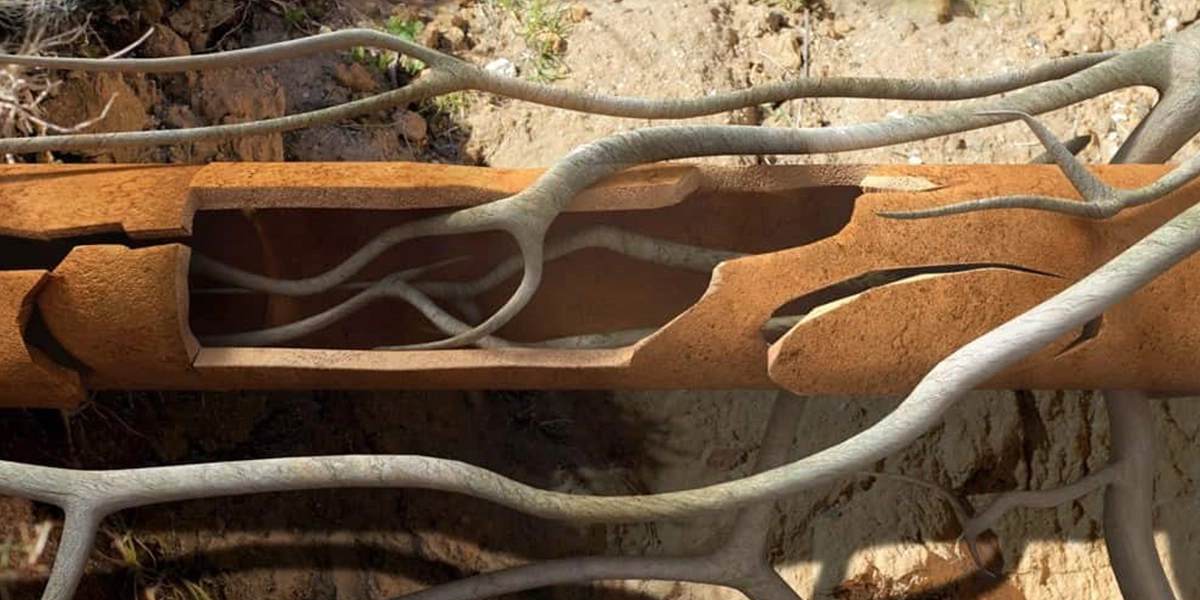
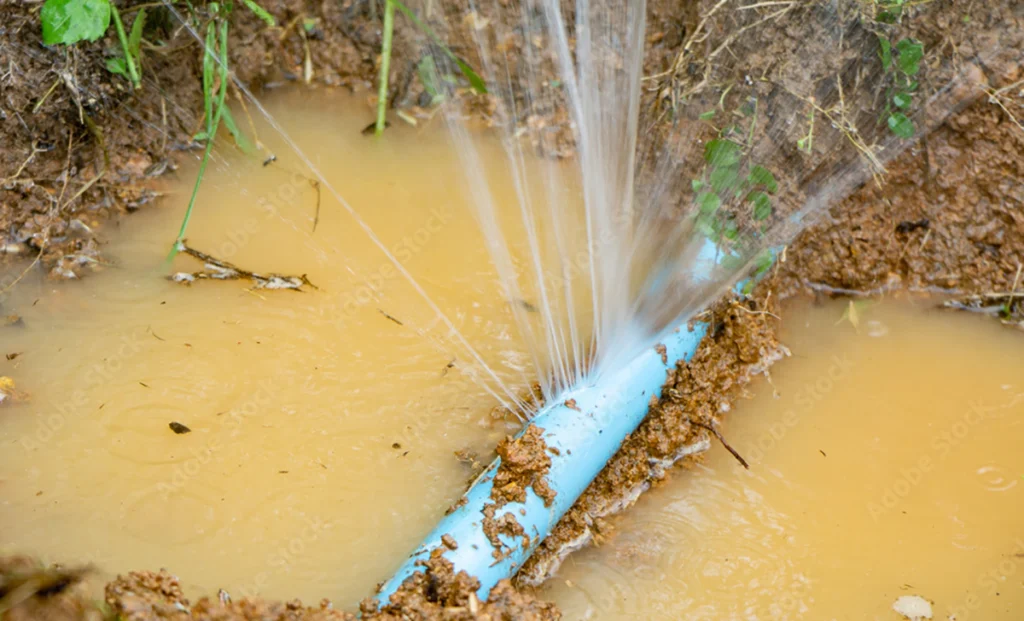
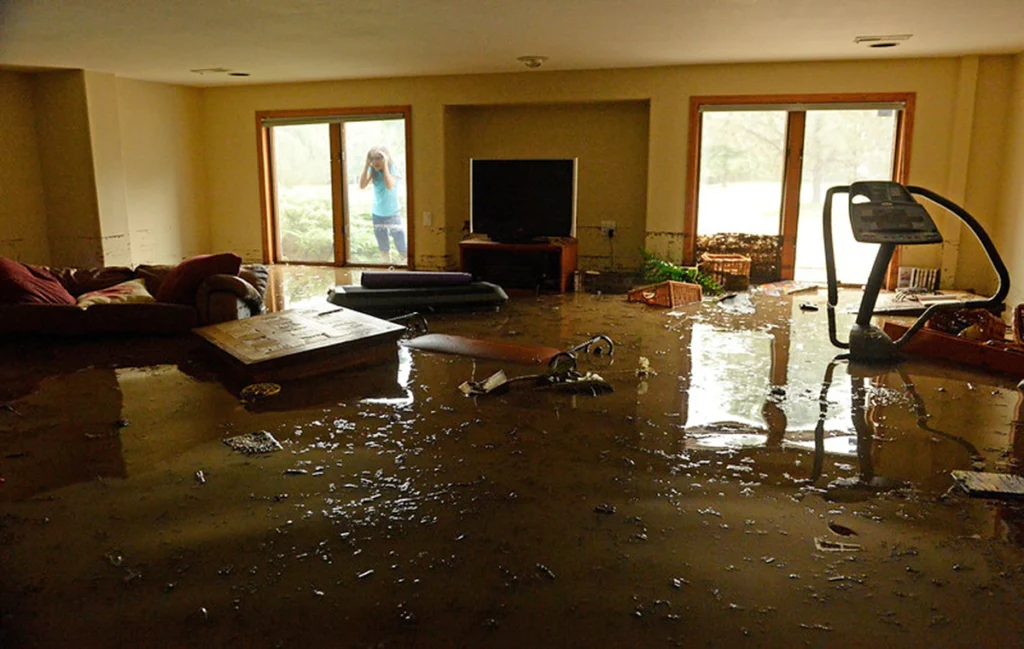
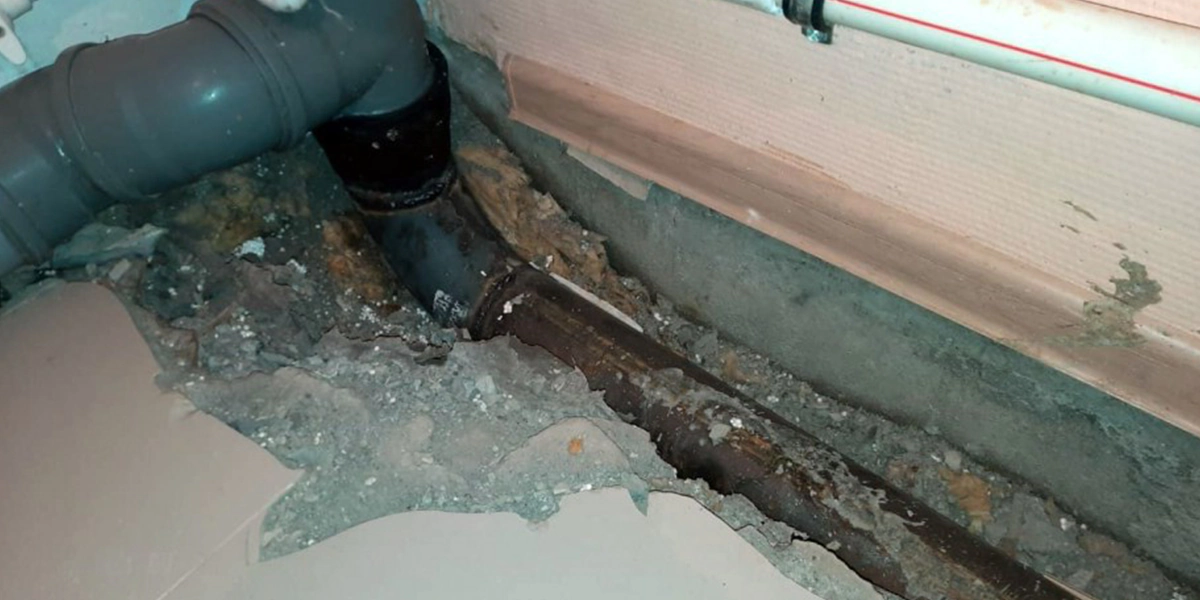
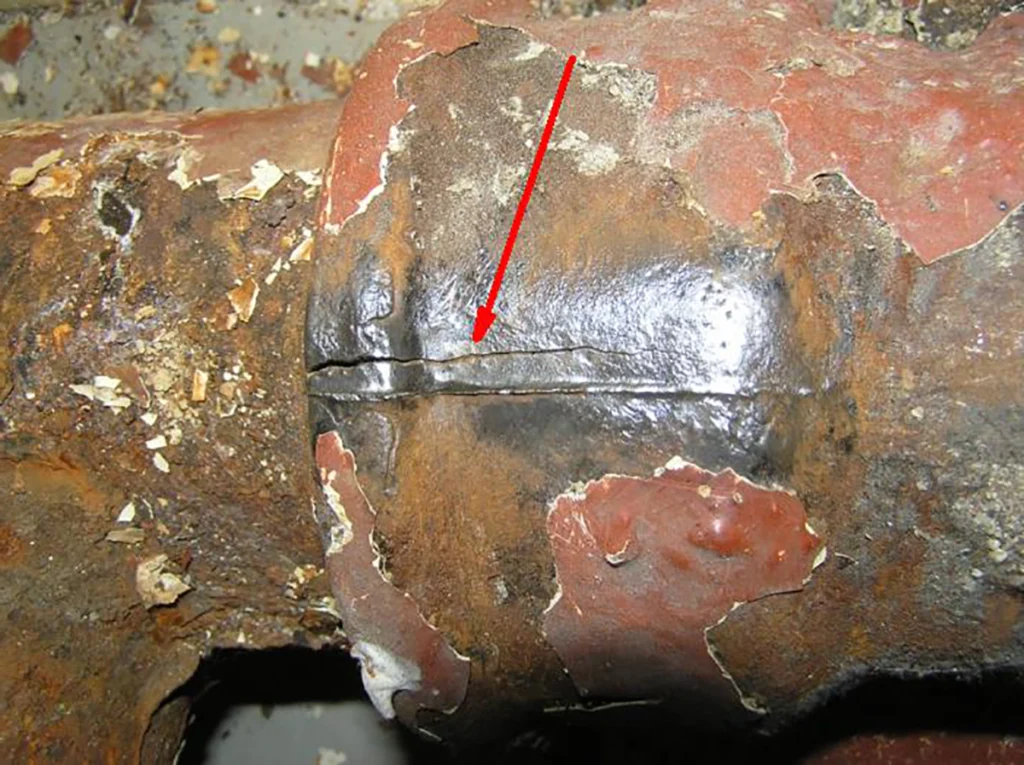
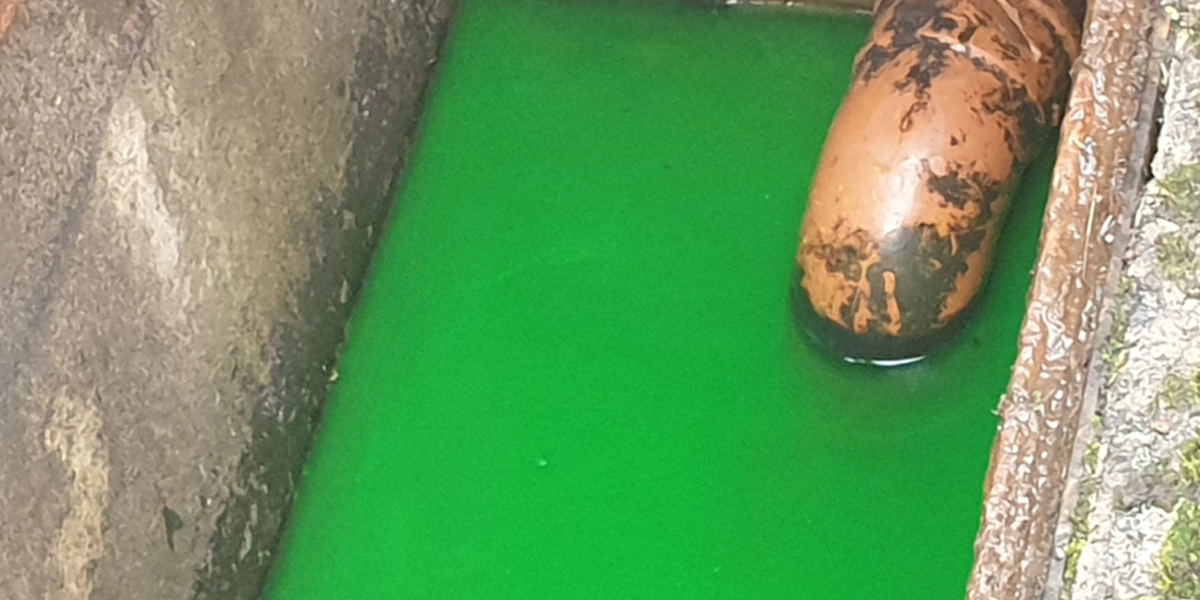
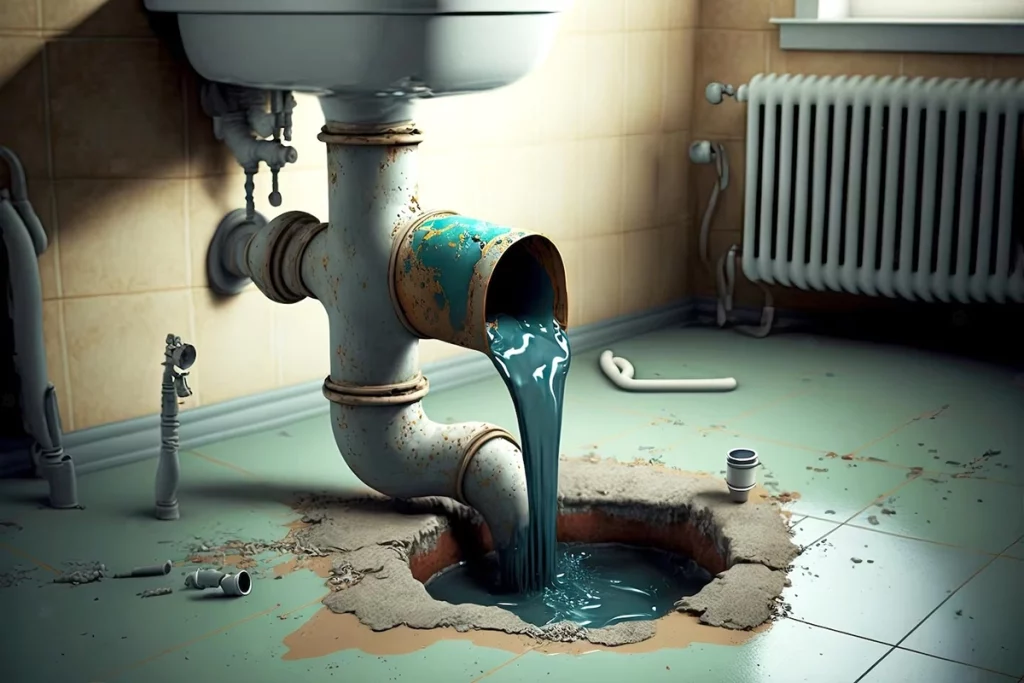
A blocked main sewer line can cause a variety of problems for homeowners. First and foremost, it can cause sewage to back up into your home, leading to unpleasant odors and potential health hazards. It can also cause water damage to your home and property, as well as damage to your plumbing system. Finally, a blocked main sewer line can be expensive to repair if left unchecked, as it can cause extensive damage to your home’s foundation and landscaping.
Signs of a Blocked Main Sewer Line
There are several warning signs of a blocked main sewer line that homeowners should be aware of:
#1: Slow Drains
If your sinks, showers, and toilets are draining slowly, it could be a sign of a blocked main sewer line. This is because the water is not able to flow freely through the pipes and is instead backing up.
#2: Water Backup in Multiple Drains
If you notice water backing up in multiple drains throughout your home, it’s likely that you have a blocked main sewer line. This is because the sewage has nowhere else to go and is backing up through your drains.
#3: Foul Odors
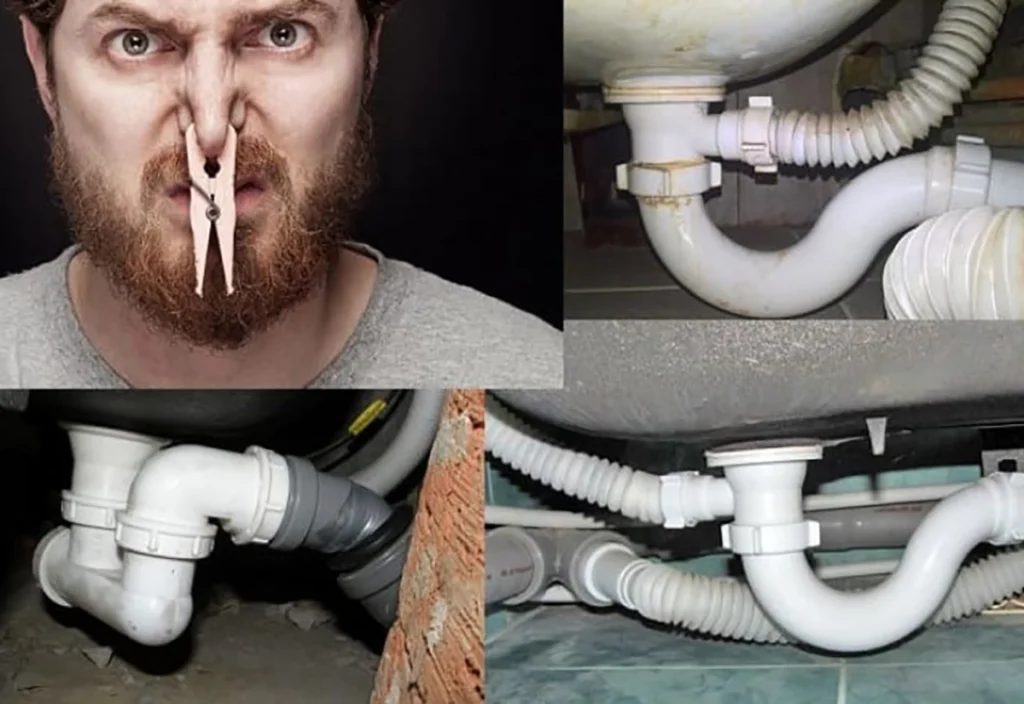
A blocked main sewer line can cause unpleasant odors to emanate from your drains or your yard. This is due to the sewage backing up and not being able to properly drain away.
#4: Strange Noises
If you hear gurgling or bubbling noises coming from your drains, it could be a sign of a blocked main sewer line. This is because the water is not able to flow freely and is instead creating air pockets in the pipes.

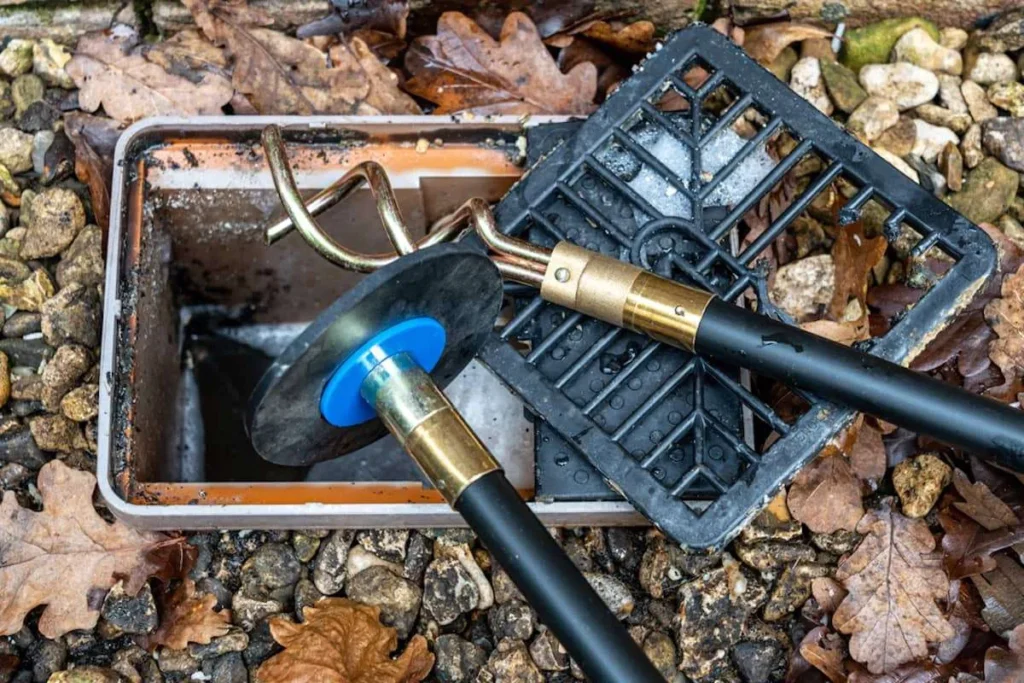
DIY Solutions for a Blocked Main Sewer Line
There are a few DIY solutions that you can try if you suspect a blocked main sewer line:
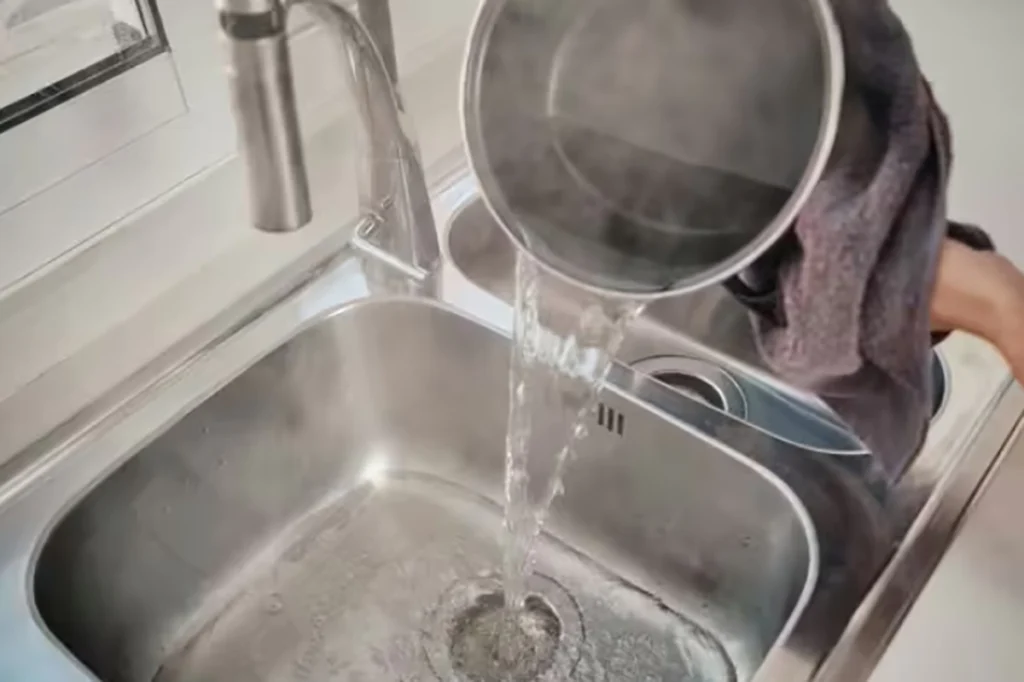
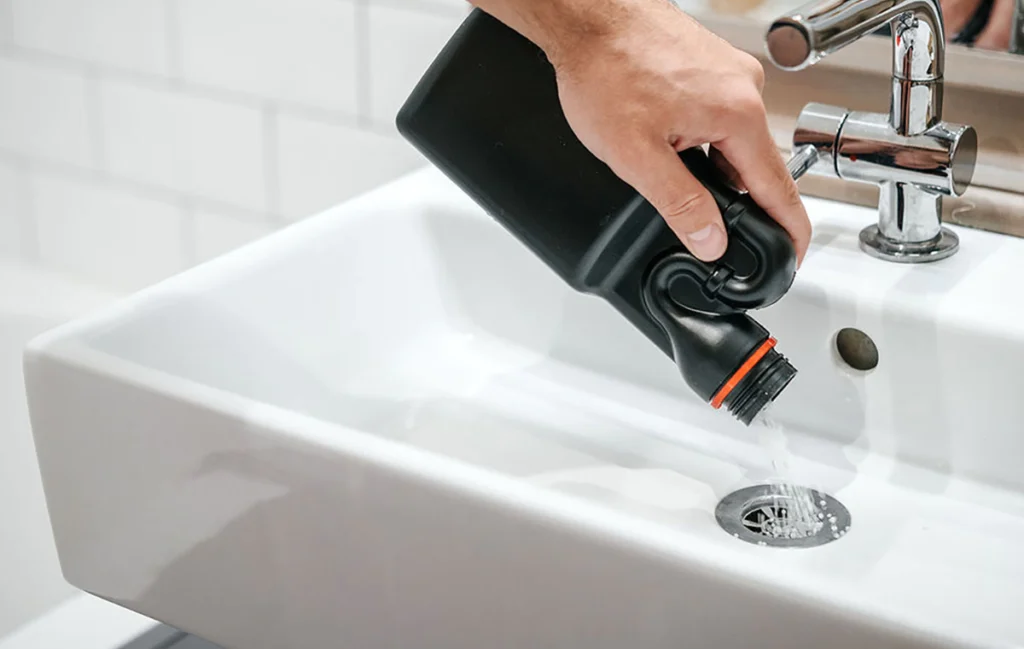
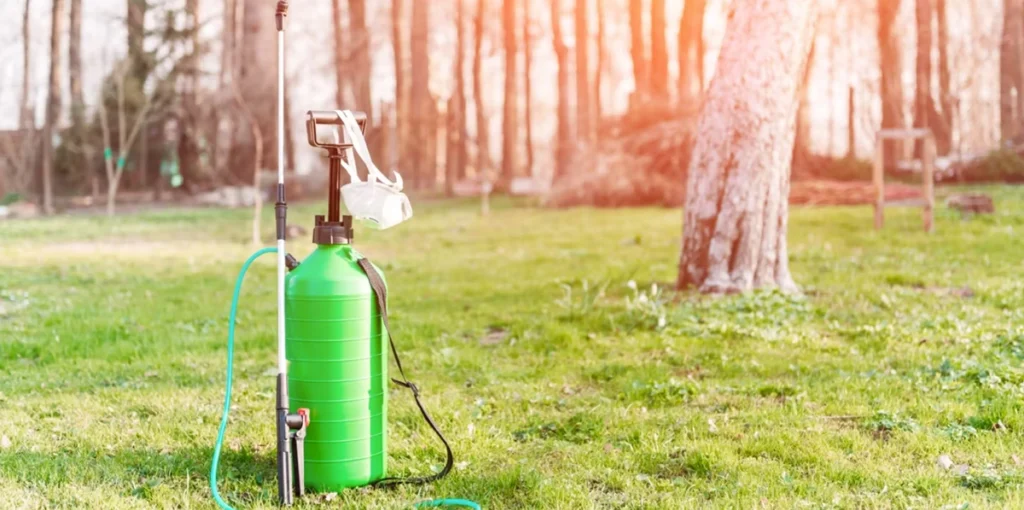
- Boiling water: Pouring boiling water down the drain can help dissolve the blockage. However, it’s essential to be cautious when handling boiling water.
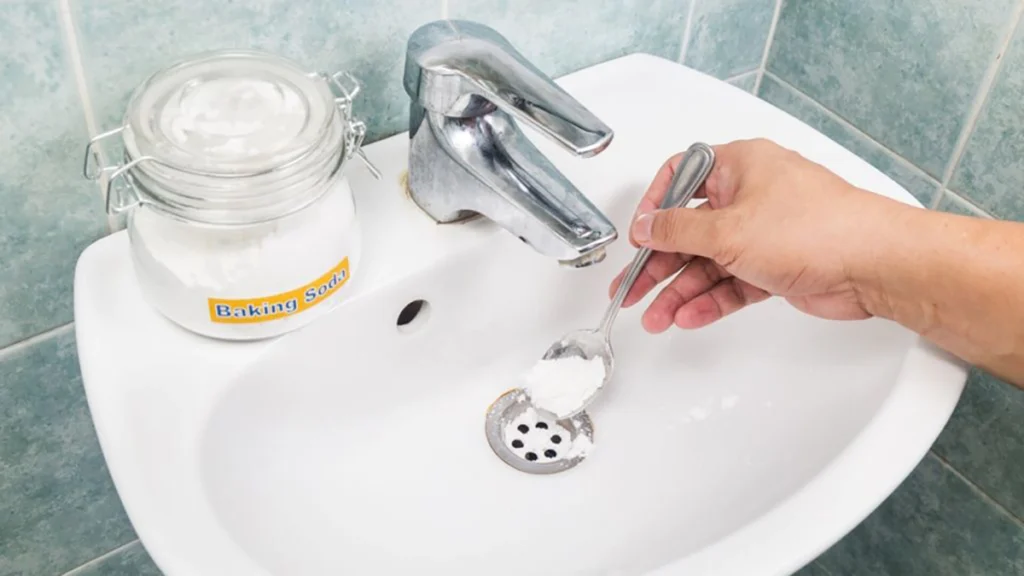
- Baking soda and vinegar: Mix baking soda and vinegar and pour it down the drain. Before washing with hot water, leave it for several hours, only then rinse.
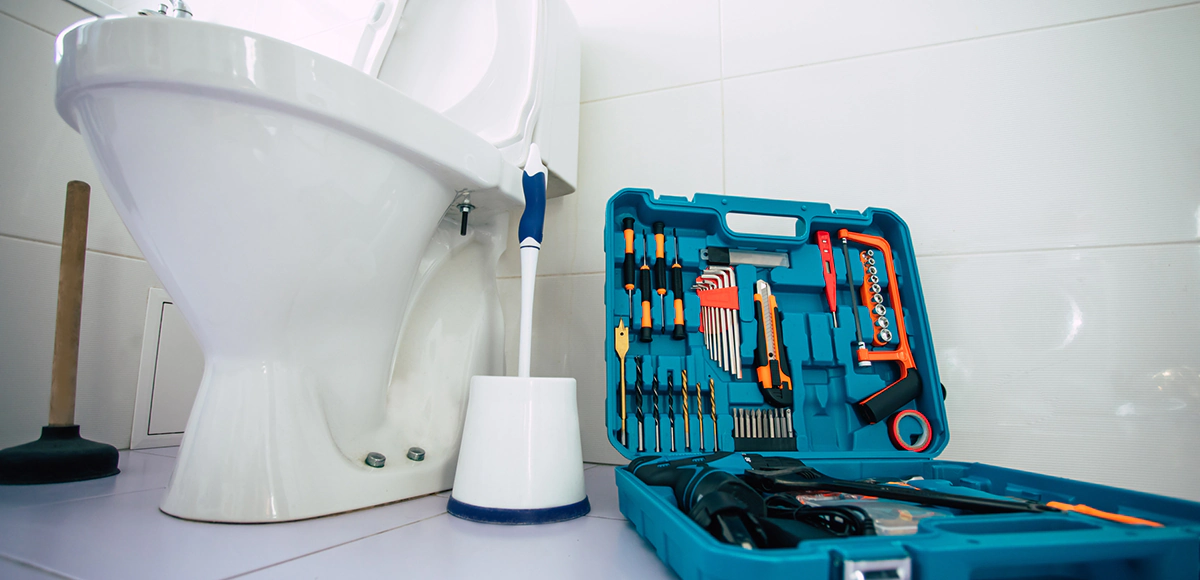
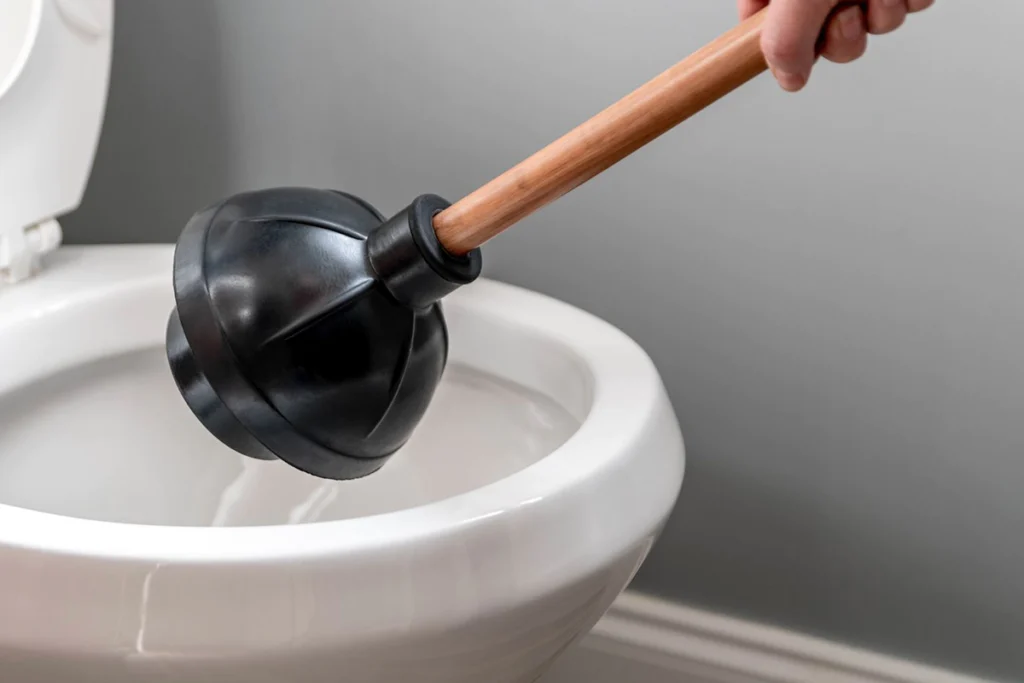
- Plunger: Using a plunger can help dislodge the blockage. Make sure to use a plunger that is designed for toilets.
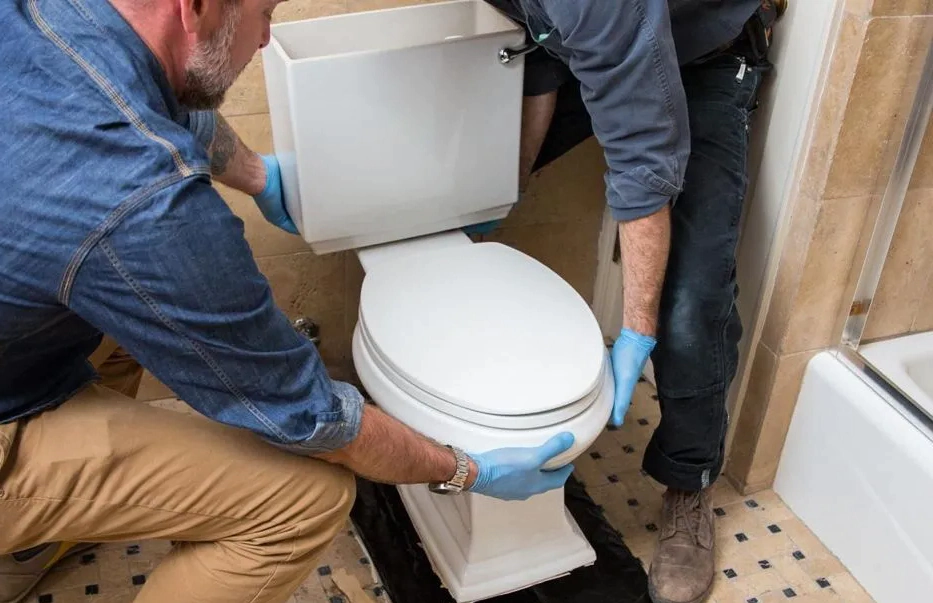
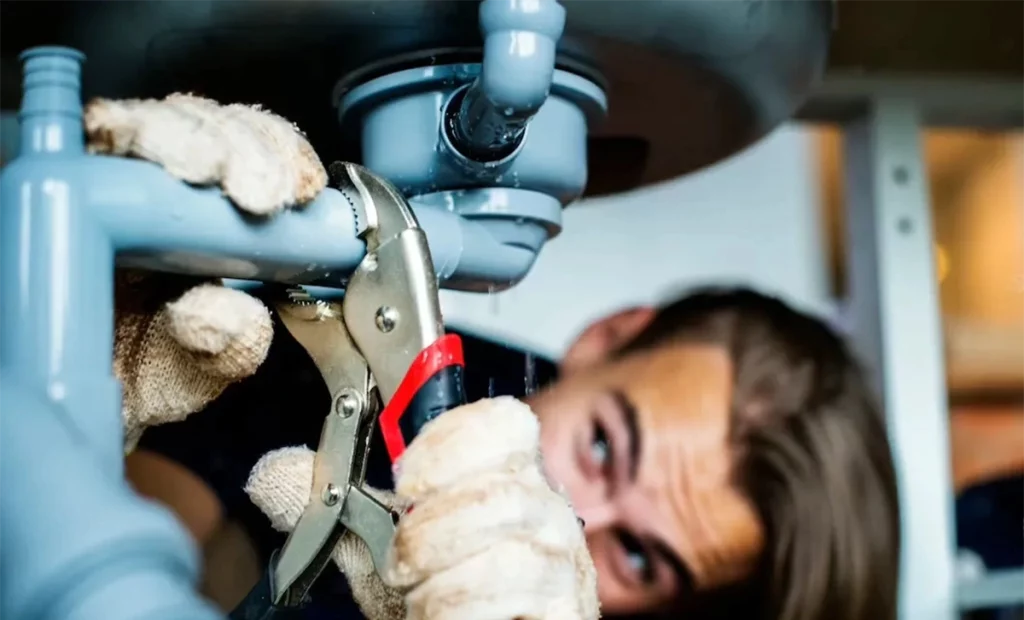
When to Call a Professional Plumber
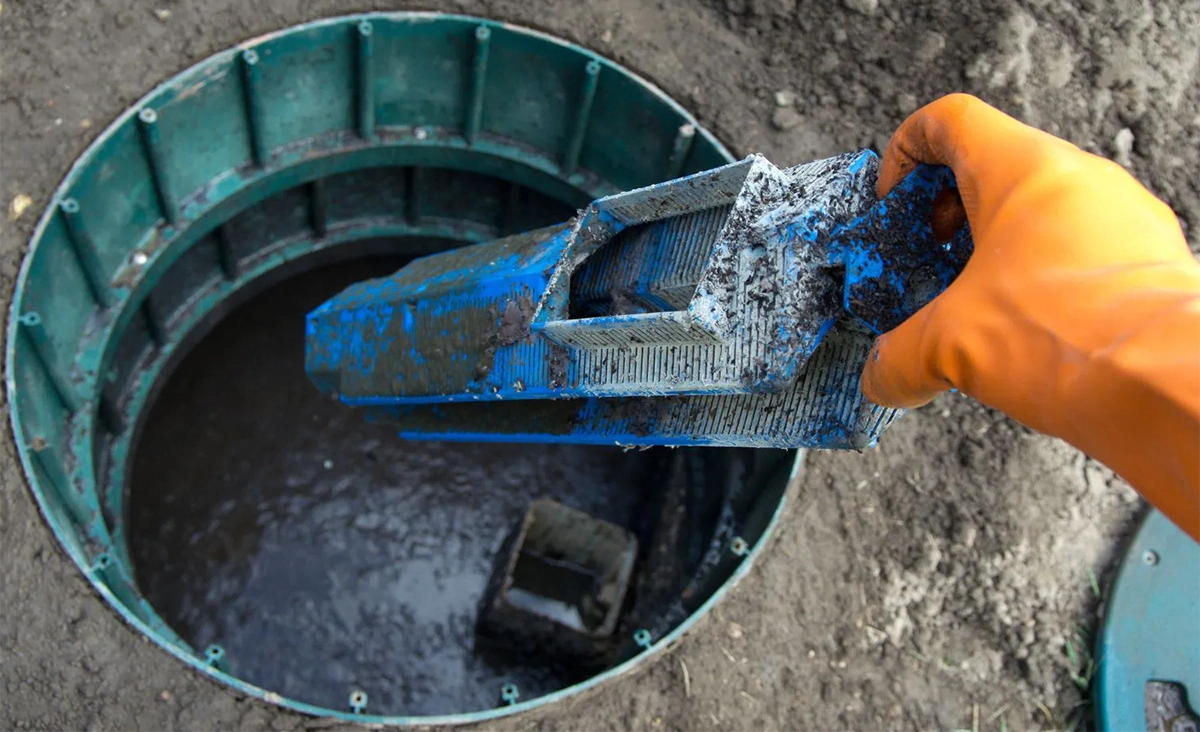
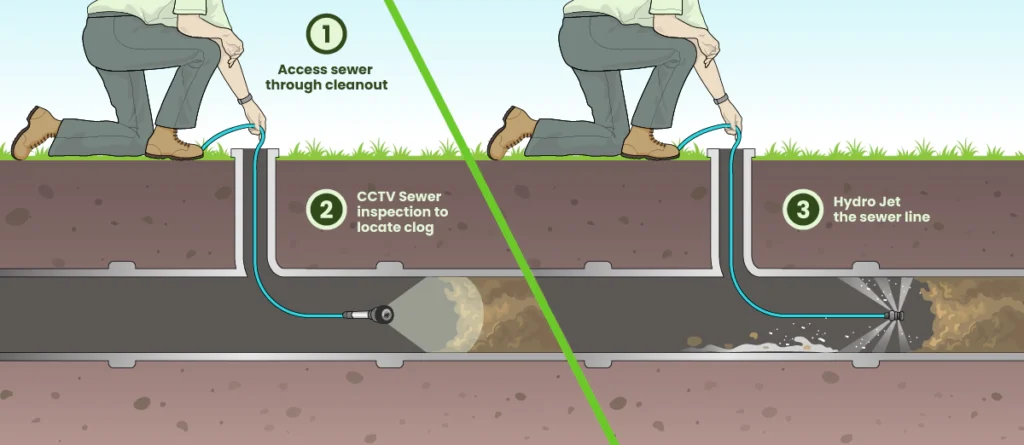
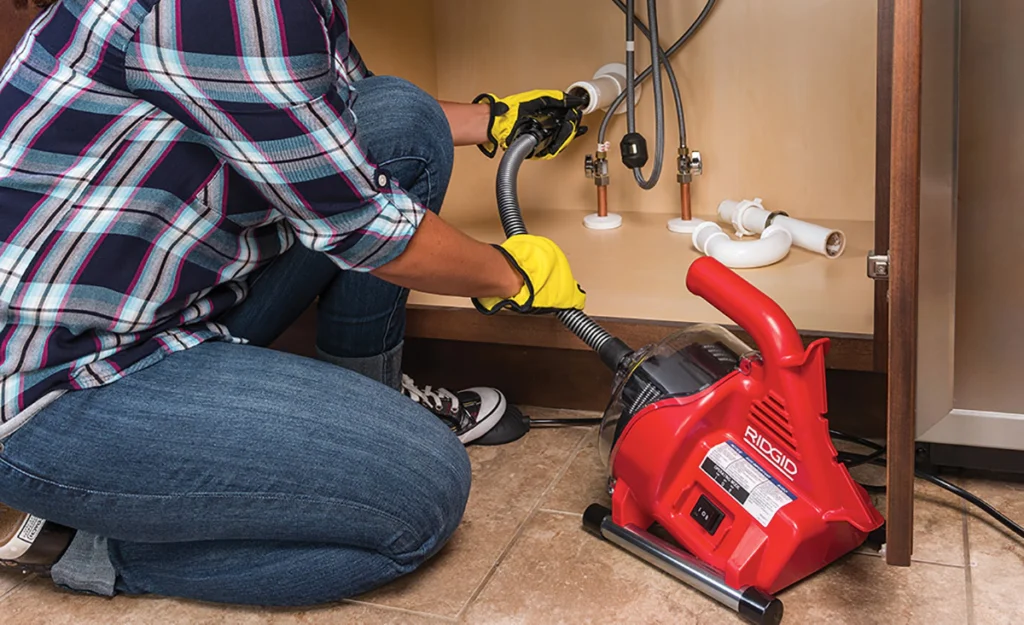
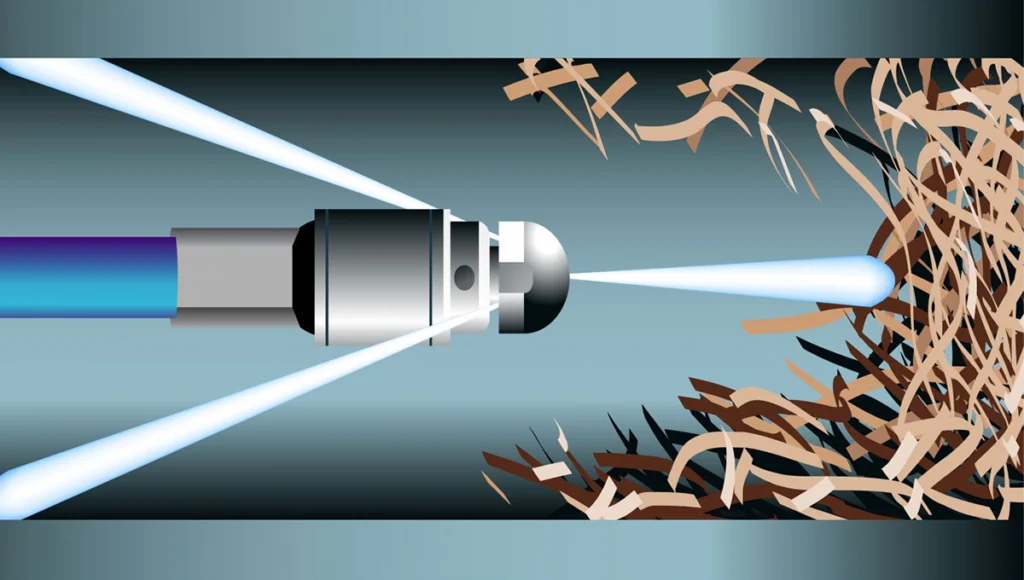
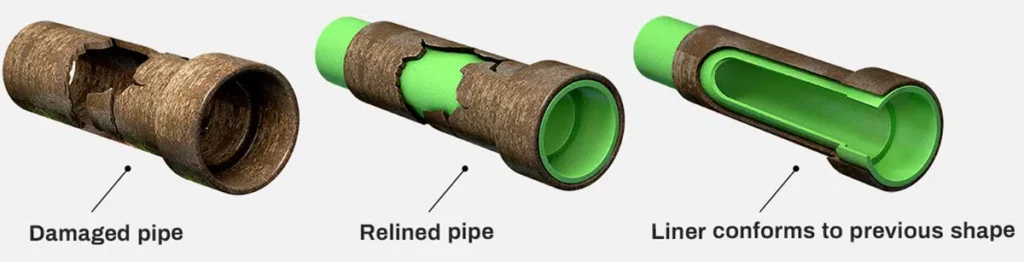
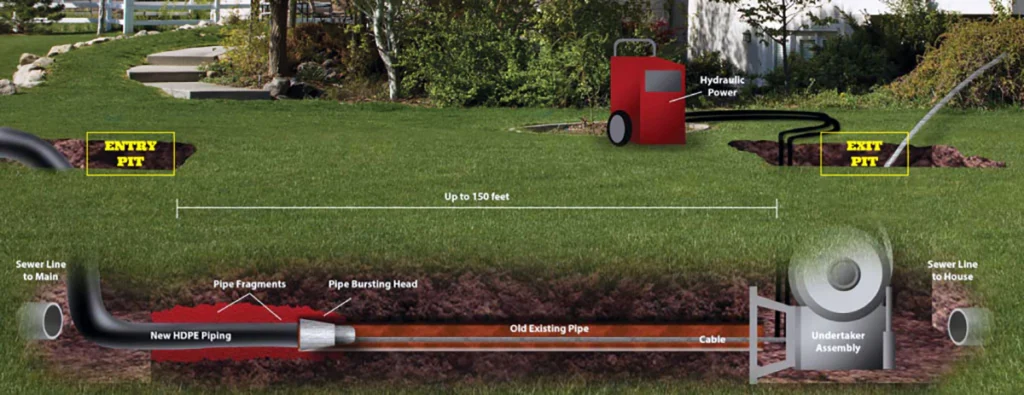
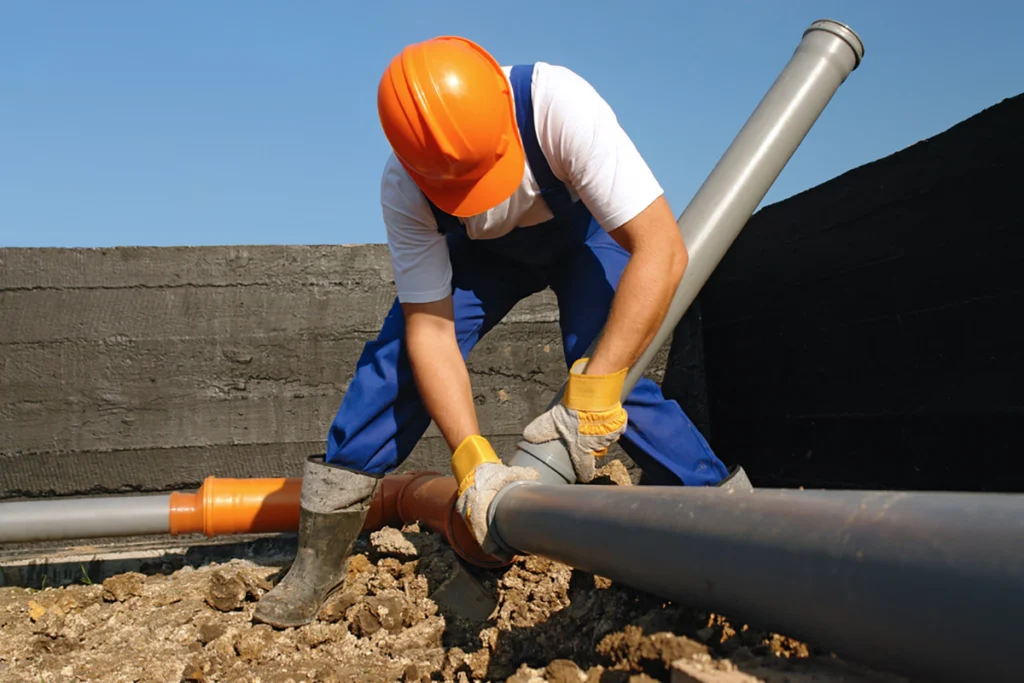
If your DIY solutions don’t work, or if you’re uncomfortable attempting them yourself, it’s time to call in a professional plumber. A licensed plumber will have the expertise and equipment needed to safely and effectively clear the blockage from your main sewer line.
A trained plumber will have the expertise and tools necessary to locate and remove the blockage, and ensure that your plumbing system is working properly. Don’t wait until the problem worsens, as a blocked main sewer line can cause significant damage to your home and potentially pose health risks.
How to Prevent a Blocked Main Sewer Line
Preventing a blocked main sewer line is much easier and less expensive than dealing with the consequences of a clog. Here are some tips to help you avoid a blocked main sewer line in your home.
- Be Mindful of What You Flush: Flushing items such as baby wipes, sanitary products, and grease can cause blockages in your plumbing system.
- Dispose of Grease Properly: Pouring grease down your drain is a major cause of blockages in your plumbing system. Instead, let grease cool and dispose of it in the trash.
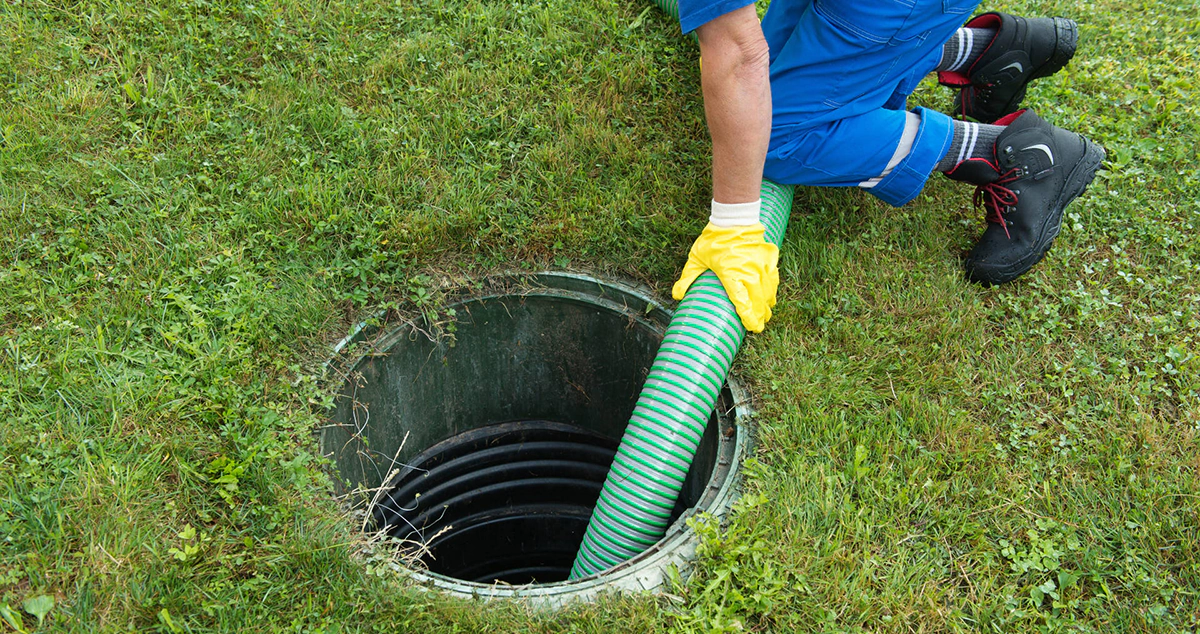
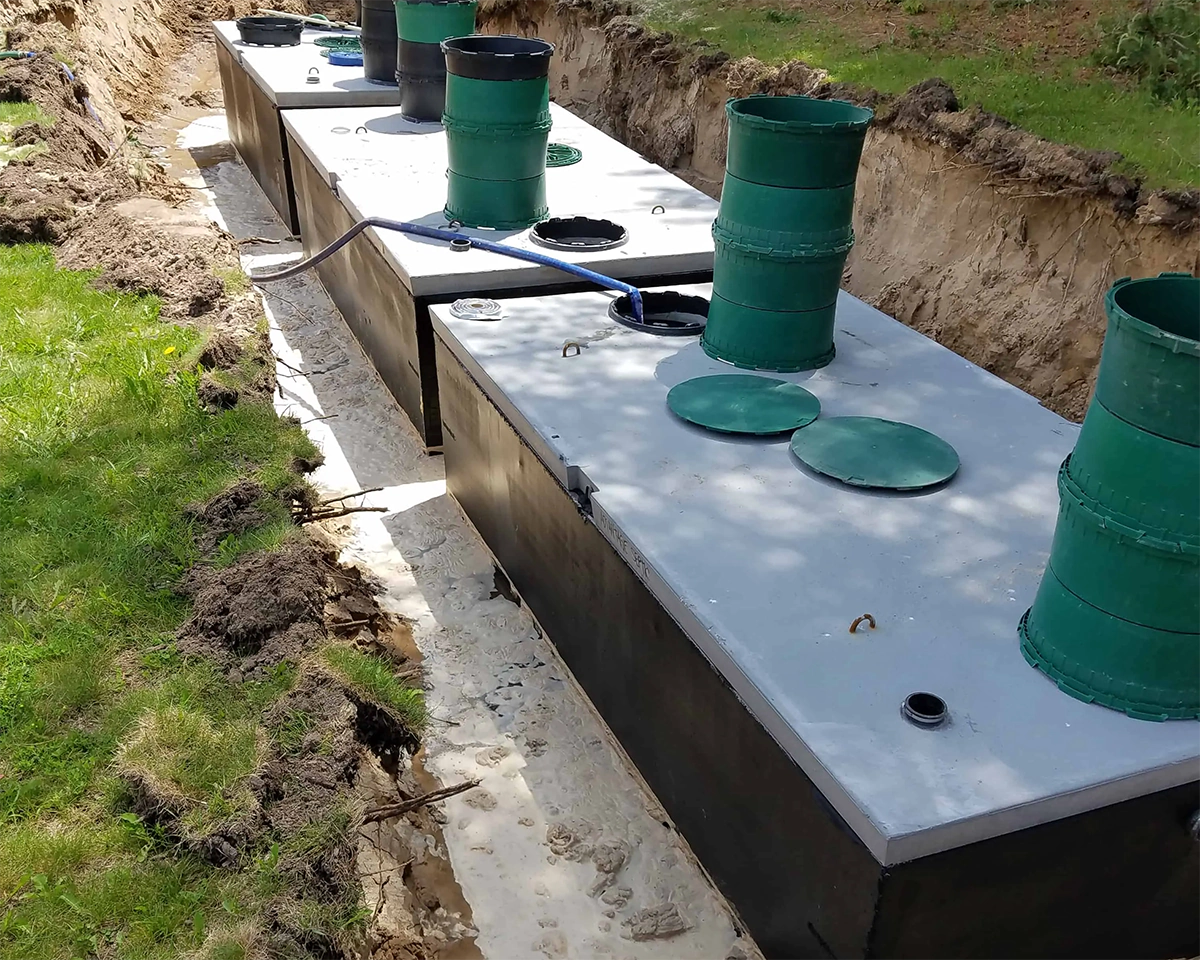
- Regular Plumbing Maintenance: Regular maintenance, including having your pipes cleaned and inspected by a professional plumber, can help prevent blockages before they occur.
- Install a Backwater Valve: A backwater valve is designed to prevent sewage from backing up into your home. It works by closing off the main sewer line in the event of a blockage, preventing sewage from entering your home.
By following these tips, you can significantly reduce your risk of a blocked main sewer line in your home.
In conclusion, a blocked main sewer line can cause serious problems for your home’s plumbing system, leading to water damage, health hazard.
FAQ
A sewer line blockage occurs when there is a buildup of debris or waste in a sewer line that prevents water from flowing freely through it. Sewer line blockages can be caused by a variety of factors, including grease buildup, and foreign objects.
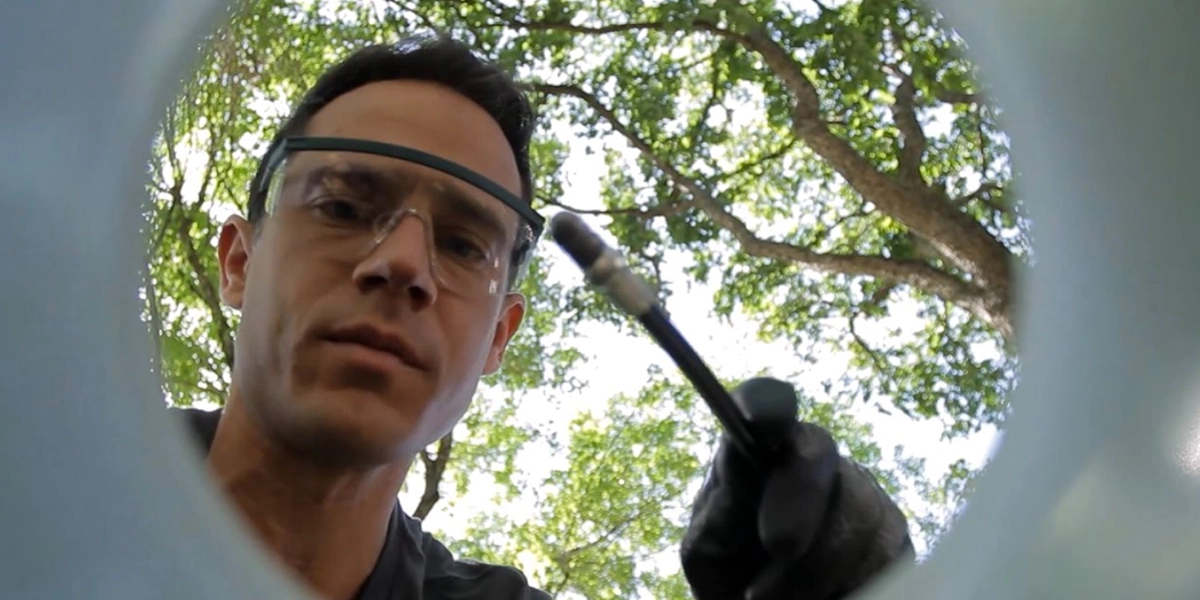
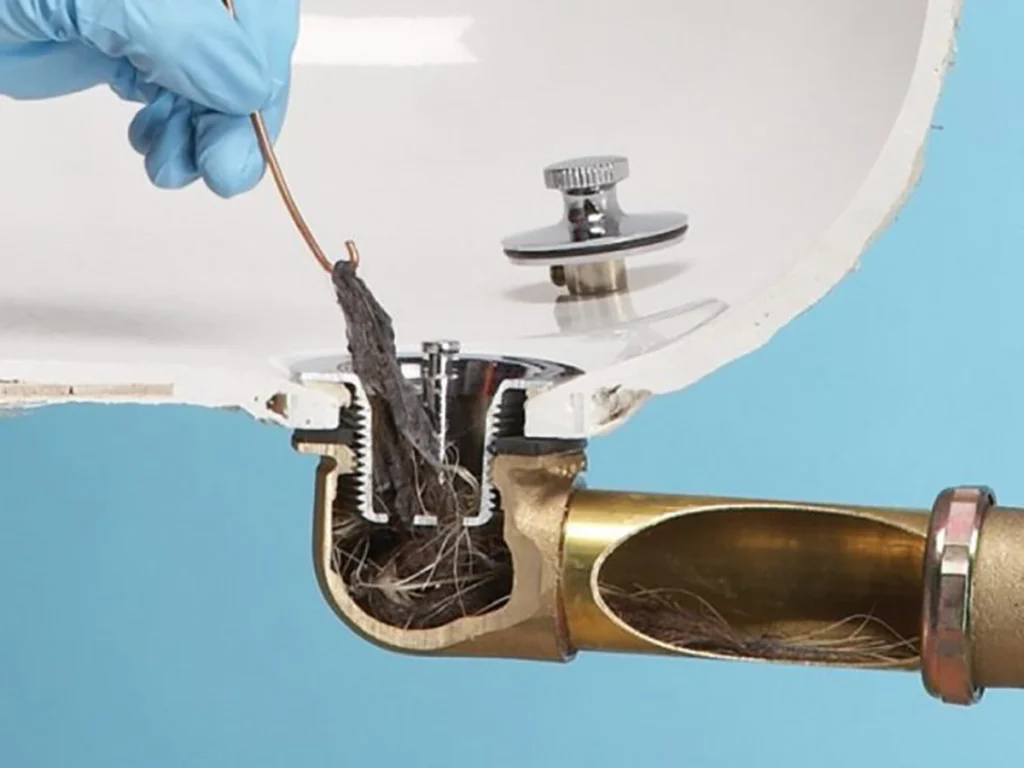
There are several ways to unclog a sewer line, depending on the severity of the blockage. One common method is using a plumber’s snake, which is a long, flexible tool that can be inserted into the sewer line to break up and remove blockages.
A clogged sewer line can lead to a range of hazards, both for your health and your property. These include: Backups and overflows, Foul odors, Health hazards, Property damage, Environmental damage.