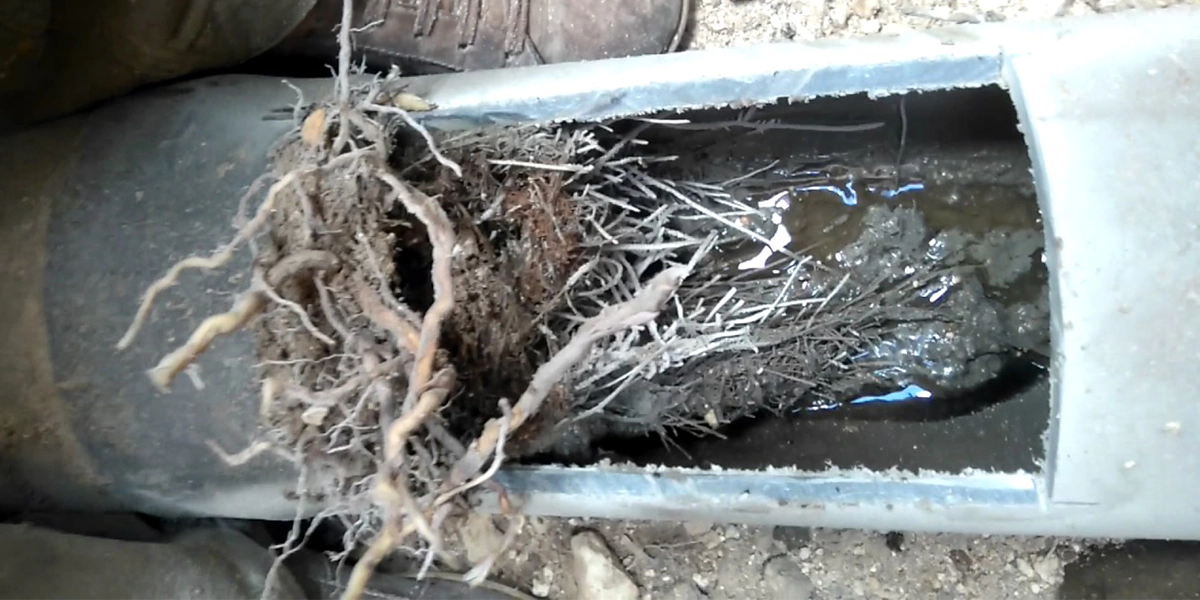
Tree roots are a frequent cause of sewer line clogs and can lead to severe damage if not addressed promptly. Roots naturally seek water and nutrients, often finding these in sewer pipes. Once they enter, roots can expand quickly, obstructing pipes and causing costly repairs. This article outlines effective methods for clearing roots from drain pipes and preventing tree roots from damaging your sewer line, helping you keep your plumbing system protected and functional.
Why Do Tree Roots Invade Sewer Lines?
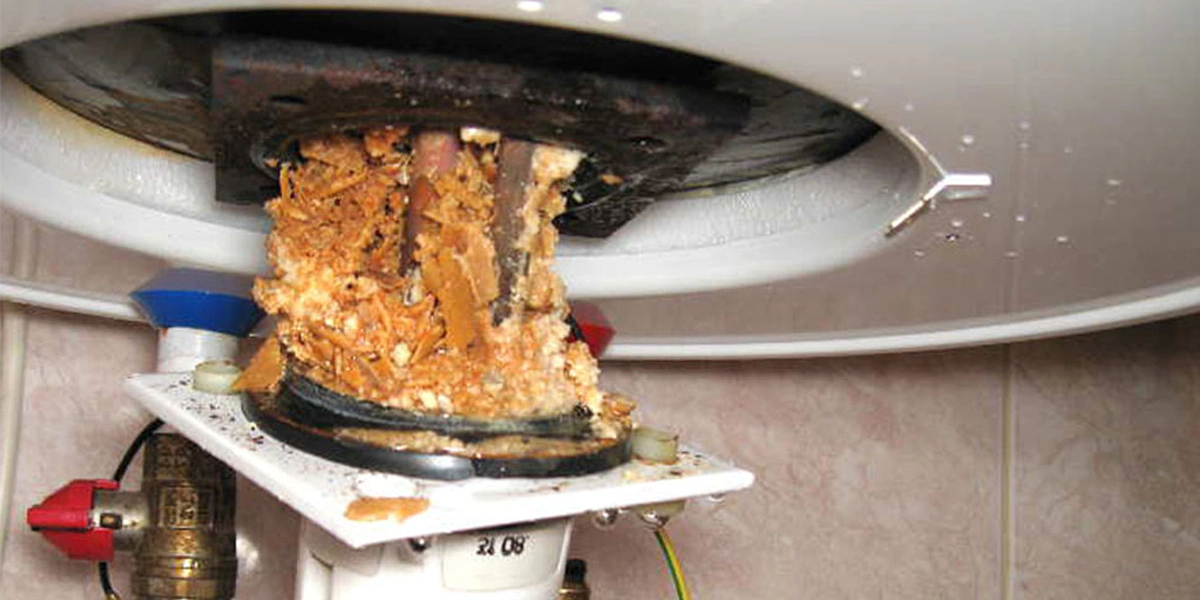
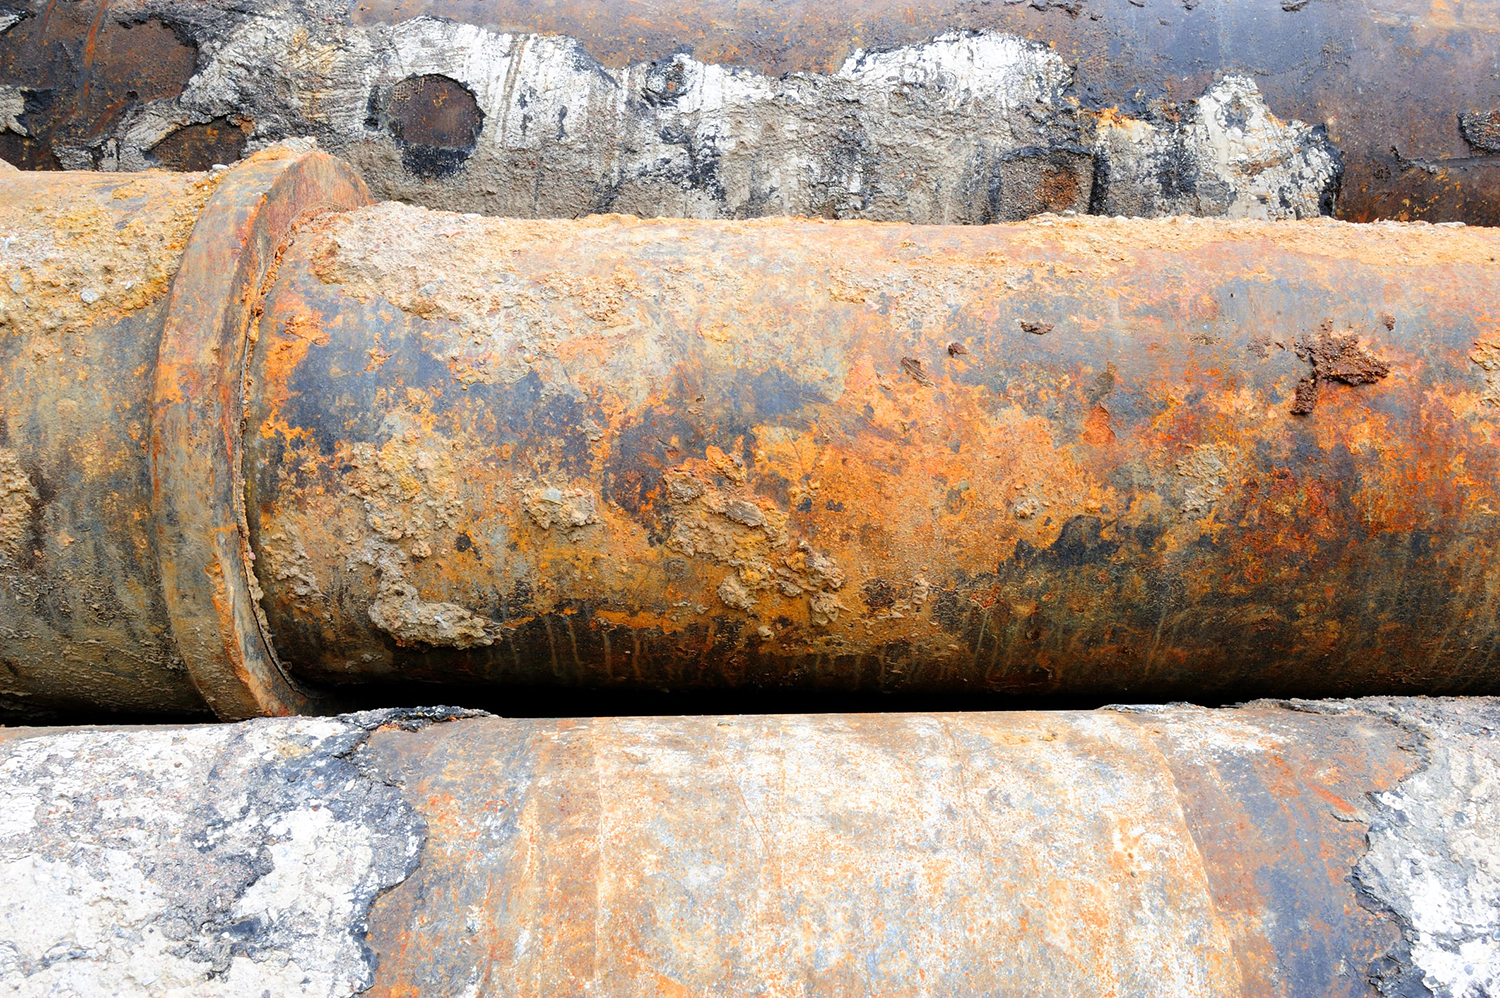
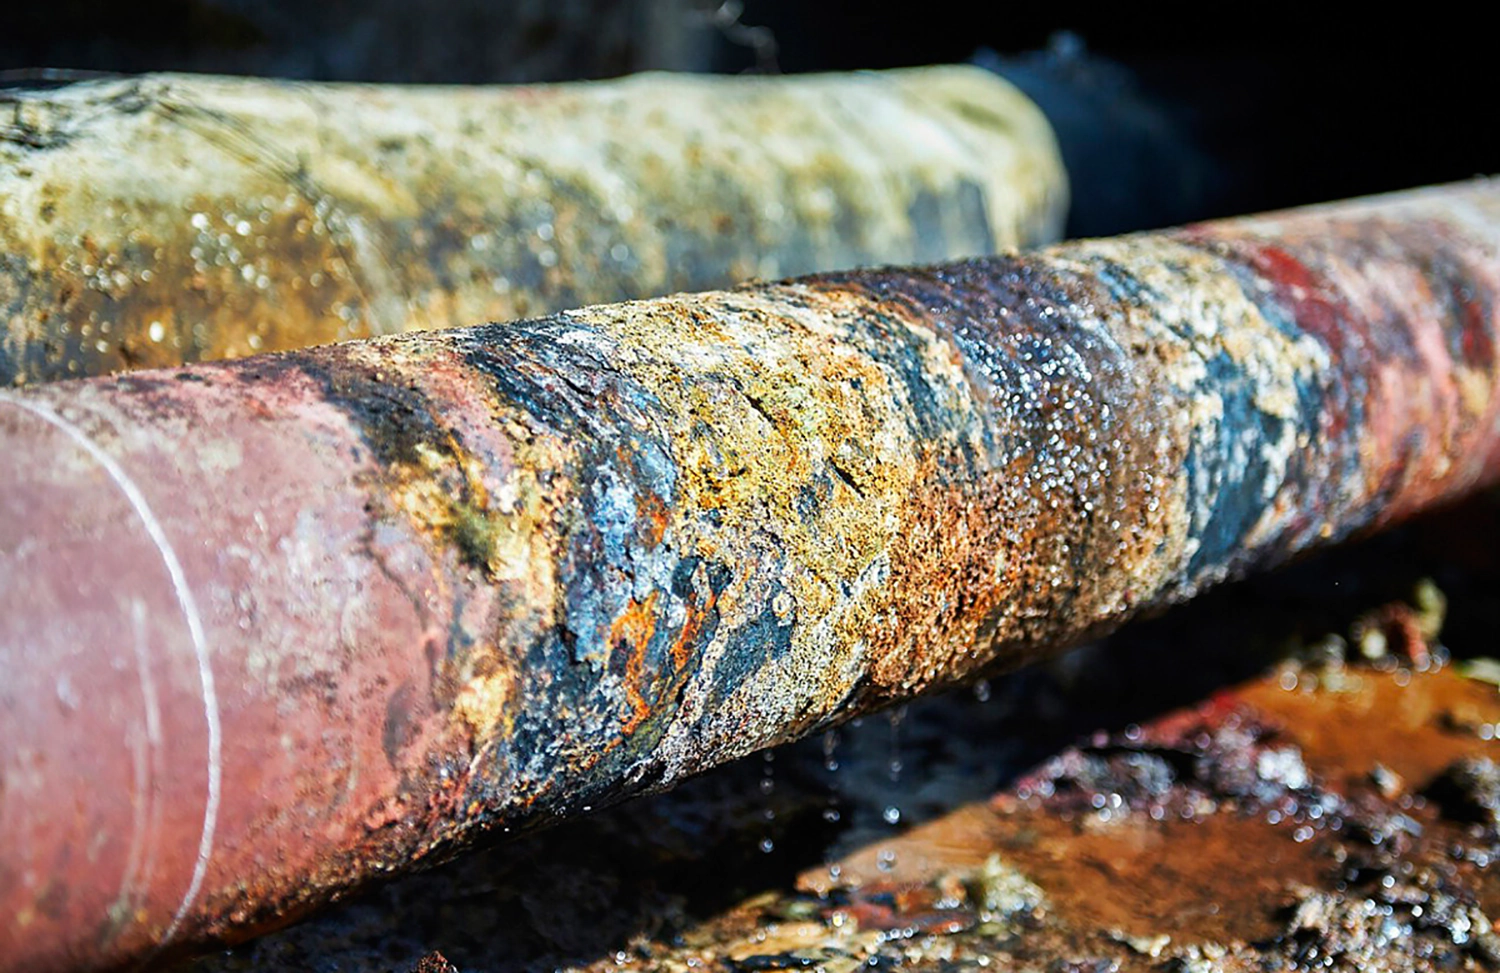
Roots enter sewer lines in search of essential resources like water, nutrients, and oxygen. Older pipes, especially those made from clay or cast iron, are more vulnerable to tree root invasion due to small cracks that develop over time. Once inside, roots grow, creating obstructions that can damage the pipes. Understanding why tree roots invade sewer lines is the first step in protecting your plumbing.
Common Signs of Roots in Sewer Pipes
Detecting root intrusion early on can help you avoid major repairs. Here are some common indicators that tree roots may be obstructing your sewer pipes:
- Slow Drains: Water draining slowly from sinks, tubs, or toilets.
- Frequent Clogs: Persistent blockages, especially if they reoccur soon after clearing.
- Unusual Sounds: Gurgling or bubbling noises when you flush or run water.
- Foul Odors: Persistent smells from drains, often due to trapped debris from tree roots growing in sewer line.
If you observe any of these signs, it’s essential to act quickly to prevent further damage.
Measures to Protect Your Sewer Line from Tree Root Damage
1. Install a Root Barrier
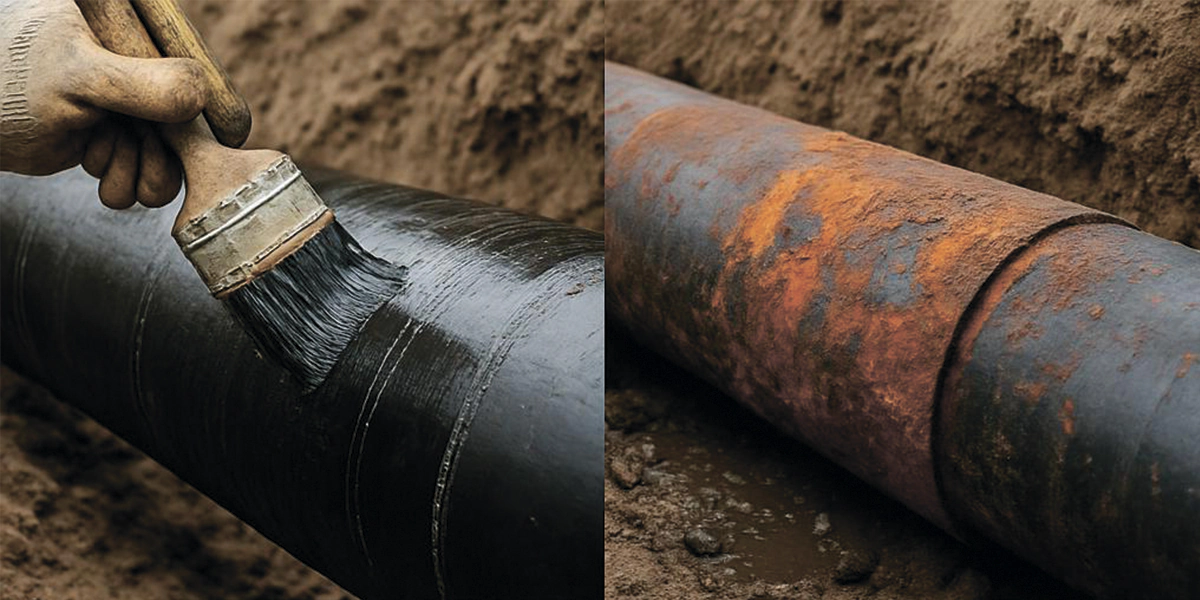
One of the most effective ways to prevent tree roots in sewer pipes is to install a root barrier. These barriers can be mechanical or chemical and are placed between trees and sewer lines to limit roots spreading toward your plumbing. A properly installed barrier can provide years of sewer line protection from roots.
2. Use Root-Resistant Trees and Shrubs
Choosing trees with less aggressive root systems can reduce the likelihood of root intrusion. Trees like maple, willow, and poplar are known for extensive root systems and should be planted far from sewer lines. Opt for trees with shallow, non-invasive roots, as these are less prone to disrupting underground piping.
Root Control Treatments: Preventing Roots from Clogging Sewer Lines
1. Regular Root-Control Treatments
Certain root-control products can be flushed into your sewer line to discourage root growth within the pipes. These treatments are often made from copper sulfate or potassium hydroxide, which make the pipes less attractive to roots. Applying these treatments every six to twelve months can be an effective step to keep tree roots from blocking sewer pipes.
2. Hydro Jetting for Prevention
For homes experiencing early signs of root intrusion, hydro jetting is a powerful technique that clears roots and other debris without damaging pipes. This method uses high-pressure water to remove obstructions and is best done by a licensed plumber for thorough and safe removal.
DIY Prevention Tips for Sewer Pipes
While some root control methods require professional assistance, here are a few DIY tips to help prevent tree roots in sewer pipes:
- Flush Root-Deterrent Chemicals: Every few months, flush root-deterrent chemicals down the drain to discourage root growth.
- Monitor Tree Watering: Water trees near sewer lines sparingly to encourage roots to spread in other directions for moisture.
- Clear the Zone Above Sewer Lines: Avoid planting large vegetation directly above sewer lines to prevent future root problems.
How to Get Rid of Tree Roots in Pipes if Invasion Occurs
If roots are already causing blockages, you’ll need reliable methods for removing roots from sewer lines effectively. Here’s what you can do:
- Use Mechanical Augers: These tools are designed to cut through roots, breaking up blockages effectively.
- Chemical Solutions: Pouring root-control chemicals down the drain can help eliminate smaller intrusions.
- Professional Removal: Severe obstructions should be addressed by a professional who can use hydro jetting or augers for thorough clearing.
Best Practices to Prevent Future Root Intrusion in Sewer Lines
- Routine Inspections: Scheduling sewer line inspections regularly can help detect potential issues early, allowing you to take action before severe damage occurs.
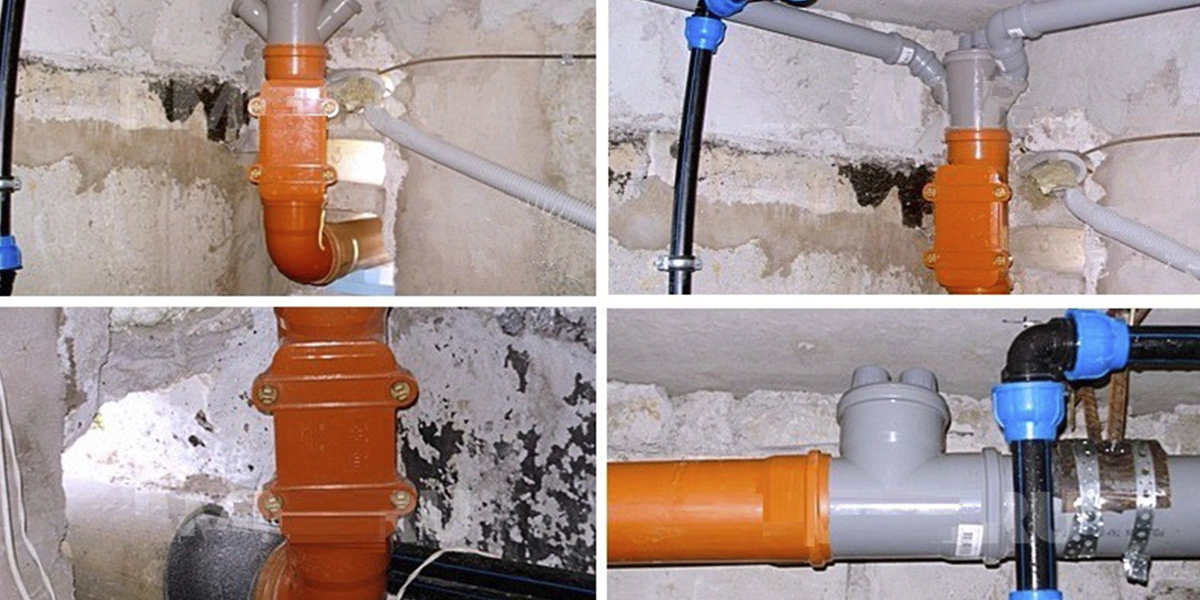
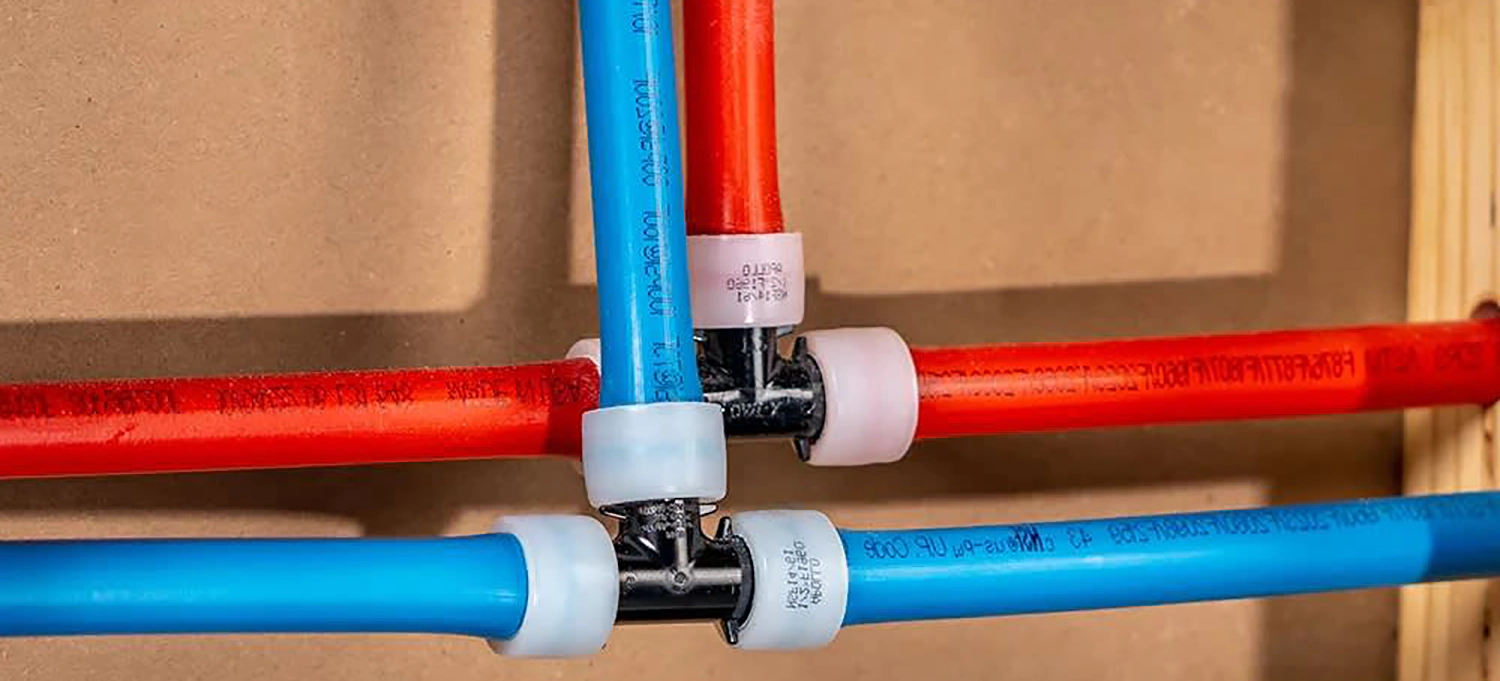
- Pipe Replacement: If your sewer line is old and prone to cracking, consider upgrading it to a root-resistant material such as PVC.
- Thoughtful Landscaping: Plant trees and shrubs away from sewer lines as a long-term preventative measure.
What to Do if Roots Invade Your Sewer Pipes
If roots manage to invade despite your best efforts, it’s essential to act quickly. Ignoring root intrusion can lead to expensive repairs and possible property damage. Here’s what to do:
- Contact a Plumber: A plumber can assess the extent of the issue and recommend the most effective removal method.
- Consider Pipe Lining or Replacement: If roots have caused substantial damage, pipe lining or replacement might be necessary. Pipe lining adds a new interior layer that can prevent further root intrusion.
Protecting Your Sewer System: Summary of Tips
To keep your sewer system clear and efficient, follow these tips:
- Install Barriers: Chemical or mechanical barriers can prevent roots from invading sewer lines.
- Choose Non-Invasive Plants: Select plants with less aggressive root systems to reduce interference.
- Regular Checkups: Consistent maintenance and inspections help catch problems early, preventing them from escalating.
- Upgrade Old Pipes: For aging sewer lines, pipe lining or replacement can add resilience against root intrusion.
By taking these preventative measures, you can avoid costly repairs and keep your sewer system safe from intrusive growth.
Conclusion
Preventing tree roots from damaging your sewer line requires proactive strategies and regular care. By understanding why roots target sewer lines and following these preventative steps, you can protect your pipes and avoid costly repairs. If you notice signs of root interference, acting quickly can save you from major plumbing issues. For persistent problems, it’s wise to consult a professional plumber.
Stay mindful of your landscaping choices and maintain a regular care routine to ensure your sewer system stays in optimal condition.