Faucets are more than just functional fixtures in our homes; they contribute to the overall aesthetic and functionality of our living spaces. If you find yourself dealing with a leaky, outdated faucet on an old sink, it might be time for a replacement. In this article, we’ll explore four tips for replacing faucets on old sinks, guiding you through the process with expert advice and practical insights.
Contents
Signs It’s Time to Replace Your Faucet
Faucets play a crucial role in our daily lives, and when they start showing signs of wear and tear, it’s essential to consider a replacement. Here are key indicators that it might be time to replace your faucet:
- Dripping or Leaking:
One of the most obvious signs is a persistent drip or leak. Not only is this an annoying water wastage issue, but it can also lead to more severe problems like water damage.
- Corrosion and Rust:
Inspect your faucet for any signs of corrosion or rust. These not only affect the aesthetic appeal but can also impact the quality of the water flowing through.

- Outdated Design:
If your faucet looks like it belongs to another era, it’s probably time for an upgrade. Modern faucets not only improve functionality but also add a fresh touch to your kitchen or bathroom.
Being attentive to these signs ensures that you address faucet issues promptly, preventing further damage and maintaining the efficiency of your plumbing fixtures.
Choosing the Right Faucet Replacement
Selecting a new faucet involves more than just picking a design you like. It’s crucial to consider various factors to ensure compatibility and functionality. Here’s a guide to help you choose the right faucet replacement for your needs:
- Matching Sink Compatibility:
Before making a decision, check the compatibility of the new faucet with your sink. Consider the number of mounting holes and their spacing to ensure a seamless fit.
- Selecting the Right Style and Finish:
Faucets come in a myriad of styles and finishes. Choose one that complements your overall design aesthetic, whether it’s a classic chrome finish or a trendy matte black.
- Considering Water Efficiency:
In the era of environmental consciousness, opt for a water-efficient faucet. This not only contributes to eco-friendliness but also leads to long-term cost savings on your water bill.
By paying attention to these factors, you can make an informed decision that goes beyond aesthetics, ensuring the new faucet meets your practical needs and contributes to your overall design vision.
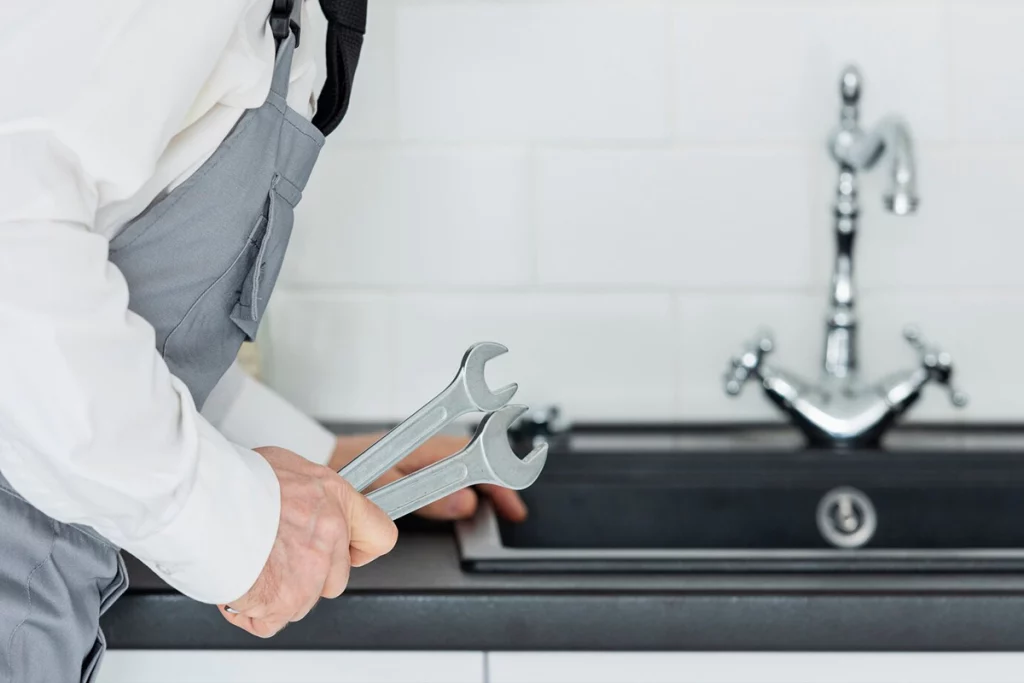
Tools and Materials Needed
To successfully replace your faucet, it’s essential to have the right tools and materials at your disposal. Here’s a comprehensive list to ensure you’re well-prepared for the task:
1. Adjustable Wrench:
A versatile tool for loosening and tightening nuts. Choose an adjustable wrench for flexibility.
2. Pliers:
Use pliers to grip and turn objects. Channel-lock pliers are particularly useful for plumbing tasks.
3. Basin Wrench:
Specifically designed for working in tight spaces under the sink, the basin wrench is crucial for removing and installing nuts on faucets.
4. Screwdriver:
Both flat-head and Phillips-head screwdrivers may be needed for various parts of the faucet assembly.
5. Plumber’s Tape:
Also known as Teflon tape, this helps create a watertight seal when wrapping around threaded pipe connections.
6. Bucket or Towels:
Have a bucket or towels handy to catch any water that may spill during the process.
7. New Faucet:
Choose a replacement faucet that fits your sink and matches your style preferences. Ensure it comes with all necessary components.
8. Supply Lines:
Replace old, worn supply lines with new ones. Choose flexible supply lines for easier installation.
9. Plumber’s Putty:
For sealing gaps between the sink and faucet or between the sink and the new drain.

10. Plumbing Wrench:
In addition to an adjustable wrench, having a dedicated plumbing wrench can be helpful for certain connections.
11. Plunger:
Just in case you encounter any clogs while working on the plumbing.

Having these tools and materials ready ensures a smooth faucet replacement process. Before starting, double-check that you have everything on the list to avoid interruptions during the installation.
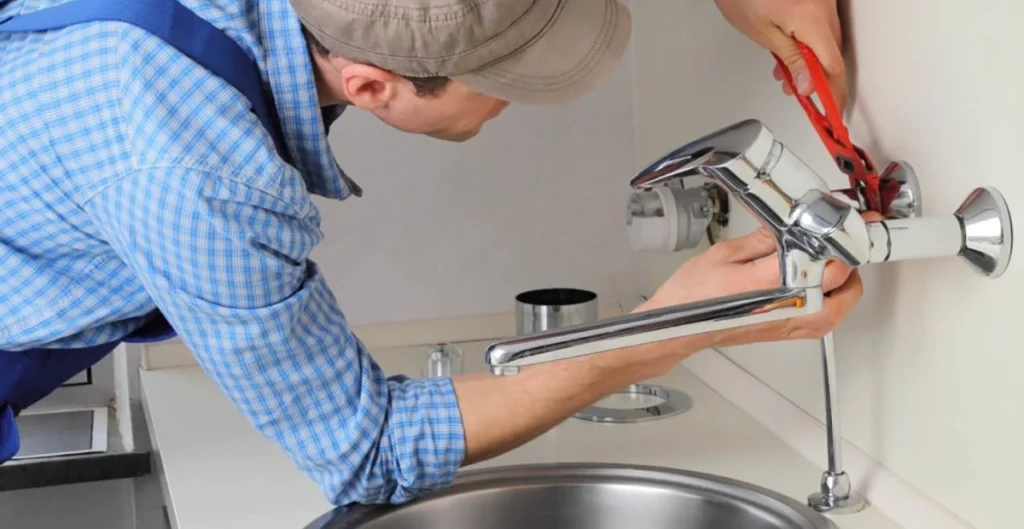
Removing the old faucet
Removing an old faucet is a crucial step in the replacement process. Follow these steps for a systematic and hassle-free removal:
Turn Off Water Supply:
Begin by turning off the water supply to the sink. Locate the shut-off valves beneath the sink and turn them clockwise until they are fully closed.
Open Faucet to Release Pressure:
Open the faucet to release any remaining water pressure. This step is essential to minimise water spillage when disconnecting the water lines.
Disconnect Water Supply Lines:
Use an adjustable wrench to loosen and disconnect the water supply lines from the faucet. Have a bucket or towels ready to catch any water that may drain from the lines.
Remove Mounting Nuts:
Locate the mounting nuts securing the faucet to the sink. Depending on the design, these may be visible or hidden beneath decorative caps. Use a basin wrench to loosen and remove these nuts.
Disconnect the Drain Stopper (if applicable):
If your sink has a pop-up drain stopper, disconnect it by removing the connecting rod. This step is necessary for complete faucet removal.
Detach Faucet from Sink:
Once the mounting nuts are removed, carefully lift the old faucet from the sink. If there is any resistance, double-check for any remaining connections and detach them.
Clean the Area:
After removing the old faucet, clean the sink area thoroughly. Remove any old plumber’s putty or silicone that may be left behind.
Inspect for Any Issues:
Take this opportunity to inspect the sink and surrounding areas for any signs of damage or corrosion. Addressing potential issues now can prevent problems with the new faucet.
By following these steps, you can efficiently remove the old faucet and prepare the sink for the installation of the new one. Remember to work patiently and systematically to avoid any damage to the sink or plumbing components.
Installing the new faucet
Now that the old faucet is removed, let’s guide you through the process of installing your new faucet. Follow these steps for a successful installation:
Prepare the New Faucet:
Unbox the new faucet and gather all the components. Check the manufacturer’s instructions for any specific details regarding your faucet model.
Carefully position the new faucet in the mounting holes on the sink. Ensure that it aligns correctly and sits flush against the sink surface.

Secure Mounting Nuts:
From beneath the sink, secure the faucet in place by tightening the mounting nuts. Use a basin wrench to ensure a snug fit. Be cautious not to overtighten, which could damage the faucet or sink.
Connect Water Supply Lines:
Connect the water supply lines to the corresponding hot and cold water inlets on the faucet. Use an adjustable wrench to tighten the connections securely.
Attach the Drain Stopper (if applicable):
If your new faucet includes a pop-up drain stopper, reattach it by connecting the lever or rod according to the manufacturer’s instructions.

Apply Plumber’s Putty (if necessary):
If your faucet requires a seal between the base and the sink, apply plumber’s putty to create a watertight seal. Follow the product instructions for the correct application.
Check for Leaks:
Turn on the water supply and test the faucet for any leaks. Inspect both the water supply connections and the base of the faucet for any signs of water leakage.
Operational Test:
Test the functionality of the faucet, including hot and cold water settings and any additional features. Ensure smooth operation and address any issues promptly.
Secure Additional Components:
If your faucet comes with additional components, such as a soap dispenser or side spray, secure and test each component according to the manufacturer’s instructions.
Clean Up:
Wipe down the faucet and surrounding area to remove any fingerprints, residue, or plumber’s putty.
By following these steps, you can successfully install your new faucet. Taking the time to secure connections and test for leaks ensures a reliable and long-lasting installation. Enjoy your upgraded faucet and the improved functionality it brings to your kitchen or bathroom!
DIY vs. Professional Installation
When it comes to replacing faucets, homeowners often face the decision between tackling the project themselves or seeking professional assistance. Here’s a guide to help you decide between DIY (Do-It-Yourself) and professional installation:
Assessing Your Own Skills (DIY):
- Basic Plumbing Skills:
- If you have experience with basic plumbing tasks and feel confident working with tools, a DIY installation may be within your capabilities.
- Comfort with Instructions:
- Assess your ability to follow step-by-step instructions. Many faucet installations come with detailed guides, and if you’re comfortable interpreting them, a DIY approach could be suitable.
- Available Tools:
- Ensure you have the necessary tools, including an adjustable wrench, pliers, and a basin wrench. Having the right tools is crucial for a successful DIY installation.
When to Call in a Professional:
- Complex Installations:
- If your new faucet requires intricate connections or modifications to your plumbing system, it may be best to enlist the expertise of a professional plumber.
- Uncertain Plumbing Skills:
- If you’re unsure about your plumbing skills or the complexity of the installation, calling a professional ensures that the job is done correctly, minimizing the risk of leaks or other issues.
- Time Constraints:
- If you have a busy schedule and limited time for a DIY project, hiring a professional can save you time and ensure a swift and efficient installation.
- Warranty Considerations:
- Some faucet manufacturers may require professional installation to validate the product warranty. Check the warranty terms before deciding on DIY or professional installation.
Tips for DIY Success:
- Research and Preparation:
- Research your specific faucet model and installation requirements thoroughly before starting the DIY process.
- Follow Instructions:
- Adhere closely to the manufacturer’s instructions. Skipping steps or making assumptions can lead to complications.
- Take Your Time:
- Rushing through the installation increases the likelihood of mistakes. Take your time to ensure every step is completed accurately.

Benefits of Professional Installation:
- Expertise and Experience:
- Professional plumbers have the knowledge and experience to handle various faucet installations, including challenging scenarios.
- Guaranteed Workmanship:
- Professional installations often come with guarantees or warranties, providing peace of mind in case any issues arise after the installation.
- Efficiency:
- Professionals can complete installations efficiently, minimising disruptions to your daily routine.
In summary, the decision between DIY and professional installation depends on your comfort level with plumbing tasks, the complexity of the installation, and your time constraints. While a well-prepared DIY approach can be successful, professional installation ensures a high level of expertise and comes with the added benefit of guaranteed workmanship.
Replacing faucets on old sinks doesn’t have to be a daunting task. With the right information and tools, you can upgrade your fixtures, enhance your space, and enjoy the benefits of a modern and functional faucet. Whether you choose a classic design or embrace the latest trends, the key is to make a choice that suits your style, needs, and budget.
FAQs
Essential tools include an adjustable wrench, pliers, a basin wrench, and a screwdriver.
Yes, if you have basic plumbing skills and the necessary tools. Follow a step-by-step guide for a successful DIY installation.
Regularly clean your faucet with a mild soap and water solution to maintain its appearance and functionality.
Touchless faucets offer convenience and improved hygiene, making them a worthwhile investment for many homeowners.
Explore local hardware stores or online retailers for a range of affordable faucet replacement parts.