Commercial plumbing problems can disrupt your business operations, cause costly repairs, and damage your reputation. Preventing these issues is crucial for maintaining a smoothly running establishment. In this article, we will explore the most common commercial plumbing problems and provide practical solutions to prevent them. From the importance of plumbing maintenance to identifying early warning signs and effective preventive measures, we’ve got you covered.
Importance of Plumbing Maintenance
Regular maintenance is the key to avoiding plumbing problems. Neglecting your plumbing system can lead to leaks, pipe bursts, and costly water damage. To ensure the longevity of your plumbing system, it’s essential to schedule routine inspections and maintenance. This will not only prevent unexpected issues but also save you money in the long run.
Plumbing maintenance might not be the most exciting topic, but it’s an essential aspect of homeownership that should never be overlooked. Many people only think about their plumbing when something goes wrong, but proactive maintenance can save you from costly repairs and inconveniences down the line.
Here are some compelling reasons why plumbing maintenance is of utmost importance:
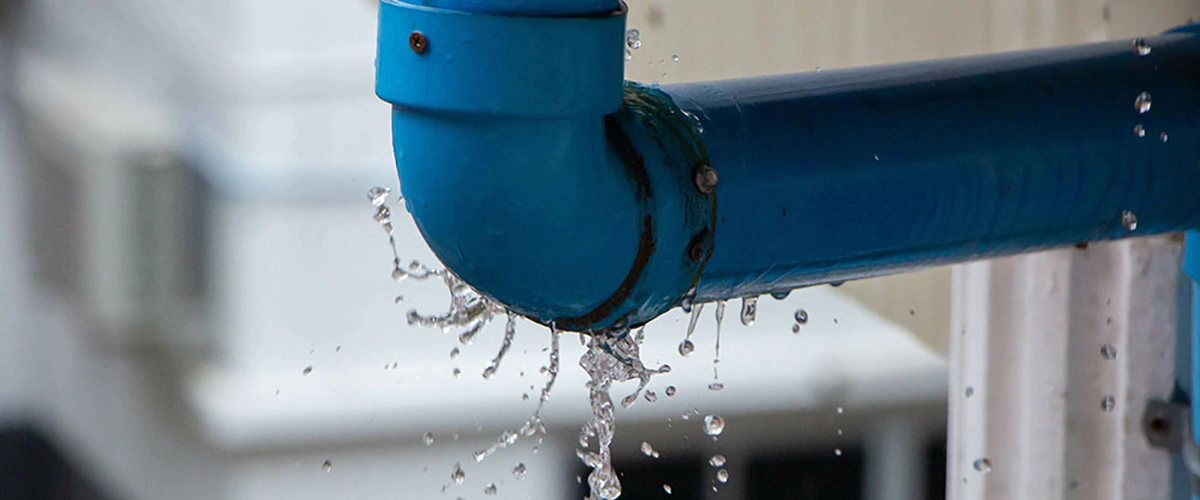
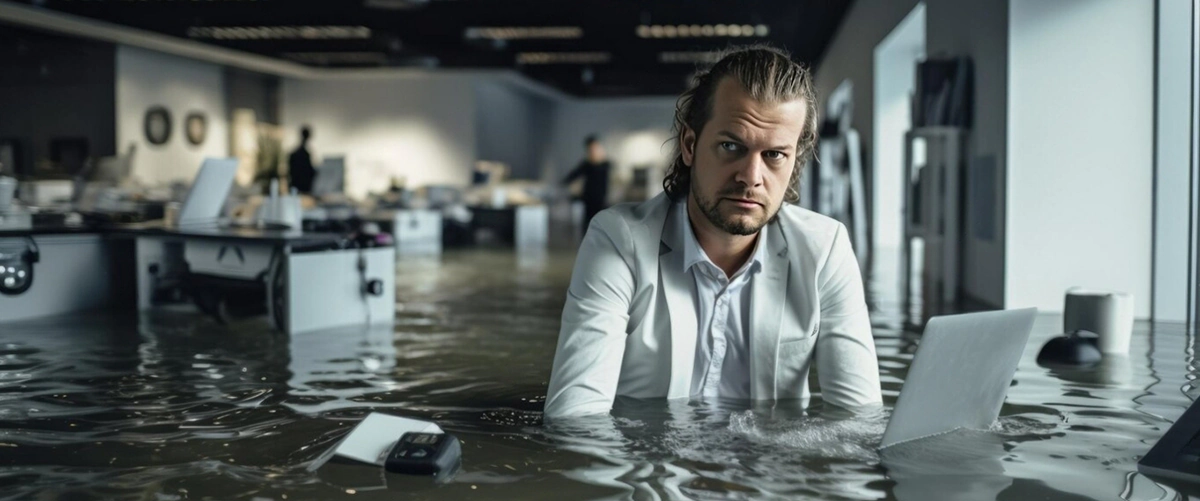
- Prevent Costly Repairs: Regular maintenance can catch minor issues before they become major plumbing problems. Fixing a small leak or addressing a slow drain now is far more cost-effective than dealing with a flooded basement or burst pipe later.
- Increase Longevity: Just like any other system in your home, your plumbing needs care to last. Routine maintenance ensures that your pipes, fixtures, and appliances have a longer lifespan, saving you from premature replacements.
- Improve Efficiency: Maintained plumbing operates more efficiently. You’ll notice improved water pressure, reduced water bills, and better overall performance from your fixtures and appliances.
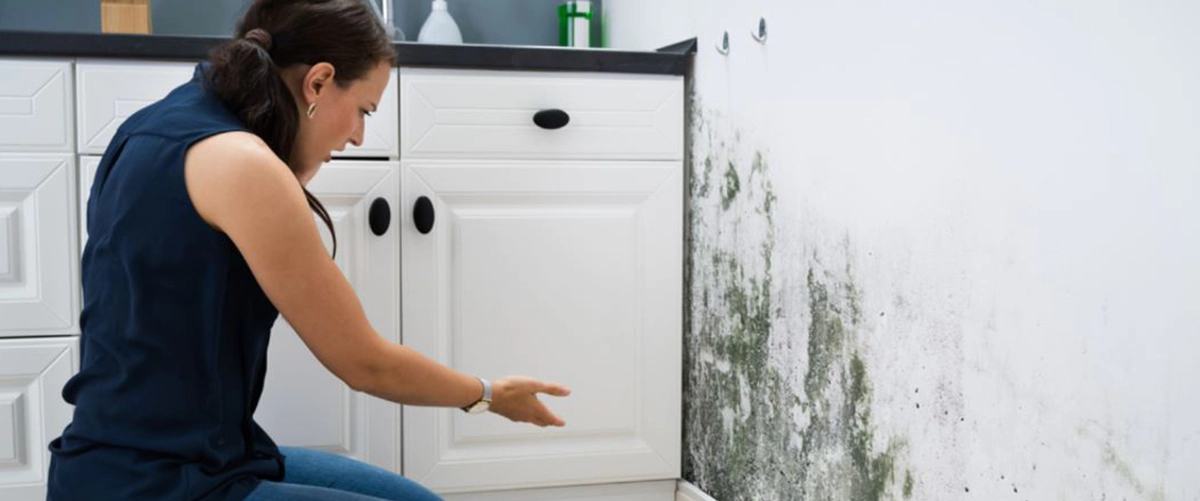
- Maintain Health and Hygiene: Plumbing issues can lead to water damage and mold growth, which can have adverse health effects. Regular maintenance prevents such problems and ensures a clean and safe living environment.
- Peace of Mind: Knowing that your plumbing is in good condition provides peace of mind. You won’t have to worry about sudden, unexpected plumbing disasters disrupting your daily life.
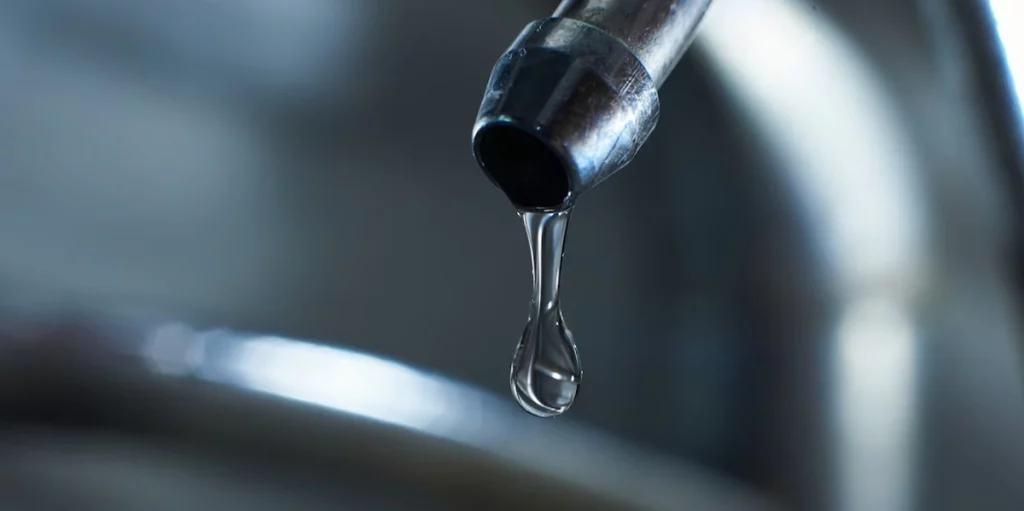
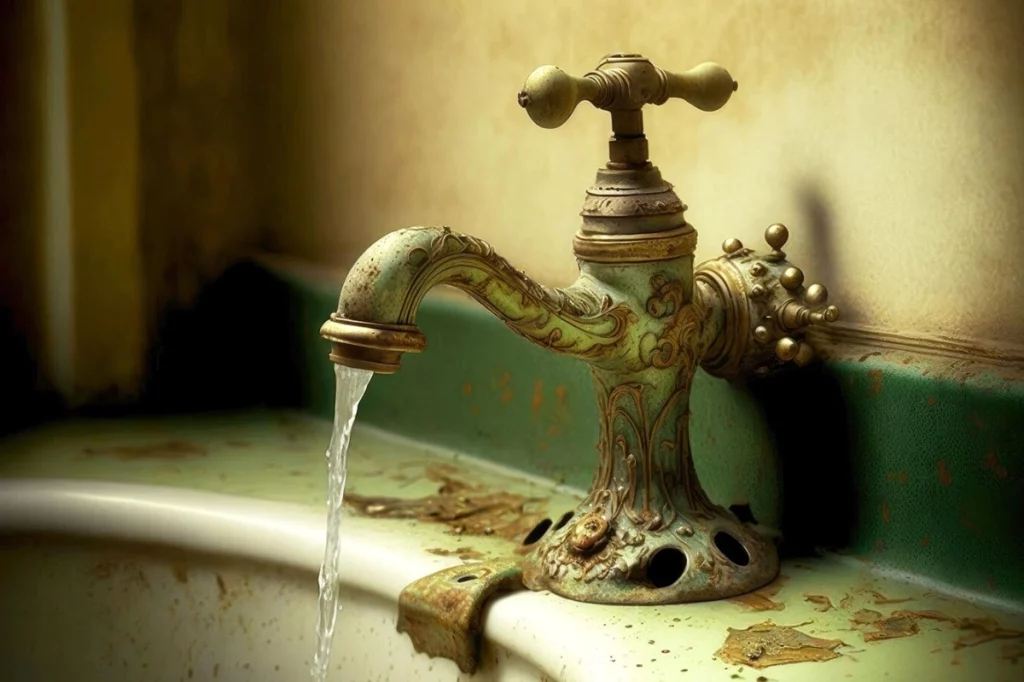
- Environmental Impact: Leaking faucets and running toilets waste water, which is not only costly but also environmentally irresponsible. Proper maintenance helps conserve this precious resource.
So, how can you ensure proper plumbing maintenance?
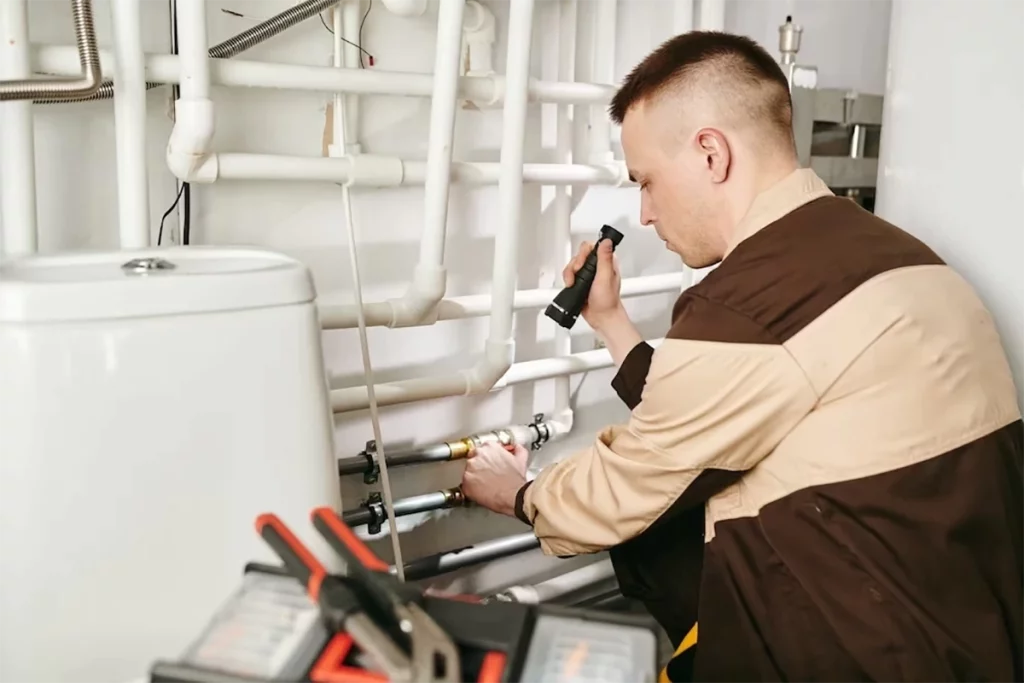
- Schedule Regular Inspections: A professional plumber can perform routine checks and identify potential issues.
- Address Leaks Promptly: Even small leaks can lead to big problems. Fix them as soon as you notice them.
- Prevent Clogs: Be mindful of what you flush down your drains and consider using drain screens to catch debris.
- Water Heater Care: Flush your water heater regularly to remove sediment and maintain its efficiency.
- Invest in Quality Fixtures: High-quality fixtures are less likely to develop issues and can withstand the test of time.
In conclusion, plumbing maintenance is an investment in the longevity, efficiency, and safety of your home. Don’t wait for a plumbing emergency to realise its importance. Be proactive, and you’ll enjoy a well-functioning plumbing system while saving money in the long run.
Identifying Early Warning Signs
One of the most effective ways to prevent plumbing disasters is by recognizing early warning signs. Look out for slow-draining sinks, unusual odours, or water discoloration. These signs often indicate underlying issues that can be addressed before they escalate into major problems. Being vigilant and proactive can make all the difference.
Effective Preventative Plumbing Maintenance
Preventative maintenance includes regular inspections, cleaning, and addressing minor issues promptly. By taking a proactive approach, you can extend the lifespan of your plumbing system and minimise the risk of major disruptions. Regularly check for leaks, insulate pipes in cold weather, and invest in high-quality plumbing fixtures to reduce the chances of breakdowns.
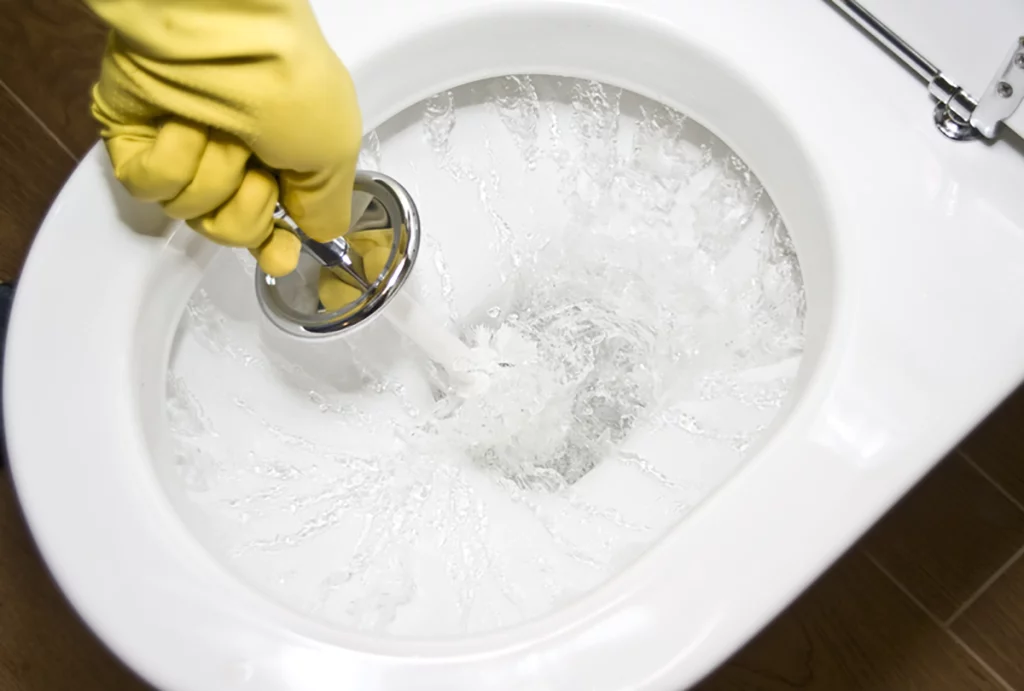
Preventing Clogged Drains: Tips and Techniques
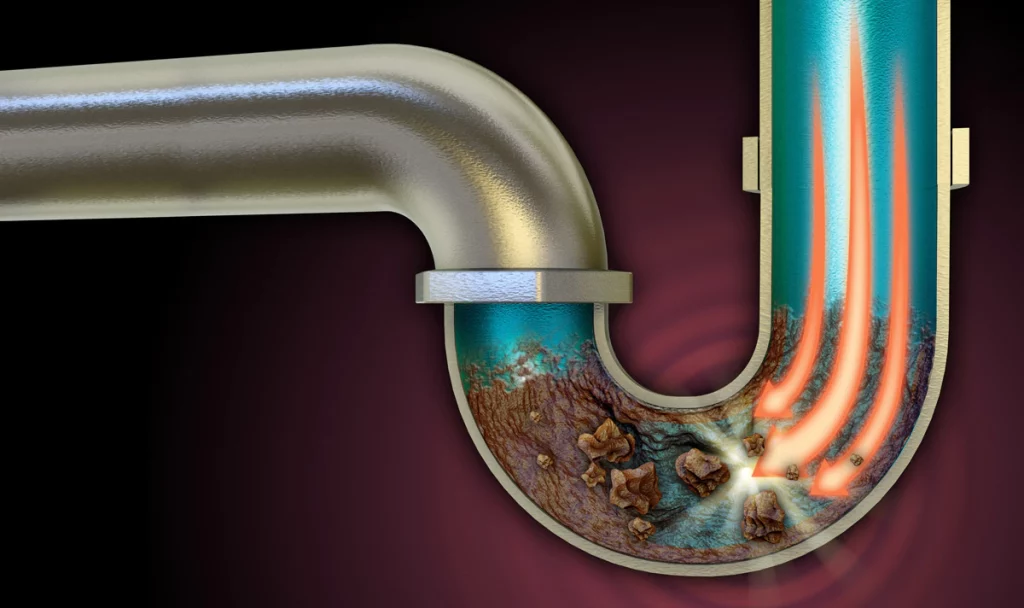
Clogged drains are a common plumbing issue in commercial establishments. They can disrupt daily operations and lead to unhygienic conditions. To prevent clogged drains, consider implementing mesh screens and educating employees about what should not be flushed or washed down drains. Routine drain cleaning can also help maintain clear pipes.
Boiler and Water Heater Maintenance Essentials
Commercial boilers and water heaters play a critical role in your plumbing system. Regular maintenance is crucial to ensure these appliances operate efficiently. Periodically flush and inspect your water heater to prevent sediment buildup, which can lead to decreased performance. For boilers, ensure that the pressure is within the recommended range to prevent overheating and system failures.
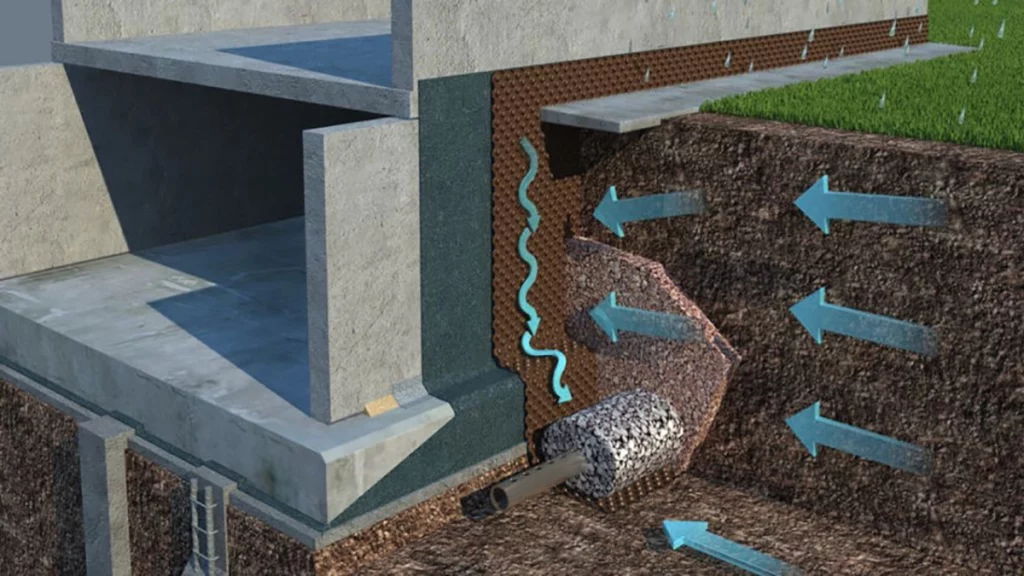
Safeguarding Against Sewer Line Backups
Sewer line backups can be a major plumbing nightmare for businesses. Preventing them requires regular inspections and proper care. Tree roots, debris, and grease buildup are common causes of sewer line clogs. Regularly clean sewer lines, and consider root barrier systems to prevent tree root intrusion.
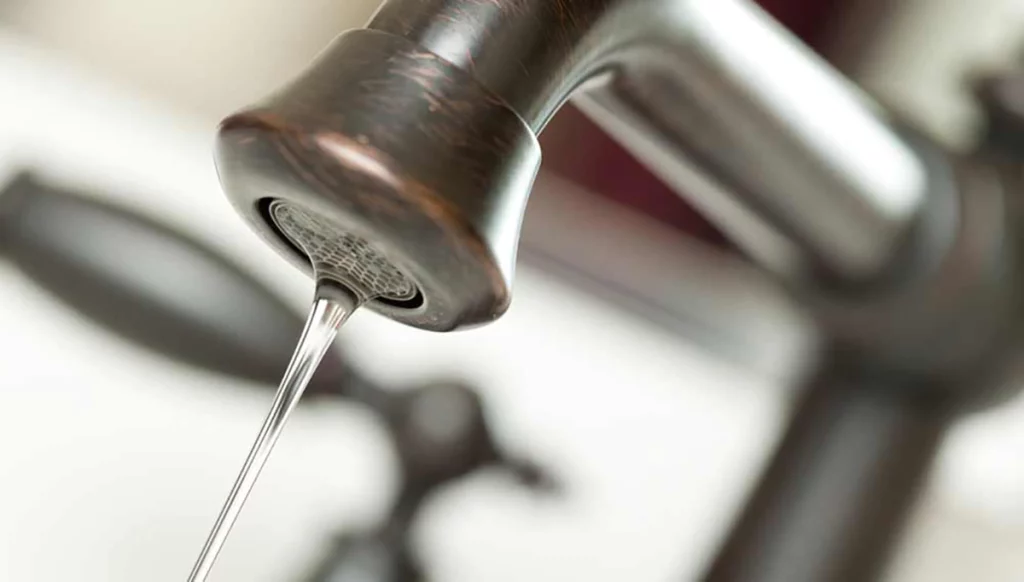
The Role of Water Pressure Regulation
Excessive water pressure can strain your plumbing system, leading to leaks and pipe bursts. Install water pressure regulators to maintain a consistent and safe pressure level. This small investment can save you from costly water damage and extensive plumbing repairs.
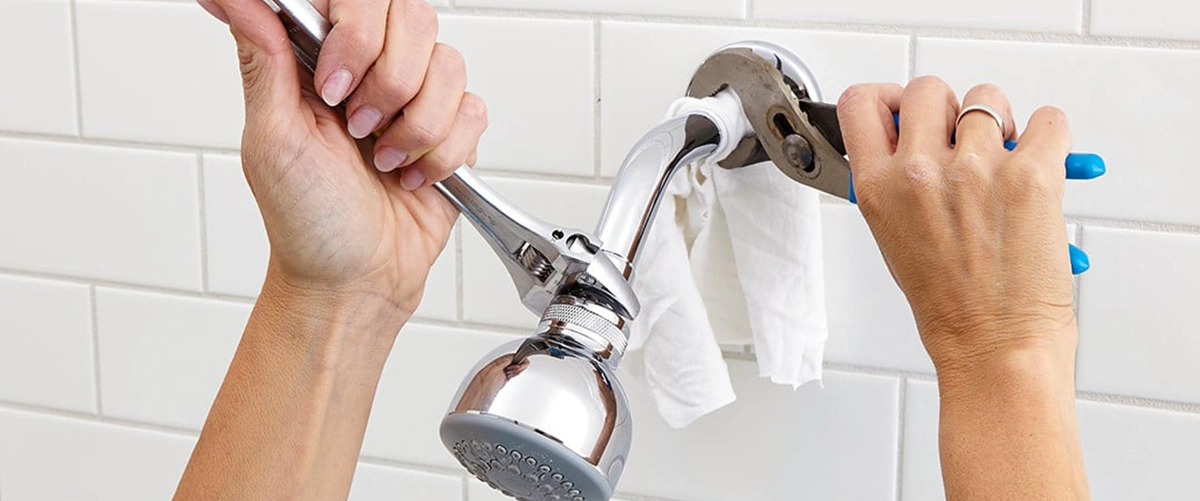
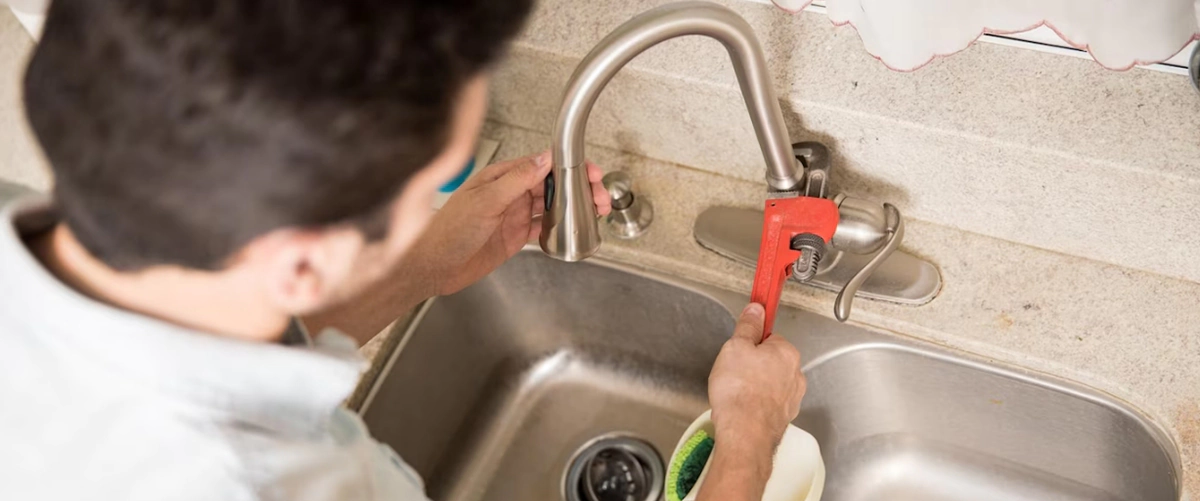
Commercial Plumbing Fixtures: Maintenance and Upkeep
Maintaining your plumbing fixtures is essential for preventing leaks and water wastage. Inspect faucets, toilets, and sinks regularly for leaks, and replace washers or gaskets as needed. Additionally, consider installing water-efficient fixtures to reduce water consumption and utility costs.
Water Quality and its Impact on Plumbing
Certainly, here’s a brief article on “Water Quality and its Impact on Plumbing” in English:
The Crucial Link Between Water Quality and Plumbing
Water is a vital resource that sustains life, but its quality can have a significant impact on your plumbing system. The composition of the water flowing through your pipes can influence the efficiency, longevity, and overall health of your plumbing. Understanding the connection between water quality and plumbing is crucial for maintaining a well-functioning system.
The Role of Water Quality:
Water quality refers to the chemical, physical, and biological characteristics of the water supply. It can vary greatly depending on the source and treatment processes. Here’s how water quality affects your plumbing:
- Corrosion: If your water supply has a high acidity level, it can corrode your plumbing pipes and fixtures over time. Corrosion can lead to leaks, discoloured water, and even structural damage.
- Scale Buildup: Hard water, containing an excess of minerals like calcium and magnesium, can result in scale buildup in your pipes and appliances. This buildup can restrict water flow and reduce the efficiency of water heaters and other fixtures.
- Contaminants: Contaminants in your water supply, such as sediment, bacteria, or chemicals, can clog pipes, damage fixtures, and affect the taste and safety of your water.
- Health Concerns: Poor water quality can have adverse health effects, such as gastrointestinal issues or skin problems, if consumed or used for bathing and cleaning.
- Measures to Improve Water Quality:
- Improving water quality can not only extend the lifespan of your plumbing system but also ensure the safety and comfort of your home. Here’s what you can do:
- Water Softeners: If you have hard water, installing a water softener can reduce the mineral content, preventing scale buildup and extending the life of your plumbing fixtures.
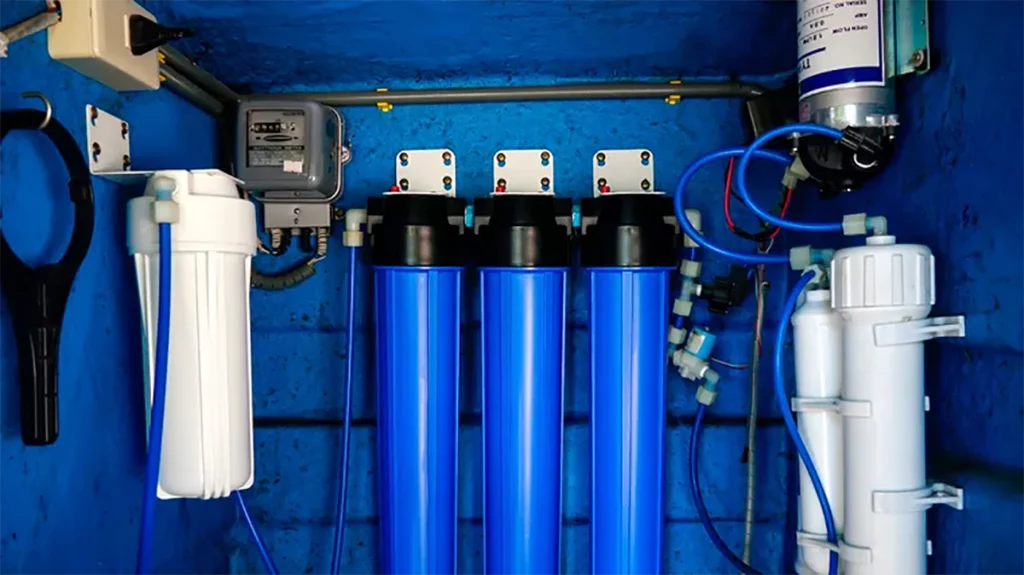
- Filtration Systems: Consider installing water filtration systems to remove contaminants and improve the taste and safety of your drinking water.
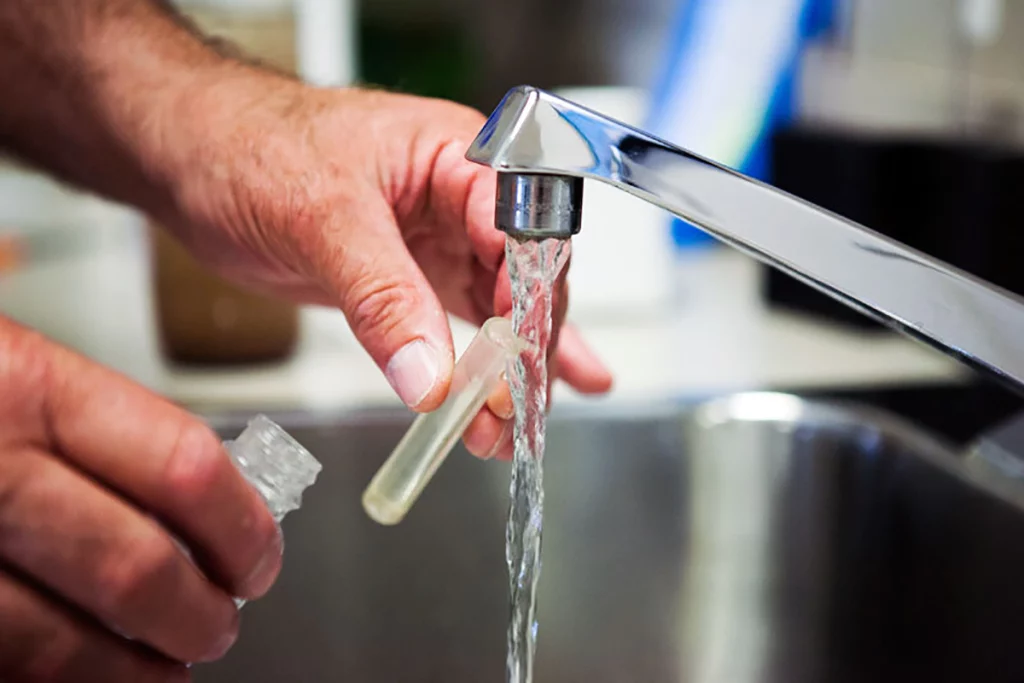
- Regular Testing: Periodic water testing can identify any contaminants or irregularities in your water supply, allowing you to take appropriate measures to address them.
- Plumbing Maintenance: Regular maintenance can help detect and address issues caused by poor water quality before they become major problems.
- Consider Pipe Materials: When building or renovating, choose plumbing materials that are resistant to corrosion, such as copper or plastic.
In conclusion, the quality of the water in your plumbing system is more than a matter of taste. It’s a fundamental factor in the efficiency and longevity of your plumbing. Regular monitoring, testing, and maintenance can help you mitigate the negative effects of poor water quality and ensure that your plumbing operates at its best. Additionally, investing in water treatment systems can significantly enhance the quality and safety of the water you use in your daily life.
Remember, when it comes to your plumbing, water quality matters, so don’t underestimate its impact on your home and well-being.
Preventative Plumbing Maintenance
The Importance of Preventative Plumbing Maintenance
Your plumbing system is an integral part of your home that provides essential services. Yet, many homeowners only think about their plumbing when something goes wrong. However, being proactive with preventative plumbing maintenance can save you time, money, and the headache of unexpected plumbing issues.
Why Preventative Maintenance Matters:
- Early Issue Detection: Regular maintenance allows for the early detection of minor problems before they escalate into major issues. This can include identifying leaks, clogs, or signs of wear and tear.
- Cost Savings: Addressing small plumbing concerns during routine maintenance is often much more cost-effective than waiting for a major plumbing disaster to occur. It can save you from costly emergency repairs.
- Extended Lifespan: Preventative maintenance can extend the lifespan of your plumbing system. This means your pipes, fixtures, and appliances will last longer, reducing the need for replacements.
- Efficiency: Well-maintained plumbing operates more efficiently. You’ll notice improved water pressure, reduced water bills, and better performance from your fixtures and appliances.
- Safety and Health: Ignoring plumbing maintenance can lead to water damage, mould growth, and even health hazards. Regular maintenance ensures a clean, safe living environment.
Preventative Plumbing Maintenance Tips:
Here are some tips for effective preventative plumbing maintenance:
- Schedule Regular Inspections: A professional plumber can perform routine checks and identify potential issues. It’s recommended to have an annual inspection, but more frequent checks can be beneficial for high-traffic households.
- Address Leaks Promptly: Even small leaks can lead to significant problems, including water damage and mould growth. Fix them as soon as you notice them.
- Prevent Clogs: Be mindful of what you flush down your drains and consider using drain screens to catch debris. Regular drain cleaning can also help maintain clear pipes.
- Water Heater Care: Flush your water heater regularly to remove sediment and maintain its efficiency. This ensures you have an ample supply of hot water.
- Invest in Quality Fixtures: High-quality plumbing fixtures are less likely to develop issues and can withstand the test of time. They are also more water-efficient, which can help save on water bills.
Рreventative plumbing maintenance is an investment in the longevity, efficiency, and safety of your home. Don’t wait for a plumbing emergency to realise its importance. Be proactive, and you’ll enjoy a well-functioning plumbing system while saving money in the long run.
In conclusion, preventing common commercial plumbing problems is a proactive approach that can save you money, time, and stress. Regular plumbing maintenance, identifying early warning signs, and addressing minor issues can make a significant difference in the lifespan and efficiency of your plumbing system.
FAQ on 5 Common Commercial Plumbing Problems
To prevent sewer line blockages, you can:
° Schedule regular professional inspections and maintenance.
° Properly dispose of grease and food waste.
° Use drain strainers and educate employees on what not to flush.
° Consider hydro jetting for cleaning sewer lines.
To address water heater issues:
° Regularly inspect for leaks, unusual noises, or inconsistent heating.
° Call a professional for diagnosis and repairs.
° Perform routine maintenance and consider upgrades if needed.
To prevent clogged drains:
° Install drain covers or strainers.
° Educate employees on proper waste disposal.
° Schedule regular drain cleaning and maintenance.
° Use enzyme-based drain cleaners and avoid harsh chemicals.