When it comes to tackling plumbing issues in your home, a do-it-yourself (DIY) approach can be both cost-effective and rewarding. However, it’s crucial to proceed with caution to avoid potential pitfalls. Here are some essential DIY plumbing tips, covering everything from minor repairs to more complex projects.
Contents
- 1 DIY House Plumbing Repair Dos
- 2 ✅ Top DIY Plumbing Tips and Tricks for Beginners
- 3 Don’ts: DIY Fix Plumbing at Home
- 4 🧠 DIY Tips Plumbing Enthusiasts Should Remember
- 5 When to Call a Professional
- 6 Not Sure Where to Start? Contact POM Plumbing for Professional Assistance!
- 7 Final Thoughts: Be a Smart DIY Plumber
- 8 FAQ
DIY House Plumbing Repair Dos
- Research and Educate Yourself:
- Do: Before starting any DIY plumbing project, thoroughly research and educate yourself on the specific issue you’re dealing with. Understanding the problem and the necessary steps to address it is key to a successful DIY endeavour.
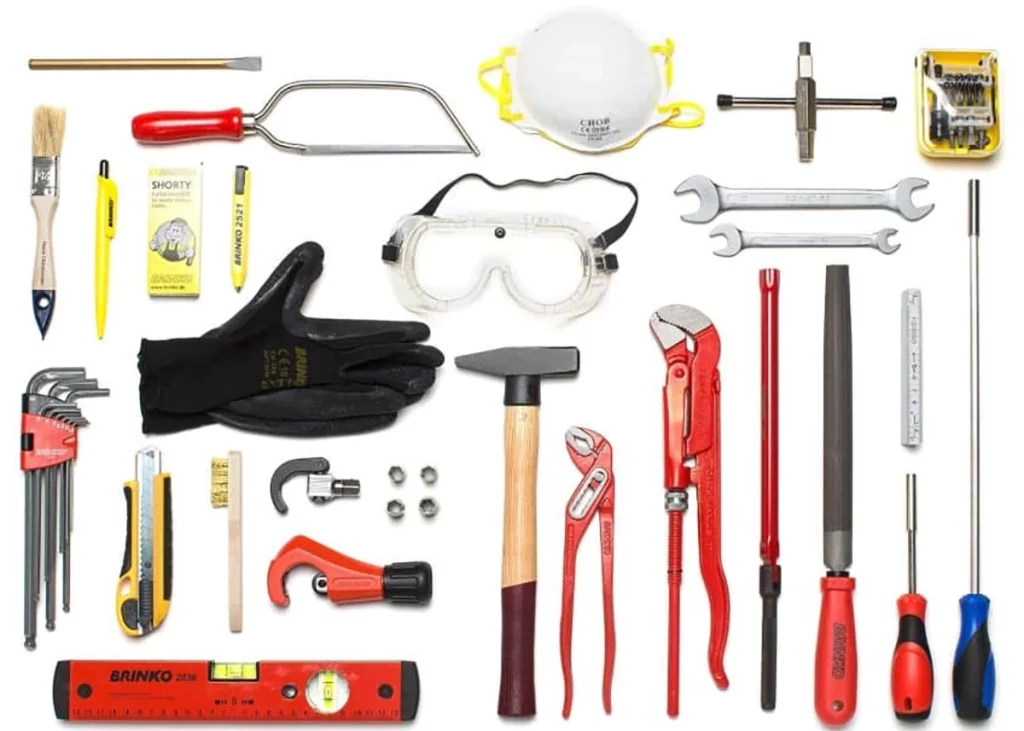
- Gather the Right Tools:
- Do: Ensure you have the necessary tools for the job. Common tools for DIY plumbing include pipe wrenches, pliers, a pipe cutter, a plunger, and Teflon tape. Having the right tools on hand will make the job more efficient.
- Turn Off the Water Supply:
- Do: Always turn off the water supply before attempting any plumbing repairs. Whether you’re fixing a leaky faucet or replacing a pipe, preventing water flow ensures a safer working environment and minimises potential water damage.
- Start with Small Projects:
- Do: If you’re new to DIY plumbing, start with small, manageable projects. Fixing a leaky faucet or replacing a showerhead are good beginner tasks that allow you to build confidence and skills gradually.
- Use Plumber’s Tape Correctly:
- Do: When working with threaded pipes and fittings, use plumber’s tape (Teflon tape) to create a tight seal. Wrap the tape clockwise around the threads to prevent leaks.
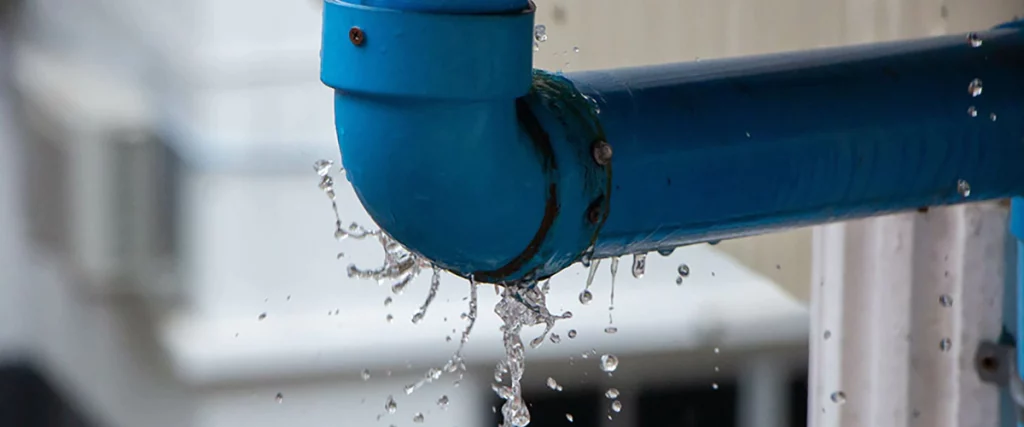
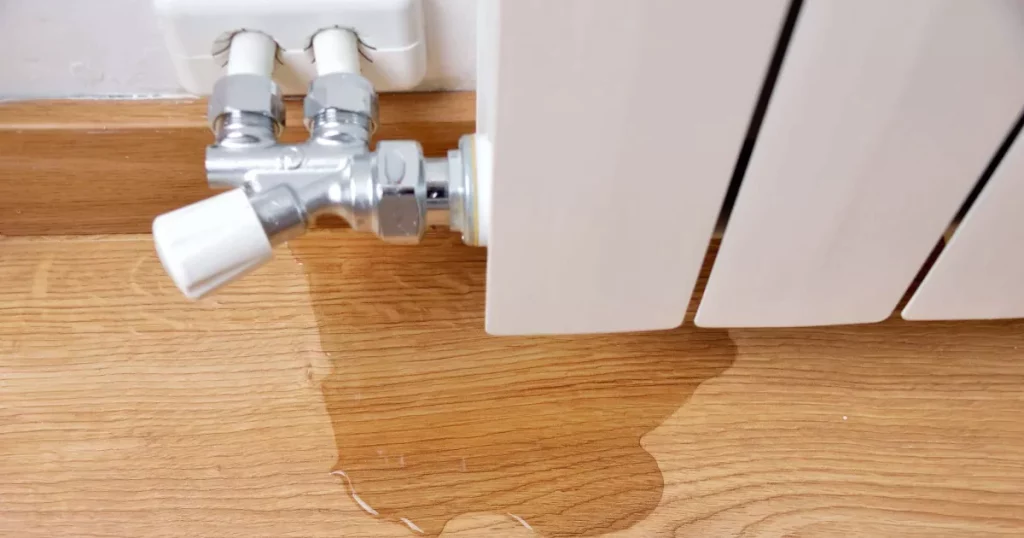
- Investigate and Address Leaks Promptly:
- Do: Investigate and address leaks as soon as you notice them. Ignoring leaks can lead to water damage, mould growth, and increased repair costs. Swift action can prevent more significant issues down the line.
- Seek Professional Help When Needed:
- Do: Recognize your limitations. If a plumbing issue seems beyond your expertise, don’t hesitate to seek professional help. Calling in a plumber can save you time, money, and potential headaches.
| DIY House Plumbing Repair Dos | Guidelines |
| 1. Research and Educate Yourself: |
|
| 2. Gather the Right Tools: |
|
| 3. Turn Off the Water Supply: |
|
| 4. Start with Small Projects: |
|
| 5. Use Plumber’s Tape Correctly: |
|
| 6. Investigate and Address Leaks Promptly: |
|
| 7. Seek Professional Help When Needed: |
|
✅ Top DIY Plumbing Tips and Tricks for Beginners
Choose the Right Materials:
Not all pipes and fittings are created equal. For any plumbing DIY project, make sure you’re using the correct materials suitable for water pressure and temperature. Using incompatible materials can lead to leaks or breakdowns.
Label Your Shut-Off Valves:
As a DIY plumber, it’s smart to label shut-off valves around your home. This makes it easier to isolate plumbing issues quickly and prevent unnecessary damage.
Document Your Repairs:
Take photos of your work before and after a fix. It helps you track what was done and can be useful if you eventually need to consult a professional plumber.
Don’t Let Small Plumbing Issues Turn into Big Problems!
Take the first step toward safer, stress-free plumbing. Whether you’re a confident DIYer or need expert help, POM Plumbing is just a call away.
🔧 Contact Us Today for a Free Consultation!
Don’ts: DIY Fix Plumbing at Home
- Ignore Safety Precautions:
- Don’t: Neglect safety precautions. Always wear appropriate protective gear, such as gloves and safety glasses. If you’re working in tight spaces, use proper lighting to avoid accidents.
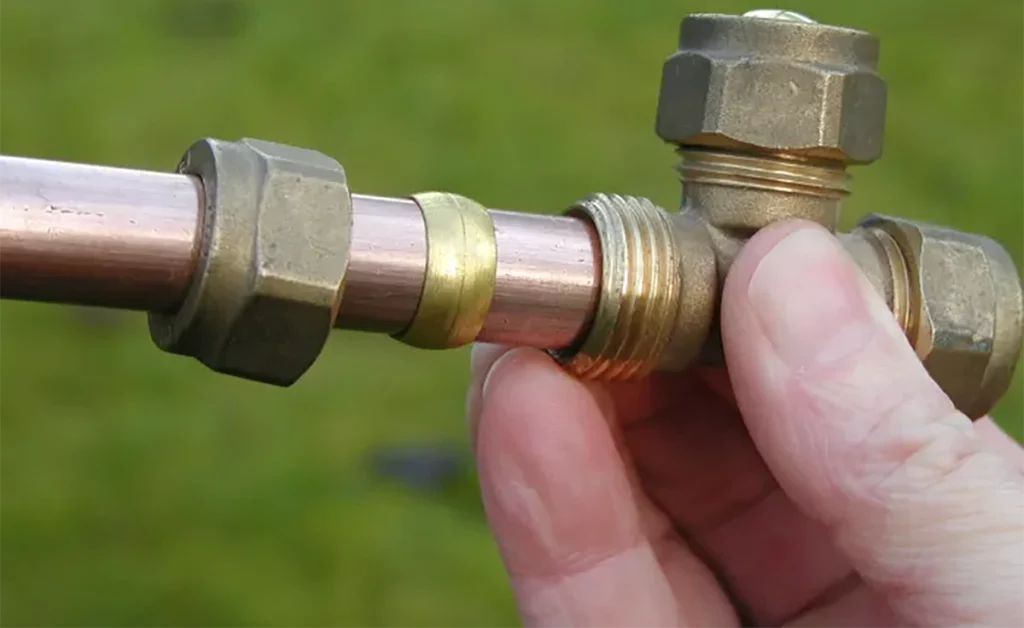
- Overtighten Connections:
- Don’t: Overtighten pipe connections. Doing so can damage threads or fittings, leading to leaks. Use the appropriate amount of force to create a secure connection without causing damage.
Forget to Check Local Codes:
- Don’t: Overlook local plumbing codes. Before starting any DIY plumbing project, check local codes and regulations to ensure compliance. Failure to do so may result in fines or the need for costly corrections.
- Use Excessive Force:
- Don’t: Use excessive force when handling plumbing components. Pipes and fittings are designed to be durable but can be damaged if mishandled. If a connection is resisting, reassess the situation before applying more force.
- Neglect Regular Maintenance:
- Don’t: Neglect regular plumbing maintenance. Prevention is key to avoiding major issues. Schedule periodic checks for leaks, inspect water heaters, and address any minor concerns before they escalate.
- Mix Metals Without Consideration:
- Don’t: Mix different metals without consideration. When connecting pipes and fixtures, avoid combining different metal types without proper insulation or dielectric unions. Mixing metals can lead to corrosion.
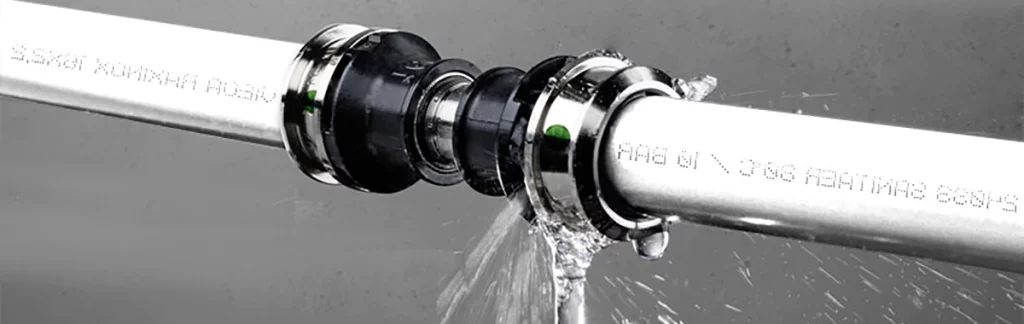
- Disregard Water Pressure Issues:
- Don’t: Disregard water pressure issues. High water pressure can strain pipes and appliances, leading to leaks and damage. Install a pressure regulator if needed to maintain a safe and consistent water pressure.
|
Don’ts: DIY Fix Plumbing at Home |
Guidelines |
| 1. Ignore Safety Precautions: |
|
| 2. Use Excessive Force: |
|
| 3. Disregard Water Shut-Off: |
|
| 4. Forget to Insulate Pipes: |
|
| 5. Mix Metals Without Consideration: |
|
| 6. Under Tighten Connections: |
|
| 7. Neglect Regular Maintenance: |
|
| 8. Ignore Water-Saving Practices: |
|
| 9. Dismiss Professional Advice: |
|
| 10. Overlook Local Plumbing Codes: |
|
| 11. Neglect Proper Disposal: |
|
🧠 DIY Tips Plumbing Enthusiasts Should Remember
Stay Updated with Trends:
Modern plumbing technology includes smart sensors, low-flow fixtures, and advanced sealants. Staying informed about new tools and techniques is a must for any DIY plumber.
Avoid Quick Fixes for Major Problems:
Temporary fixes like duct tape on a pipe might buy time—but they’re not long-term solutions. One of the most common plumbing DIY mistakes is relying on band-aid solutions instead of addressing the root cause.
Create an Emergency Kit:
Keep an emergency plumbing kit at home. Include spare washers, a small pipe cutter, plumber’s tape, gloves, and a flashlight. These are essential for reacting fast in unexpected situations.
Ready to Tackle Your Next Plumbing Project?
Get professional guidance or schedule a service visit. Call POM Plumbing now and make sure your plumbing is done right the first time.
📞 Call Now: (905) 625-8777 or Book Online
When to Call a Professional
While some DIY plumbing projects can be safely done by homeowners, there are situations where it’s best to leave the work to professionals. Attempting complex or high-risk tasks on your own can lead to costly mistakes, water damage, or even safety hazards. Here are a few instances when you should consider calling a professional plumber:
- Major Pipe Replacements: Replacing pipes, especially in hard-to-reach areas, requires specialized tools and expertise to avoid leaks and ensure proper installation. Attempting this on your own can lead to significant water damage if not done correctly.
- Fixing Large Leaks: Small leaks in faucets or showerheads might be manageable, but larger leaks or leaks in walls and floors should be addressed by a professional. A licensed plumber can accurately diagnose the source and provide a long-term solution.
- Water Heater Repairs and Installation: Working with water heaters involves dealing with both water and electricity or gas. This type of work is best handled by a professional to prevent electrical hazards, gas leaks, and other dangers.
- Sewer Line Blockages: If you have a blockage in the sewer line, it’s essential to call a plumbing professional. They have the equipment to safely and effectively clear the line without damaging your pipes.
- Complex Drain Cleaning: For minor clogs, a plunger or drain snake might work, but persistent or deep clogs should be handled by a professional with specialized tools to prevent further damage to the pipes.
Knowing when to call in the experts can save you time, money, and stress. DIY plumbing has its limits, and professional plumbing services ensure that your home’s plumbing system is functioning safely and efficiently.
Not Sure Where to Start? Contact POM Plumbing for Professional Assistance!
If you’re uncertain about handling a plumbing issue on your own, don’t hesitate to reach out. At POM Plumbing, our experienced professionals are here to help with any plumbing repairs, replacements, or complex issues that require expert attention. Don’t risk DIY mistakes—contact us today for reliable, efficient service and peace of mind!
Call POM Plumbing now to schedule an appointment and let us handle your plumbing needs!
By adhering to these dos and don’ts, you’ll be better equipped to handle DIY plumbing projects effectively and minimise the risk of complications. Remember, if you ever feel unsure or encounter a situation beyond your expertise, it’s wise to consult with a professional plumber.
Final Thoughts: Be a Smart DIY Plumber
Being a successful DIY plumber is about preparation, safety, and knowing your limits. With these essential plumbing DIY tips and tricks, you can tackle minor issues with confidence and avoid expensive mistakes. But remember — the smartest move is knowing when it’s time to call in the experts. POM Plumbing is always ready to help when you need reliable service and peace of mind.
FAQ
Yes, DIY plumbing repairs can be safe if you follow proper safety precautions. Always wear protective gear, turn off the water supply, and use the correct tools. If in doubt, seek professional advice.
No, for threaded pipes, it’s essential to use plumber’s tape (Teflon tape). Apply it clockwise to create a secure seal and prevent leaks.
It’s advisable to seek professional help for major plumbing issues. DIY repairs are suitable for minor fixes, but complex problems may require the expertise of a licensed plumber.
Yes, water-saving fixtures contribute to conservation and reduce utility costs. Consider low-flow faucets and showerheads for an eco-friendly approach.
Regular maintenance checks should be conducted at least once a year. Promptly address any issues to prevent them from escalating into major repairs.