If you sat through Part 1 with us, you now have all of your supplies and a loosened drain pipe in your hands. Now comes the fun part: it’s time to clean your sink drain.
Step 3: Remove Its Contents
When your sink drain pipe is loosened, you should be able to wiggle it free. It’s recommended that you keep your bucket directly under it while doing this. As you remove the pipe, some of the gunk blocking it may come free from where the pipe was attached and some water may escape where it was settled. This is why it’s wise to keep a towel under the entire site to avoid dirtying the inside of your cabinet.
With your pipe free, pull your pipe and bucket from under the sink and shake out the contents of the pipe into your bucket. It’s likely that the blockages aren’t very compacted in the pipe, and should come free fairly easily. This blockage is likely made up of mostly hair and whatever bacteria and rot has accumulated on it.
With this piece of your drain pipe emptied of its blockage, you’ll also want to check the parts it was attached to. A look up at the vertical pipe leading down from the drain might reveal some more gunk trapped there. It should be easily removed with your pointy object. We’ll assume you’ve got a cheap pipe cleaner on hand. You can use this to knock any gunk from the vertical pipe into your bucket.
The horizontal pipe leading into the wall may also have its fair share of waste blocking it. If this blockage goes deeper than a couple inches past the edge of the pipe, you may need to employ a snake to remove it. However, this kind of blockage in a bathroom sink drain is unlikely. You should be able to bend the end of your pipe cleaner into a hook and pull out whatever is trapped there with ease.
Step 4: Clean Your Sink Drain
Next up, if you want a job well done to end in your drain feeling like new (and smelling like new too), it’s time to clean your sink drain. Set your bucket aside and use your rag to clean out the removed portion of drain pipe. You can simply push the rag through, pulling it out the other side to remove anything coating the pipe, or you can go all out and use soap and water. Whatever degree of cleaning satisfies you will do.
Step 5: Return the Pipe
Finally, wiggle that piece of pipe back to where it sat before and start tightening those coupling nuts back on. You may need to finagle it a bit to get it in the right place. If you’re struggling to keep the threads aligned, try turning the nuts counterclockwise until they settle into the right spot, then tighten them into place.
When you’ve got the coupling nuts back in place, go ahead and turn on your faucet. Let it run for a minute and watch to make sure there’s no leaking before calling it a day.
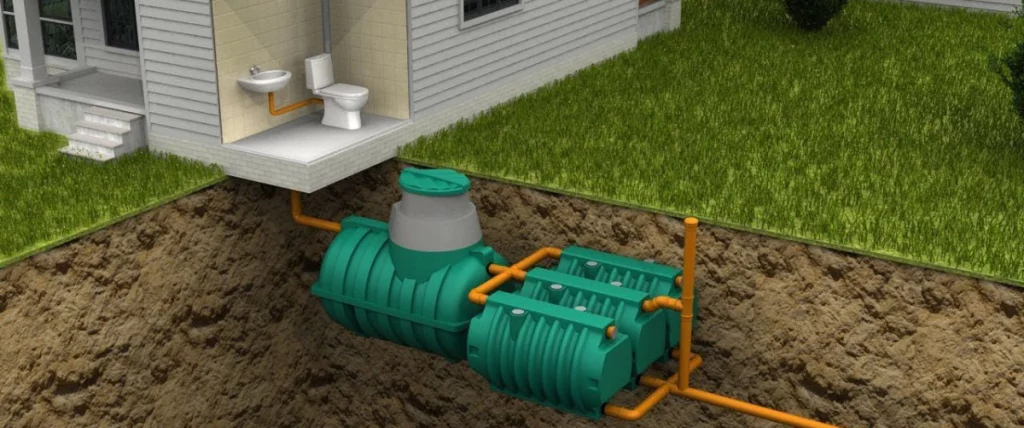
If your sink drain didn’t have almost any blockage at all, or continues to struggle with draining after you clean your sink drain, the problem is likely further down. Give us a call today and we’ll be happy to get your sink back in working order.


