Replacing a shower valve is a necessary skill for any homeowner looking to avoid the costs of hiring a plumber. A faulty valve can lead to a poor shower experience and high water bills. This guide will walk you through the process, ensuring that you can confidently replace your shower valve with minimal fuss.
Contents
What You Need to Know Before Starting
Before you start the process of replacing a shower valve, there are several important factors to consider to ensure a smooth and successful installation. Here’s what you need to know:
- Identify the Type of Shower Valve: It’s crucial to understand the type of valve you’re working with. There are various types, including pressure-balancing valves, thermostatic valves, and diverter valves, each serving different functions. Knowing the type helps in choosing the correct replacement and understanding the installation process.
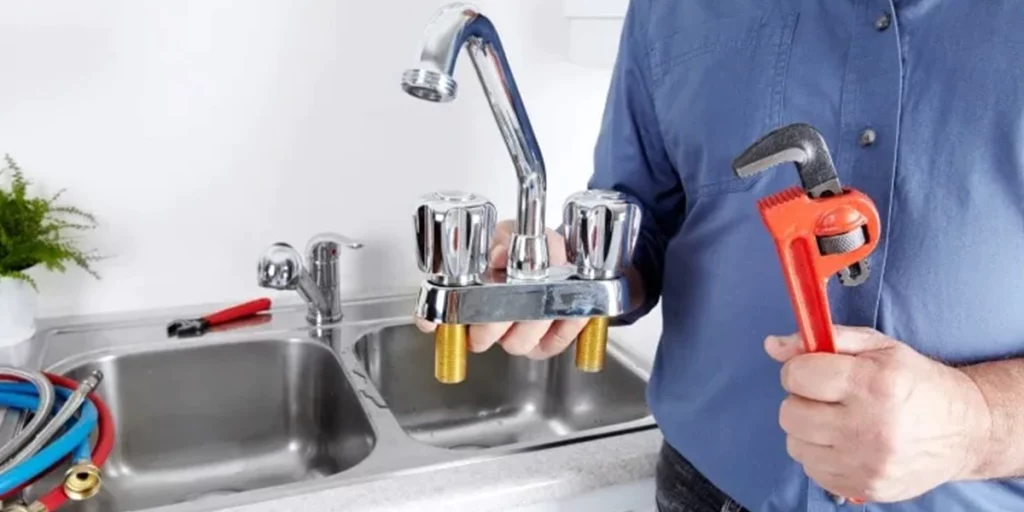
- Gather the Necessary Tools and Materials: Make sure you have all the required tools and materials before you begin. Commonly needed items include:
- Adjustable wrenches and screwdrivers
- A new shower valve compatible with your system
- Teflon tape for sealing pipe threads
- Utility knife for removing old sealant
- Towels or a bucket to catch any residual water
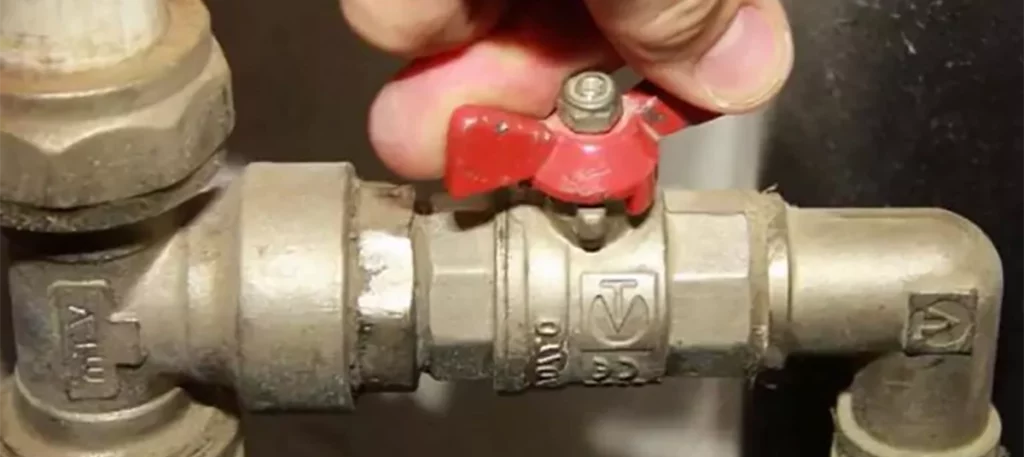
- Shut Off the Water Supply: Before starting any work, ensure the water supply to the bathroom is turned off. This prevents water from gushing out when you remove the old valve.
- Assess the Current Installation: Examine how the current shower valve is installed. This includes the condition of the plumbing, the size of the pipes, and the type of fixtures used. Understanding these will help in purchasing the right type of valve and preparing for potential adjustments or issues during installation.
- Check for Compatibility: Verify that the new valve is compatible with your existing plumbing setup. Compatibility issues can lead to ineffective installations or leaks.
- Understand Local Plumbing Codes: Familiarise yourself with local building and plumbing codes to ensure compliance. Some areas may have specific requirements for the types of valves or installation methods you can use.
- Prepare the Work Area: Clear the area around your shower to make space for tools and movement. Protect the floor and nearby fixtures with drop cloths to avoid damage and make cleanup easier.
- Plan for Potential Challenges: Be prepared for challenges such as rusted pipes, hard-to-reach nuts, or unexpected leaks. Having a plan and the right tools to deal with these issues will help you manage the project more efficiently.
By being well-prepared and informed about these aspects, you can tackle the task of replacing a shower valve more confidently and minimise the risk of unexpected problems.

Protecting Your Workspace
Protecting your workspace is a crucial step when replacing a shower valve to ensure that your bathroom remains clean and undamaged. Here’s how to effectively protect your workspace:
- Clear the Area: Remove any bathroom products, mats, or movable objects from around the shower area. This not only creates more space to work but also protects items from water or dirt.
- Lay Down Drop Cloths or Tarps: Place drop cloths or heavy-duty tarps on the floor and over any nearby fixtures. These materials will catch water, debris, and tools, preventing damage to flooring and surfaces.
- Cover Fixtures: Use plastic covers or bags to protect sensitive fixtures like faucets, showerheads, and lighting from dust and debris. Secure these covers with tape if necessary.
- Keep Tools Organized: Use a toolbox or a bucket to keep all your tools and materials in one place. This helps prevent any accidental scratches or dents caused by misplaced tools.
- Prepare for Water: Have towels and a bucket ready to catch any residual water that might escape from pipes once the old valve is removed. Even with the water supply turned off, water remaining in the pipes can leak out.
- Secure the Work Area: If necessary, use barriers to keep pets and children away from the workspace. This not only protects them but also prevents any accidental disturbances to your work area.
By taking these steps to protect your workspace, you can work more efficiently and avoid any potential damage to your bathroom during the valve replacement process.
Removing the Old Shower Valve
Removing the old shower valve is a key step in the replacement process. This task requires careful handling to avoid damaging the plumbing. Here’s how to properly remove the old shower valve:
- Ensure the Water is Turned Off: Before starting, double-check that the water supply to the bathroom is completely shut off. This prevents any unexpected water flow during the removal process.
- Open the Faucet: To relieve any pressure and drain remaining water in the pipes, open the shower faucet. This step helps minimise water spillage when you remove the valve.
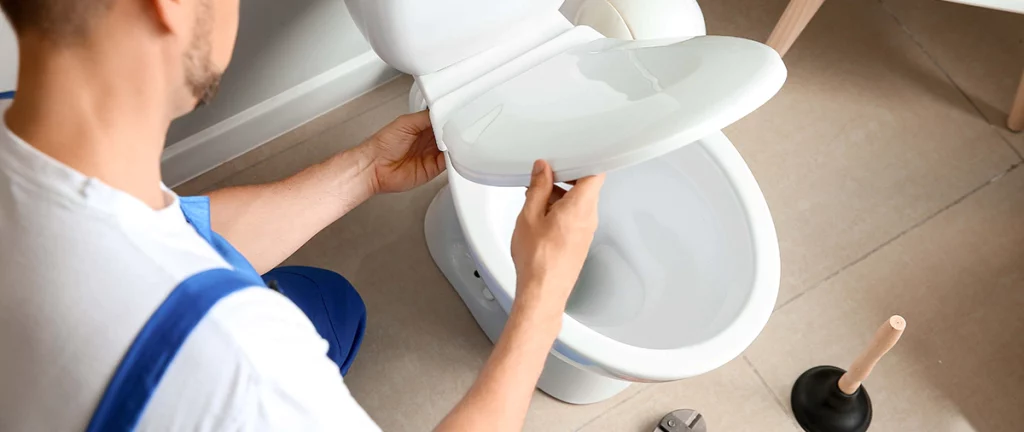
- Remove the Handle and Trim Plate: Start by removing the handle of the shower valve. This is usually secured with screws or a set screw that can be loosened with a screwdriver or an Allen wrench. After removing the handle, take off the trim plate, which may also be screwed in place. This exposes the internal parts of the valve.
- Disconnect the Valve from the Plumbing: Using an adjustable wrench or pipe wrench, loosen the nuts or connectors that secure the valve to the water supply lines. Be careful not to exert excessive force, as this could damage the pipes.
- Remove Mounting Brackets or Clips: Some shower valves are held in place with brackets or clips attached to the framing or plumbing. Remove these fasteners to free the valve.
- Carefully Extract the Valve: Once all connections and mounts are loose, carefully pull the valve out from the wall. If resistance is felt, check for any missed connections or fasteners. Avoid pulling too hard, which could damage the plumbing.
- Inspect the Area: After removing the valve, inspect the area for any damage to the pipes or wall. Look for signs of corrosion or wear that may need addressing before installing the new valve.
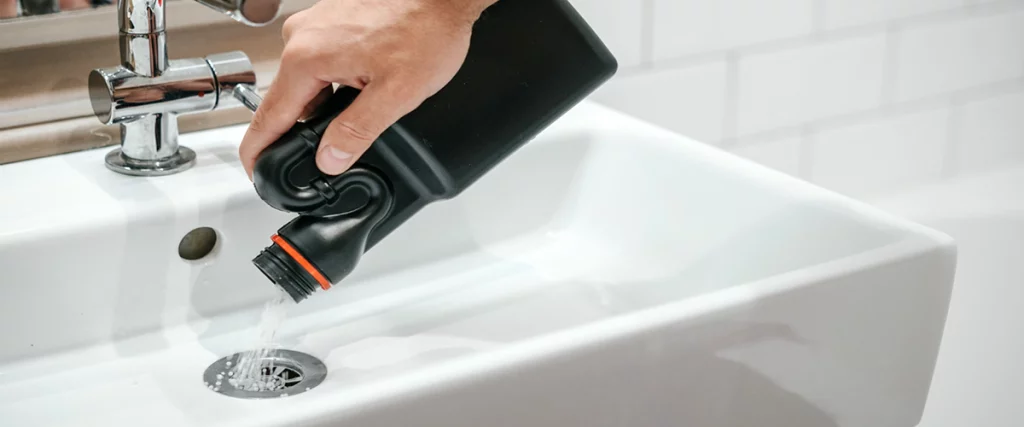
- Clean the Installation Area: Remove any debris, old Teflon tape, or sealant from the pipes where the new valve will be installed. Ensure the surface is clean and dry to help achieve a good seal with the new valve.
By following these steps, you can successfully remove the old shower valve without causing damage to your plumbing or bathroom. This preparation is crucial for a smooth installation of the new shower valve.

Step-by-Step Removal Process
Removing an old shower valve is a precise task that requires careful handling to ensure that your plumbing remains intact and ready for the new installation. Here’s a detailed, step-by-step process to help guide you through the removal:
- Turn Off the Water Supply: Ensure the water supply to the shower is completely shut off. This might involve turning off the main water supply to the house if you do not have a local shut-off valve in your bathroom.
- Drain the Remaining Water: Open the shower valve to release any water remaining in the pipes. This will reduce the chances of water spilling when you disconnect the valve.
- Remove Shower Handle and Trim:
- Unscrew the handle. This may require an Allen wrench or a screwdriver, depending on the screw type used.
- Remove the trim or the decorative plate that covers the valve. This is usually secured with screws and can be taken off with a standard screwdriver.
- Disconnect the Valve from the Plumbing:
- Use an adjustable wrench to loosen the nuts or connections that attach the valve body to the plumbing lines.
- Take care when removing these connections to avoid twisting or damaging the pipes.
- Remove Any Securing Hardware:
- Look for any clips, brackets, or additional fasteners that hold the valve in place against the wall or mounting block.
- Remove these components carefully with the appropriate tools, typically a screwdriver or a wrench.
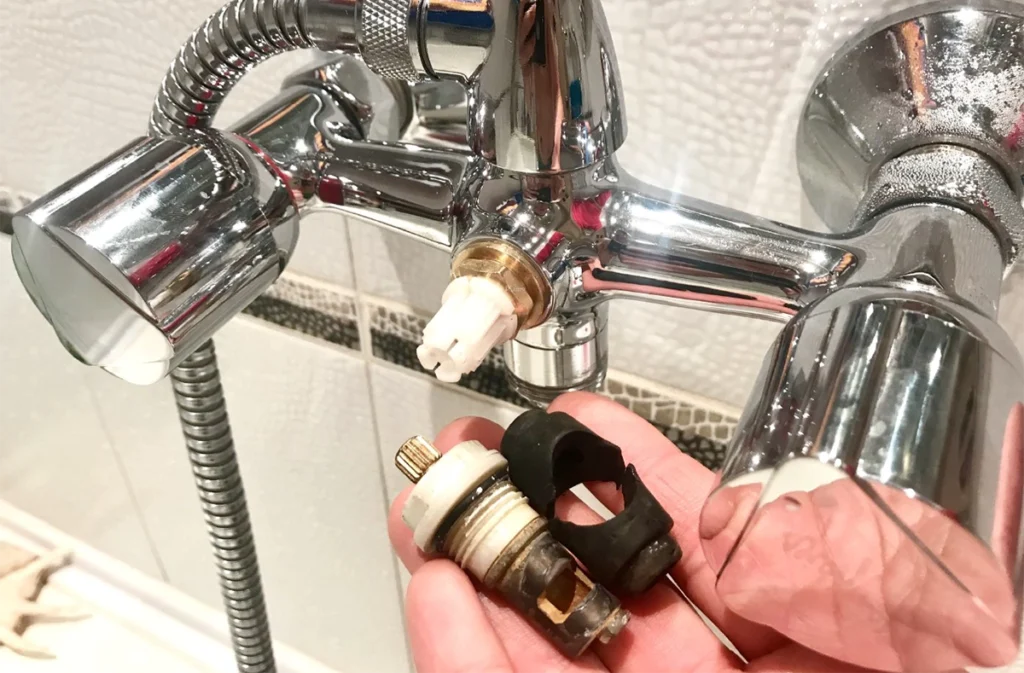
- Extract the Old Valve:
- Gently pull the valve body out from the wall. It’s important to do this slowly to avoid damaging the plumbing connections behind the wall.
- If the valve doesn’t come out easily, check for any additional fasteners or corrosion that may be holding it in place.
- Clean the Area:
- Once the old valve is out, clean the area within the wall where the valve was installed. Remove any debris, old sealant, or Teflon tape from the pipes.
- Inspect the condition of the pipes and the wall cavity for any signs of damage or wear.
- Prepare for New Valve Installation:
- Ensure that the space is clean and dry.
- Check that the pipe threads are in good condition to secure a tight connection with the new valve.
By following these steps, you will have successfully removed the old shower valve and prepared the site for the installation of a new one, ensuring a smooth and efficient upgrade to your shower system.
Installing the New Shower Valve
Installing a new shower valve is a critical step in updating your bathroom’s plumbing. Following a structured approach will help ensure a leak-free installation and long-term reliability. Here’s a step-by-step guide to help you install the new shower valve:
- Prepare the Installation Area:
- Clean the pipes and inside the wall cavity where the new valve will be installed. Ensure all old sealant, Teflon tape, and debris are removed.
- Check the pipe threads for any damage and repair them if necessary to ensure a good fit.
- Dry Fit the New Valve:
- Before permanently attaching the valve, position it in place to check its fit and alignment. Ensure that it matches the existing plumbing and that all connections are accessible.
- Apply Teflon Tape:
- Wrap Teflon tape clockwise around the threads of the pipes where the valve will connect. This helps to ensure a watertight seal and prevents leaks.
- Install the Valve Body:
- Carefully align the valve with the plumbing connections and begin to thread it onto the pipes by hand to prevent cross-threading.
- Once hand-tight, use a wrench to tighten the connections. Be careful not to overtighten, as this can damage the threads or the valve itself.
- Secure the Valve:
- If your valve has mounting brackets or clips, attach these to the wall or the mounting block to stabilise the valve. Ensure it is firmly in place to prevent any movement that could stress the plumbing connections.
- Attach the Trim and Handle:
- Install the trim plate over the valve according to the manufacturer’s instructions. This usually involves securing it with screws.
- Attach the handle or controls to the valve stem. Ensure they operate smoothly and correctly regulate the water flow and temperature.
- Test for Leaks:
- Once everything is assembled, turn on the water supply and carefully monitor the new valve and its connections for any signs of leaks.
- Operate the valve through its full range to check both hot and cold water functions and ensure that the installation was successful.
- Final Adjustments:
- Make any necessary adjustments to the handle or trim to ensure they are aligned and secure.
- Apply silicone sealant around the trim plate if required to prevent water from seeping behind the wall.
- Clean Up:
- Remove any protective coverings used during the installation.
- Clean the area thoroughly to remove any debris or fingerprints left during the installation process.
By following these detailed steps, you’ll ensure that your new shower valve is installed correctly and efficiently, providing reliable performance and enhancing your bathroom’s functionality.
Congratulations on completing your shower valve replacement! With the right tools and a bit of patience, you’ve saved money and learned a valuable skill.
FAQs
Check for an adapter kit or consider consulting a professional.
Typically, shower valves should be inspected or replaced every 3-5 years.
Yes, with detailed instructions and the right tools, it’s possible to replace a shower valve DIY.
Not turning off the water supply fully, which can lead to leaks and water damage.
Choose a valve from a reputable manufacturer to ensure reliability and durability.